こんにちは!ガジェットが増えてきて収納に困っているたいしょん(@taishonpresso)です!
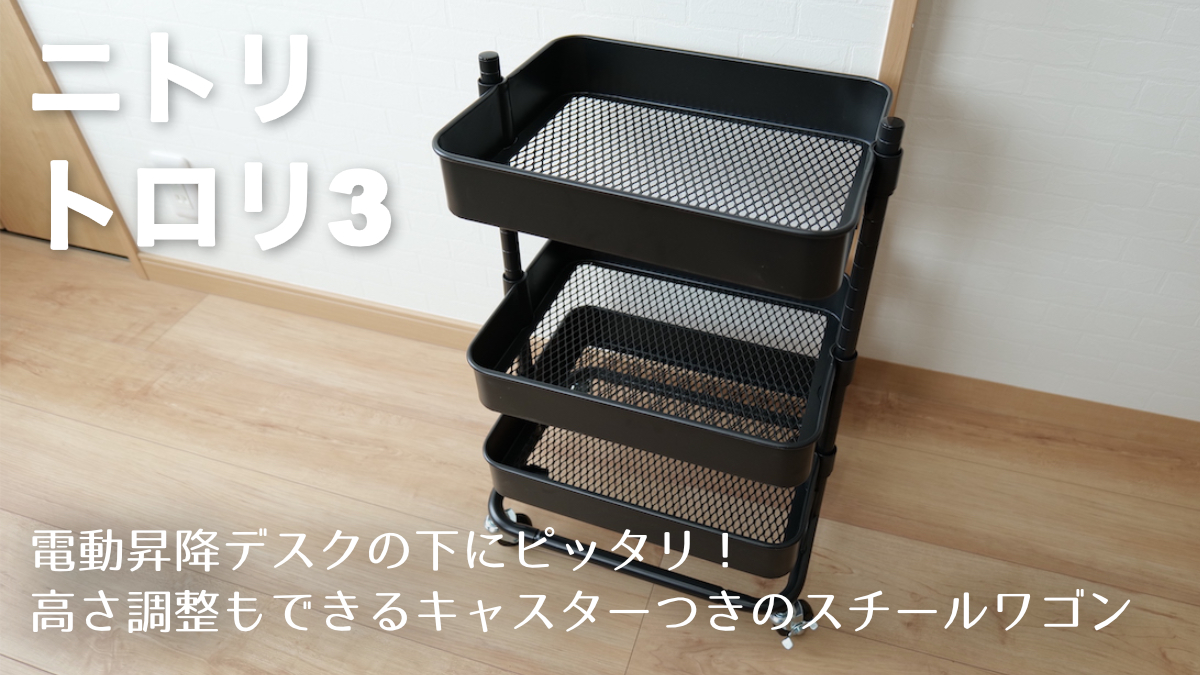
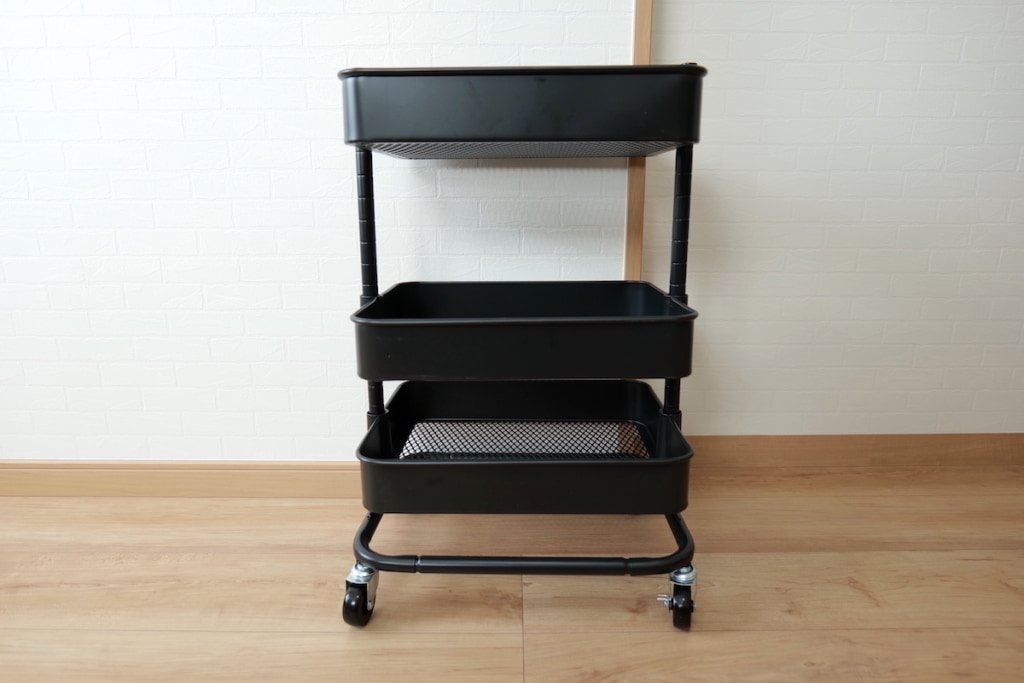
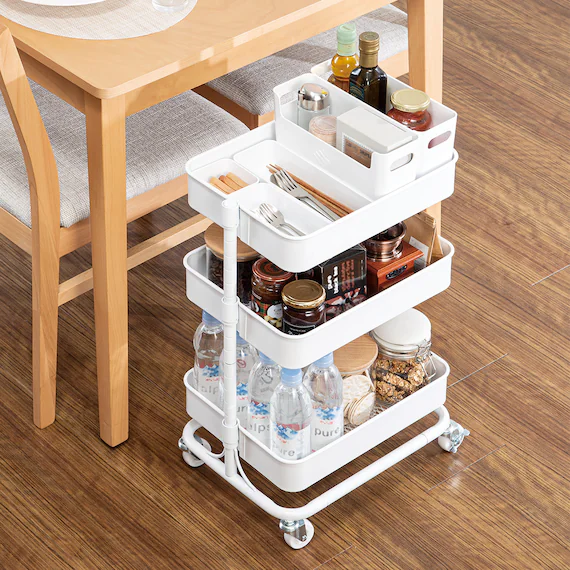
本記事では、ニトリで購入できるスチールワゴン、「トロリ3」をレビューします。壁面収納がそろそろ限界に近づいてきたため、デスクの下に収納スペースが作れないか考えていたところトロリ3を見つけました。この製品はダイニングテーブルでの使用を想定していますが、高さが61cmで電動昇降デスク下の収納にもかなり便利でした。
 たいしょん
たいしょん気持ちいいぐらいシンデレラフィットします。
かごがメッシュでホコリが溜まりにくいのでメンテナンスも楽ですし、キャスターつきで移動させやすいので複数のデスクを使用している方には特に合いますよ。
次章からは、ニトリのスチールワゴン、トロリ3の特徴や組立方法、実際に使ってみて感じたメリットやデメリットを紹介します!
- 電動昇降デスクの下に入れるとぴったりな高さ
- かごはメッシュ構造でホコリが溜まりにくくメンテナンスしやすい
- コンパクトながら十分な収納力
- キャスターで移動しやすい
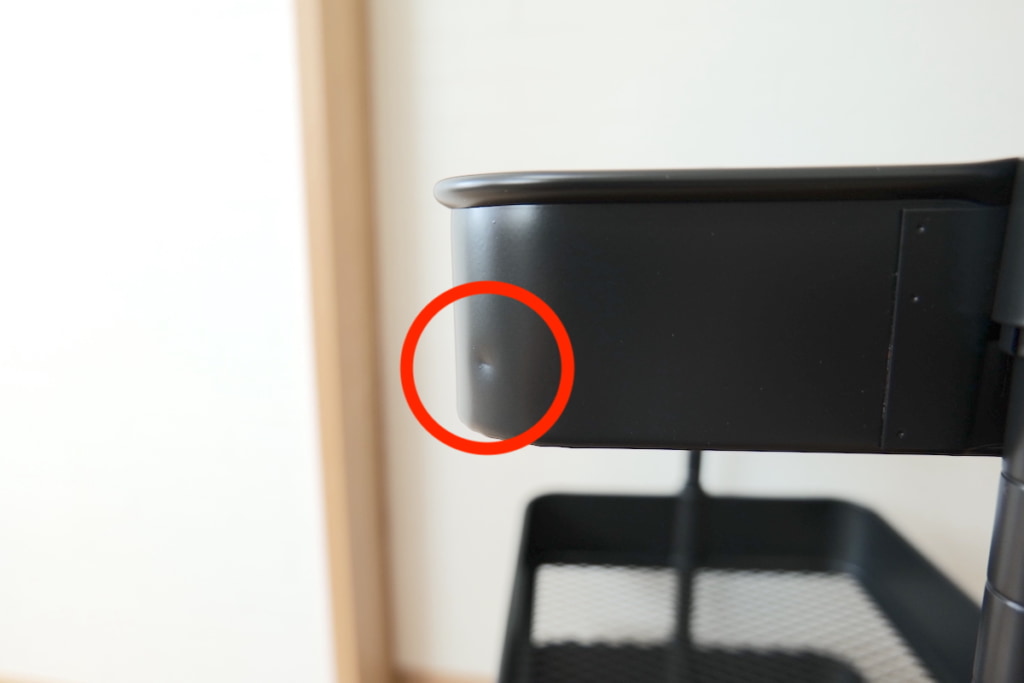
- 角が丸みをおびていてぶつかってもケガしにくい
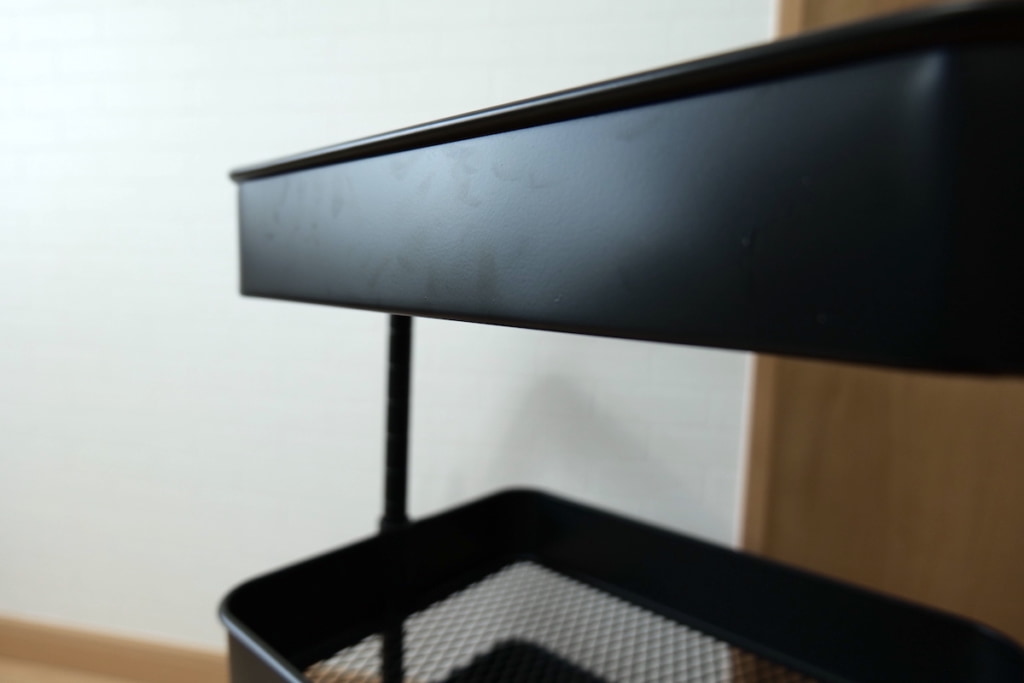
- 黒いので皮脂汚れが目立つ
- かごにへこみがあった
- 仕切りがないのでケーブルなどが収納しづらい
PayPayを使用している方はYahoo!ショッピングでもお得に購入できますよ!

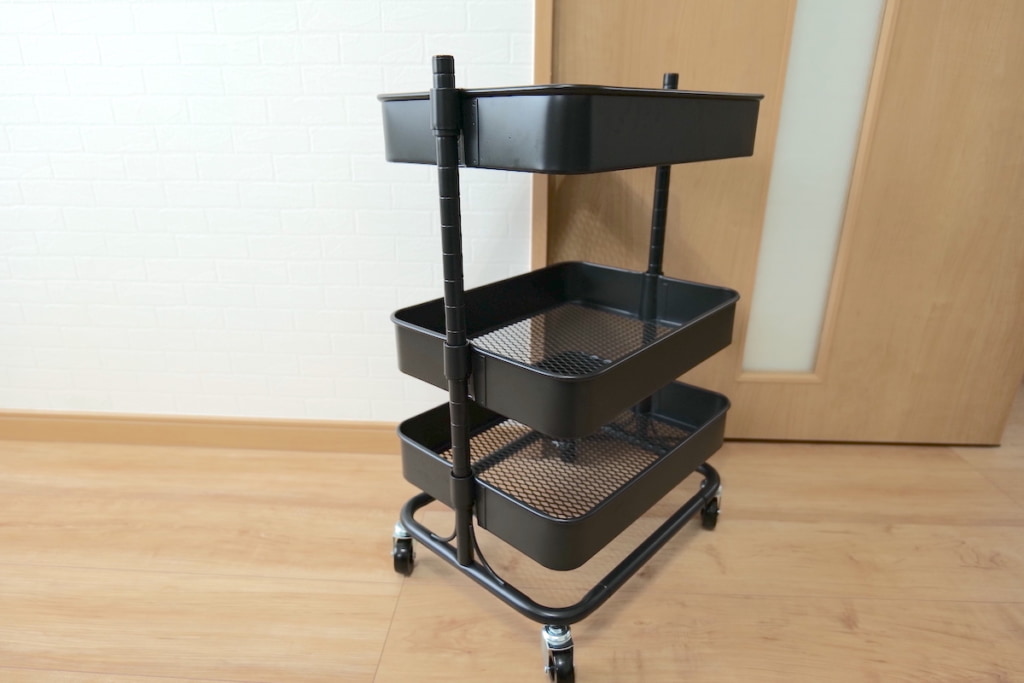
ニトリ スチールワゴン トロリ3の概要
ニトリのスチールワゴン、トロリ3は下記の特徴を持った製品です。
- 高さ61cmでワークデスクと組み合わせてもスッキリ収まる高さ
- キャスター付きで移動が楽
- かごの高さを2.5cmピッチで変えられる
 たいしょん
たいしょんコンパクトでデスク下の収納に最適なアイテムです。
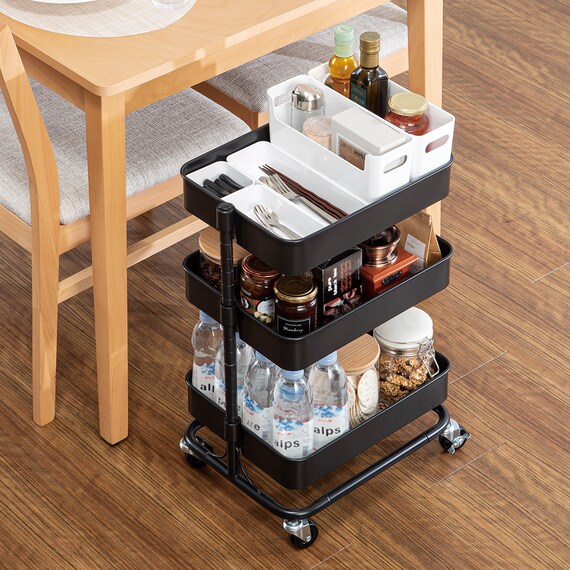
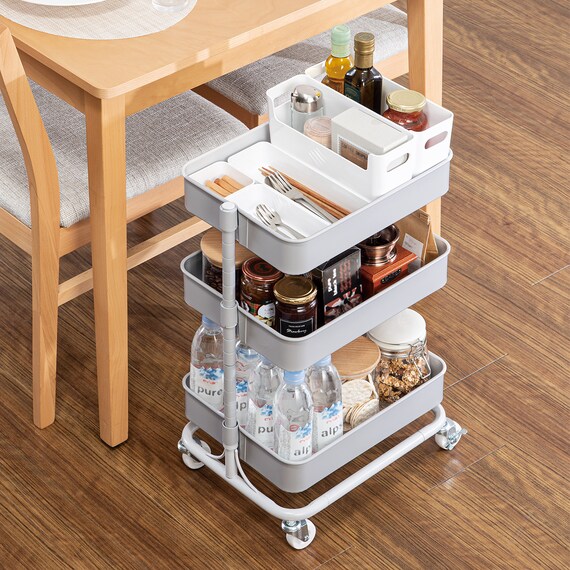
カラーバリエーション
トロリ3のカラーバリエーションは、ブラック、ホワイト、グレー、ベージュの4種類があります。
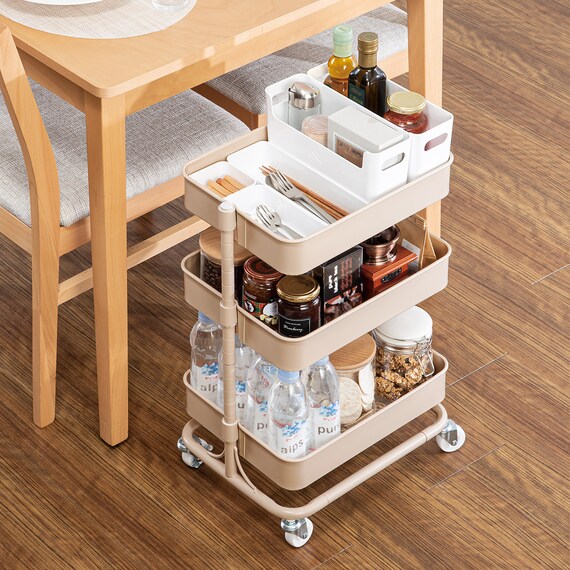
出典:ニトリネット
たいしょん僕はブラックを選びました!
付属品
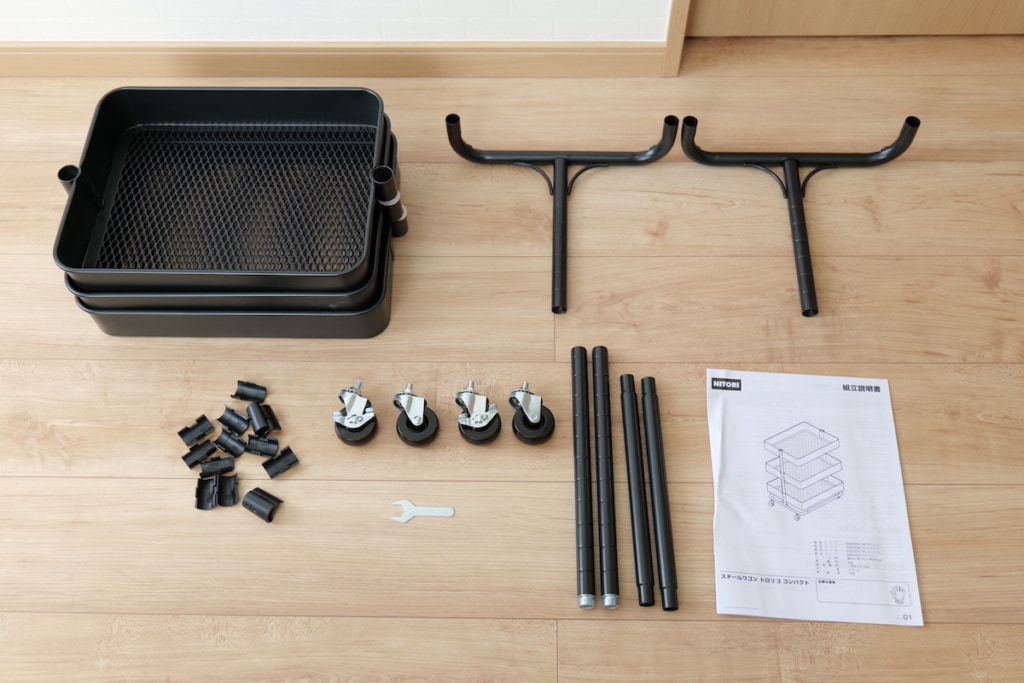
付属品は下記の物が揃っています。もし足りないパーツがあれば、ニトリに問い合わせるのがいいでしょう。
- かご(大・中・小)
- フレーム x 2
- キャスター x 4(うち2つはストッパー付き)
- スパナ
- スリーブ x 14(うち2つは予備)
- 支柱 x 4
- 説明書
 たいしょん
たいしょんスパナ付きなので組立に別途工具は必要ありません。
仕様
| サイズ | 幅39×奥行30×高さ61cm |
| 素材 | スチール |
| 重量 | 約4kg |
| 組立時間 | 20分 |
ニトリ スチールワゴン トロリ3の組立方法
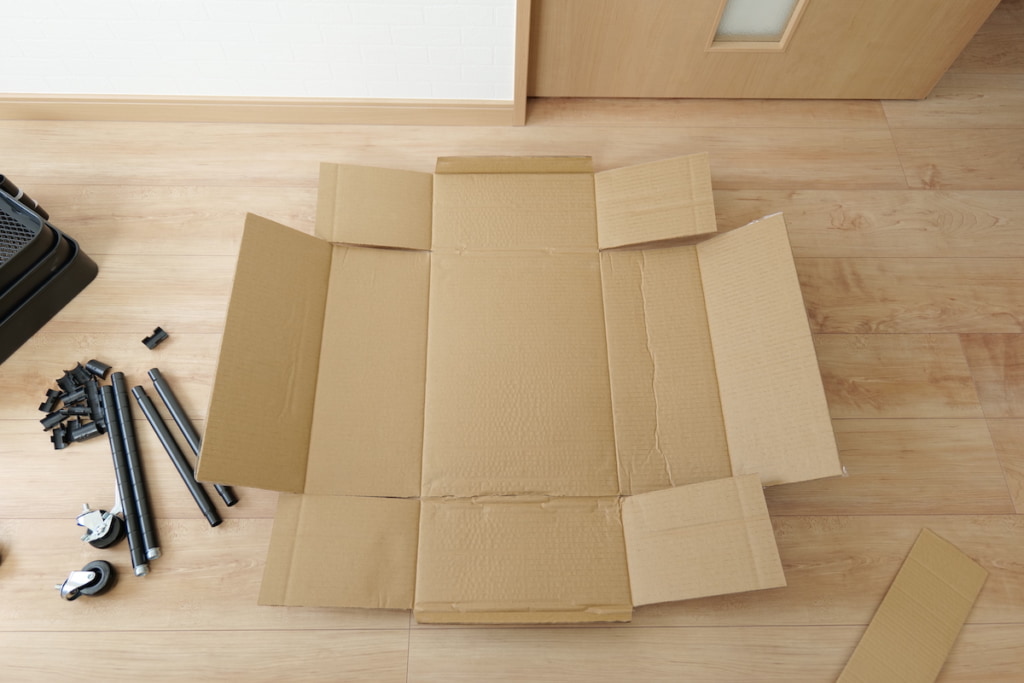
では、トロリ3の組立方法を解説していきます。組立にかかった時間は約20分でした。
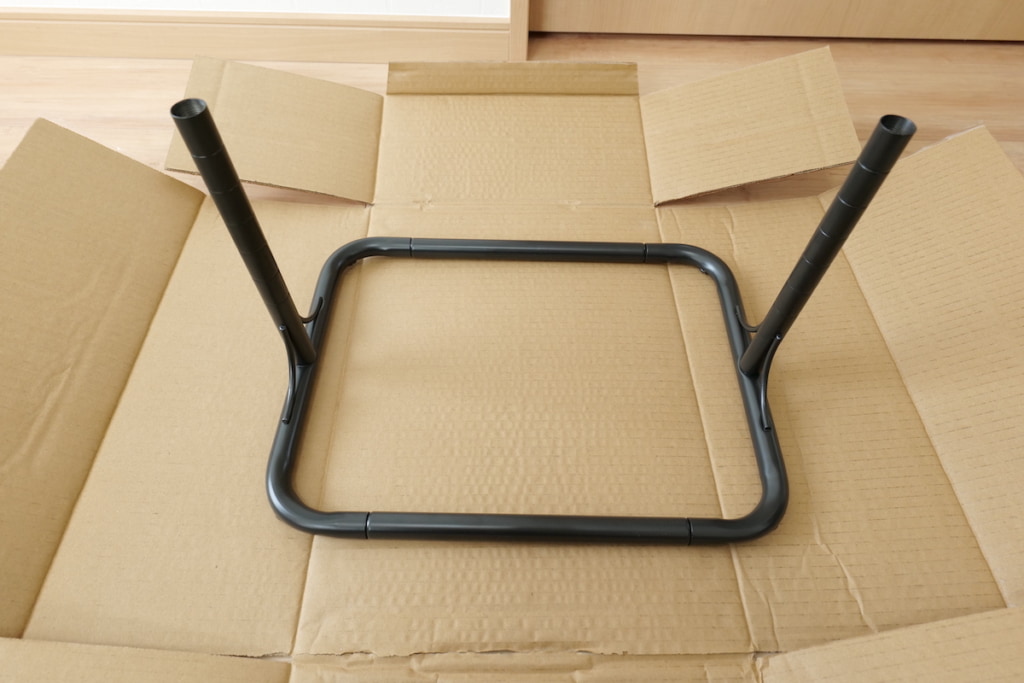
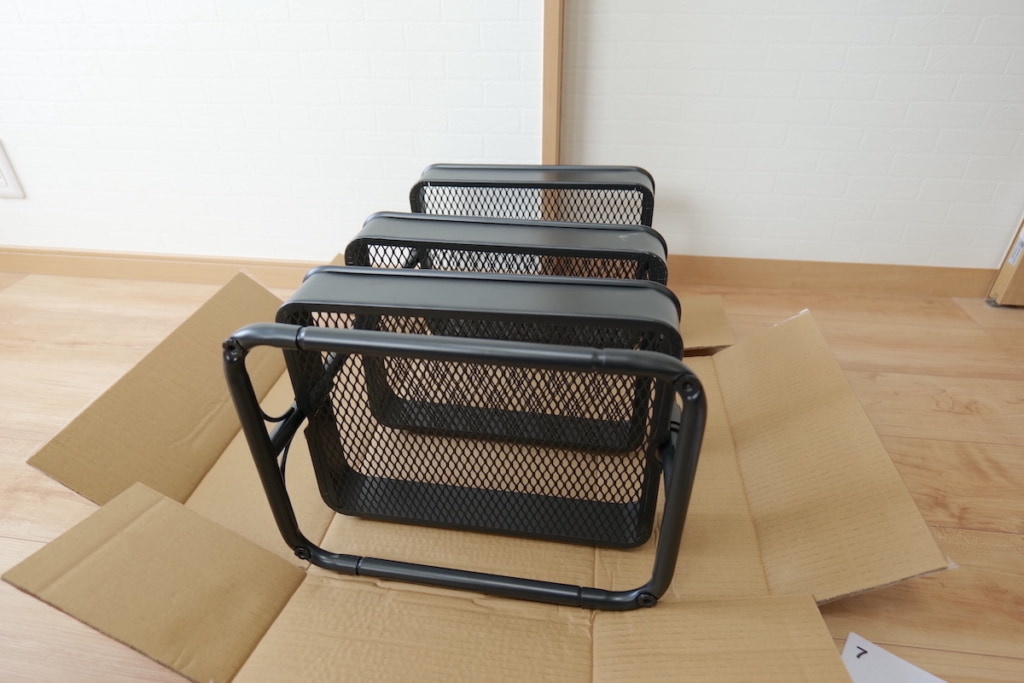
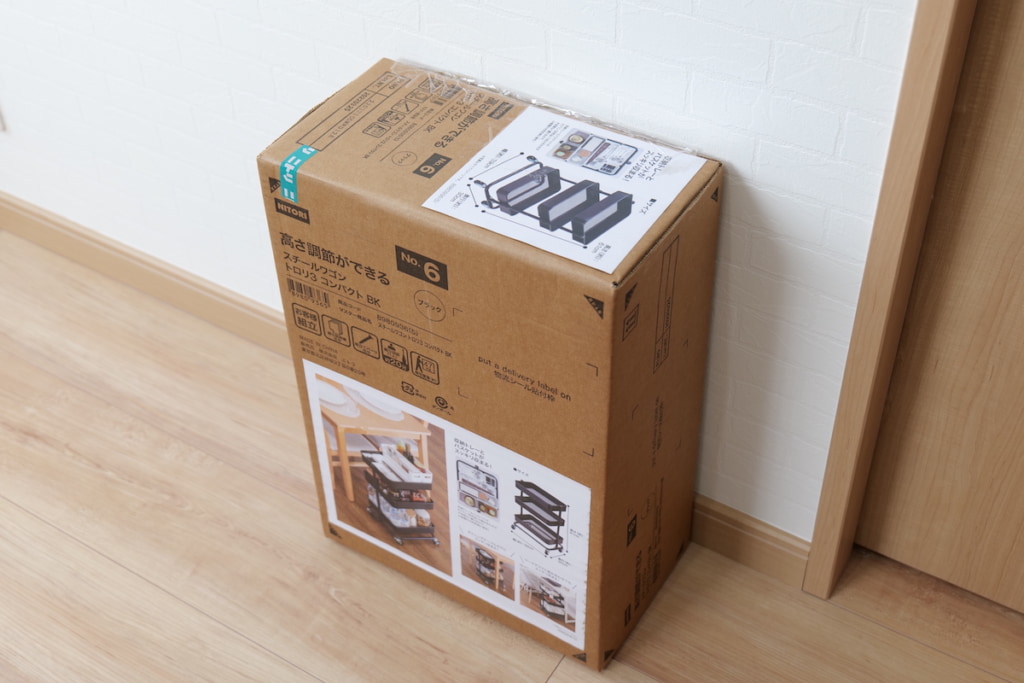
たいしょん床が傷つかないよう、梱包されていたダンボールを敷くといいですよ。
まずは、底のフレームを組立てていきます。Y字型のパーツと両端がオスの棒のパーツをはめ込みます。
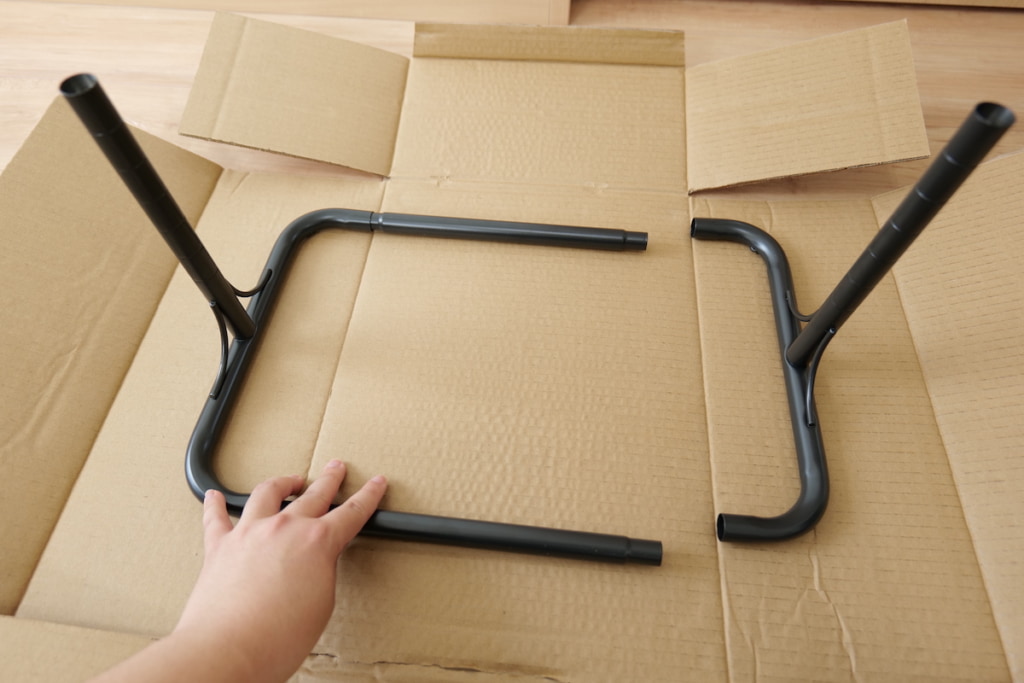
このように、奥まで入ったら次の工程に移ります。
次に、かごを支柱に固定します。かごは3サイズありますが、最も大きいサイズのかごが1番下になるようにします。固定するためにはまず、このスリーブを支柱に取り付けます。
たいしょんあらかじめかごの高さを決めておきましょう!
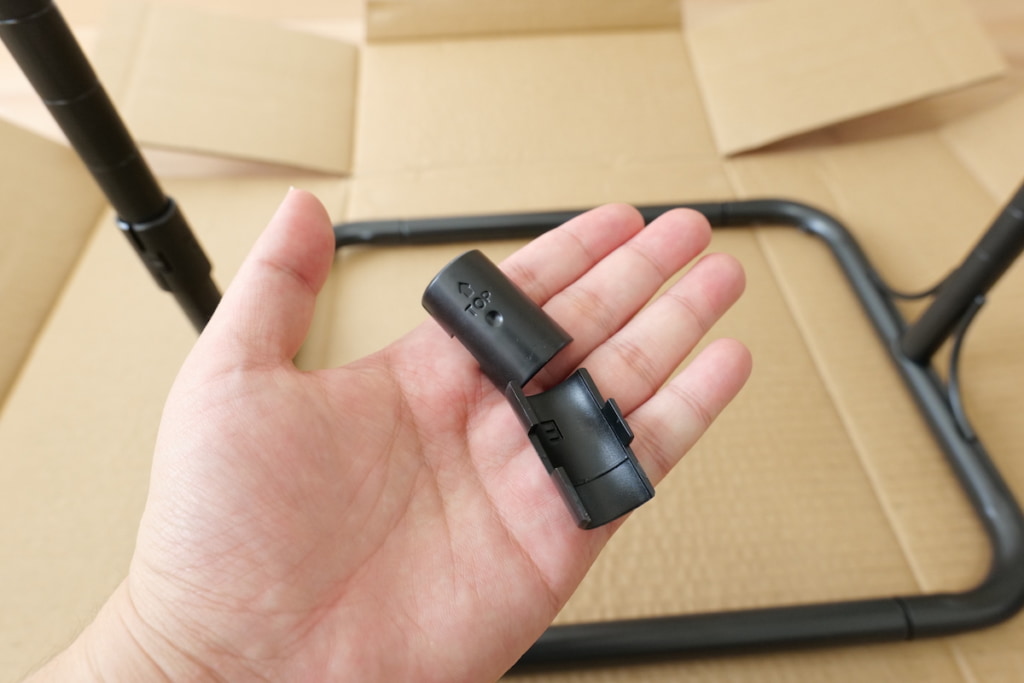
スリーブには「TOP」と刻印がありますので、その矢印の方向が上になるよう両方の支柱に取り付けます。
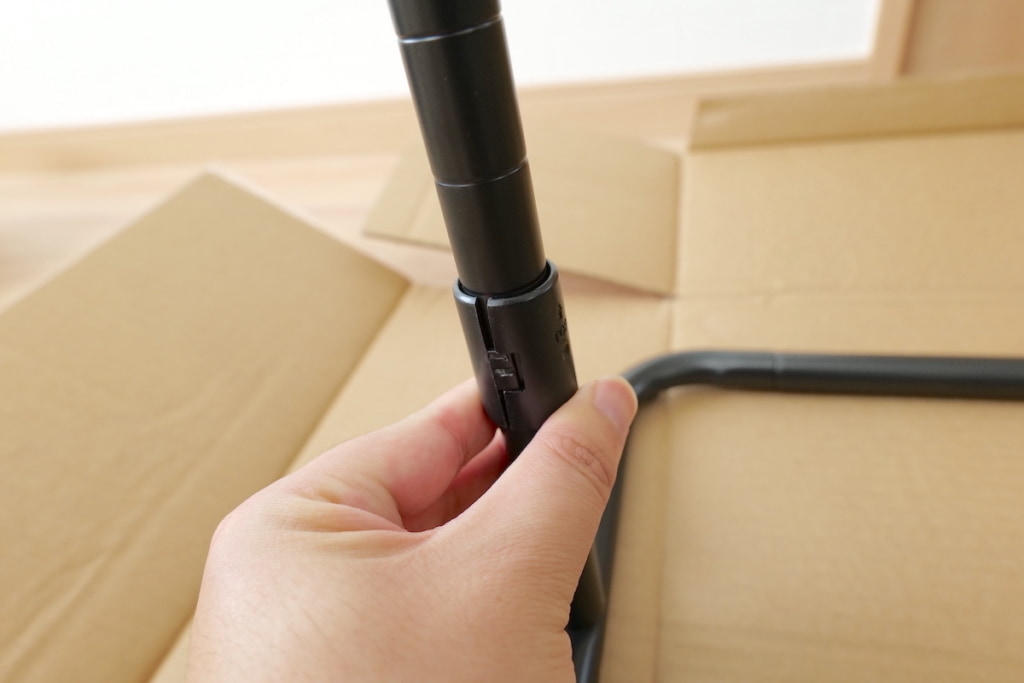
スリーブを取り付けたら、かごを支柱にくぐらせてスリーブがある部分まで押し込みます。
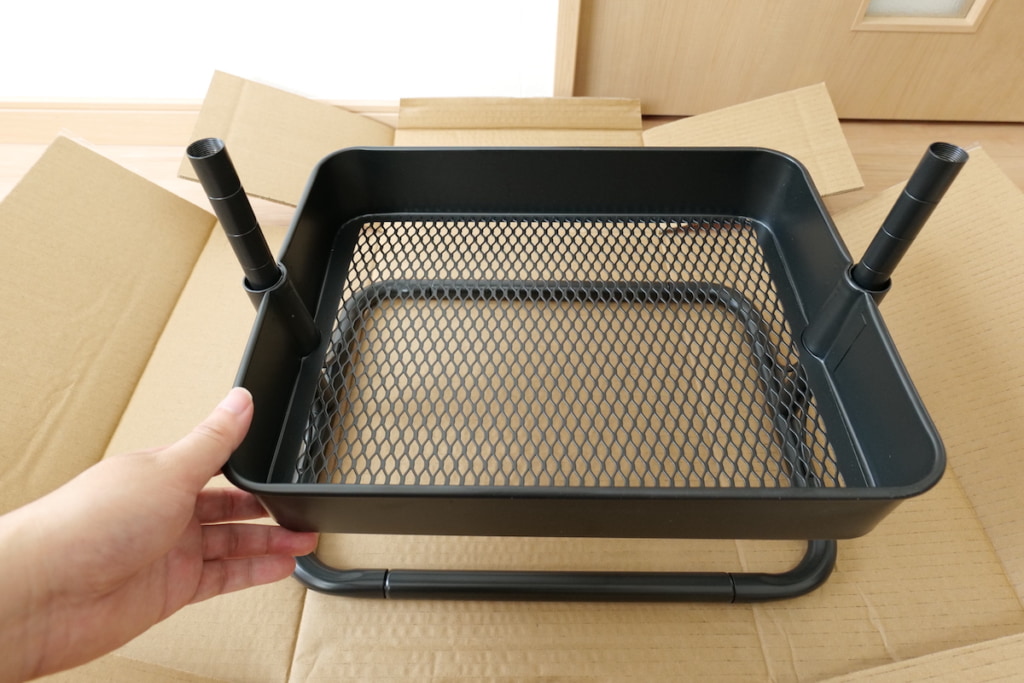
次に、中段のかごを取り付けます。かごを取り付ける前に、新たな支柱を取り付けましょう。
STEP2と同じ要領でスリーブを取り付け、大きさが中くらいのかごを支柱に取り付けていきます。
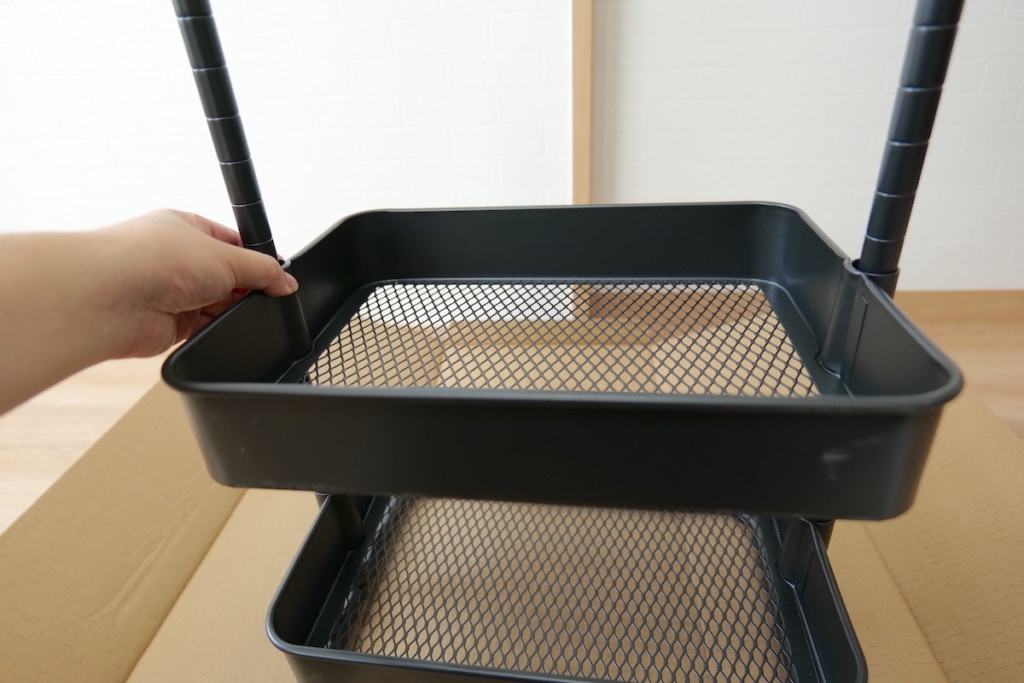
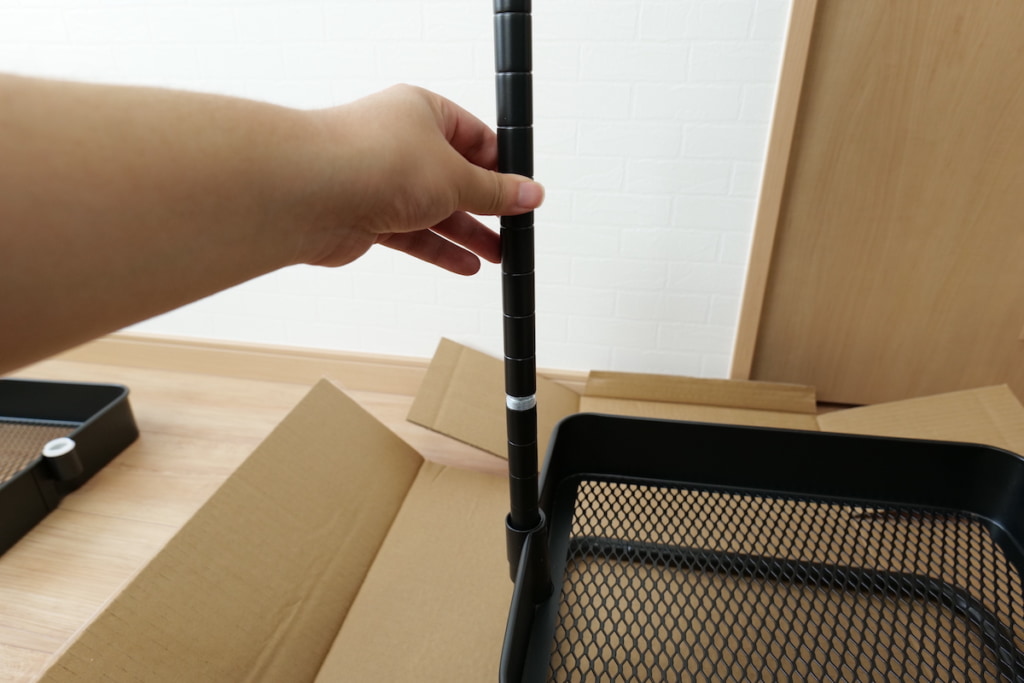
次に、上段のかごを取り付けます。STEP2と同じ要領でスリーブを取り付け、はめ込んでいきます。
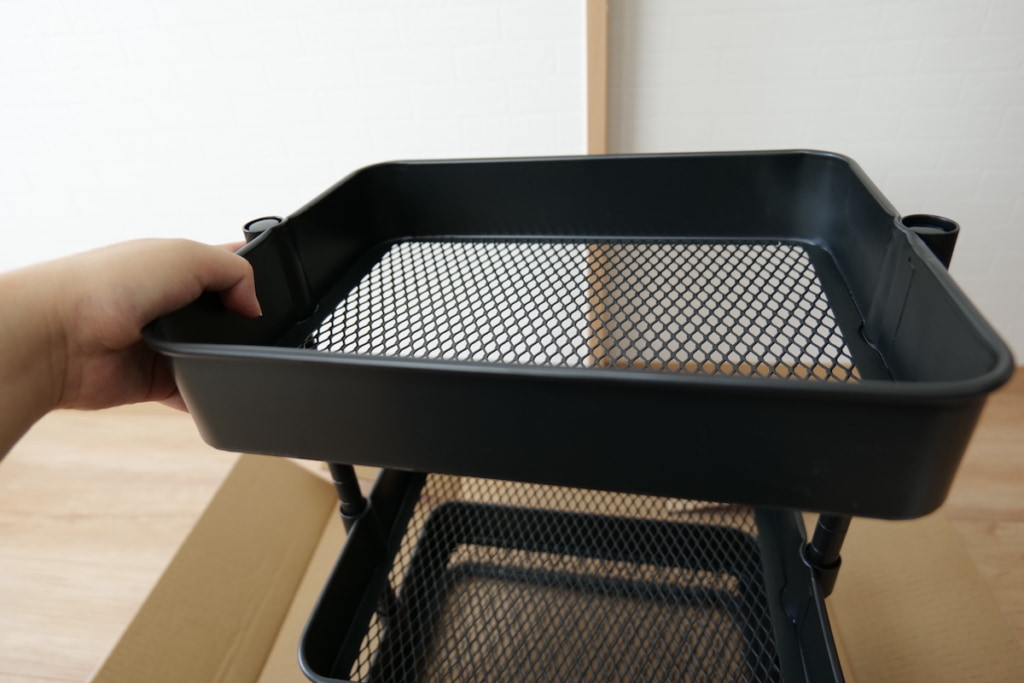
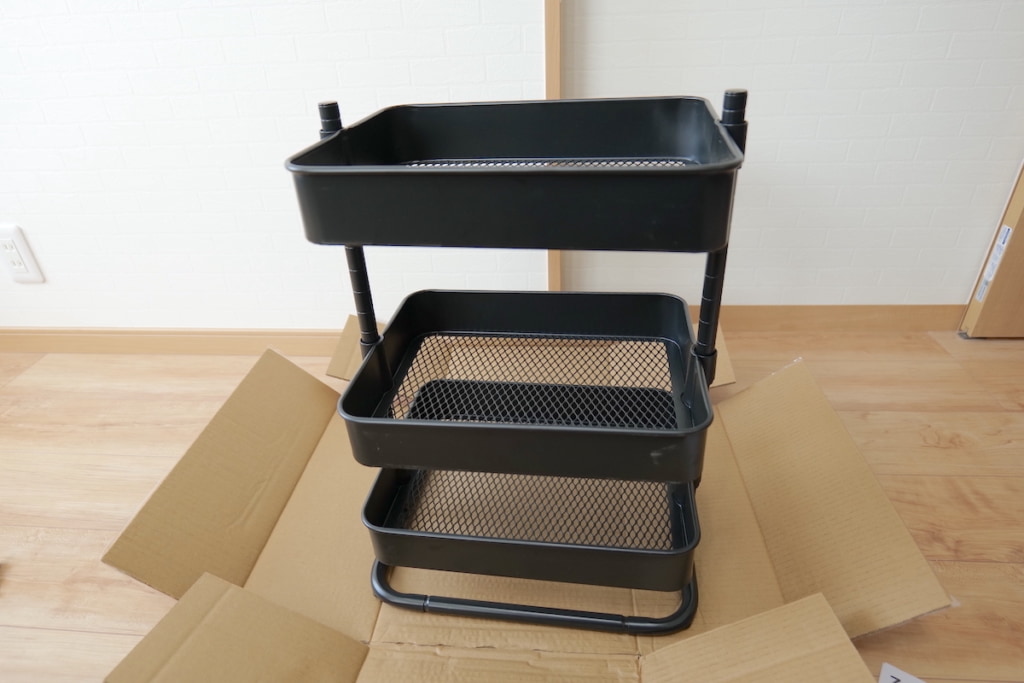
これで物は入れられるようになりましたね。
最後に、キャスターを取り付けていきます。先程組み立てたワゴンを横に倒して、底の部分にキャスターを取り付けていきます。
付属のスパナで回していき、4つ取り付けます。
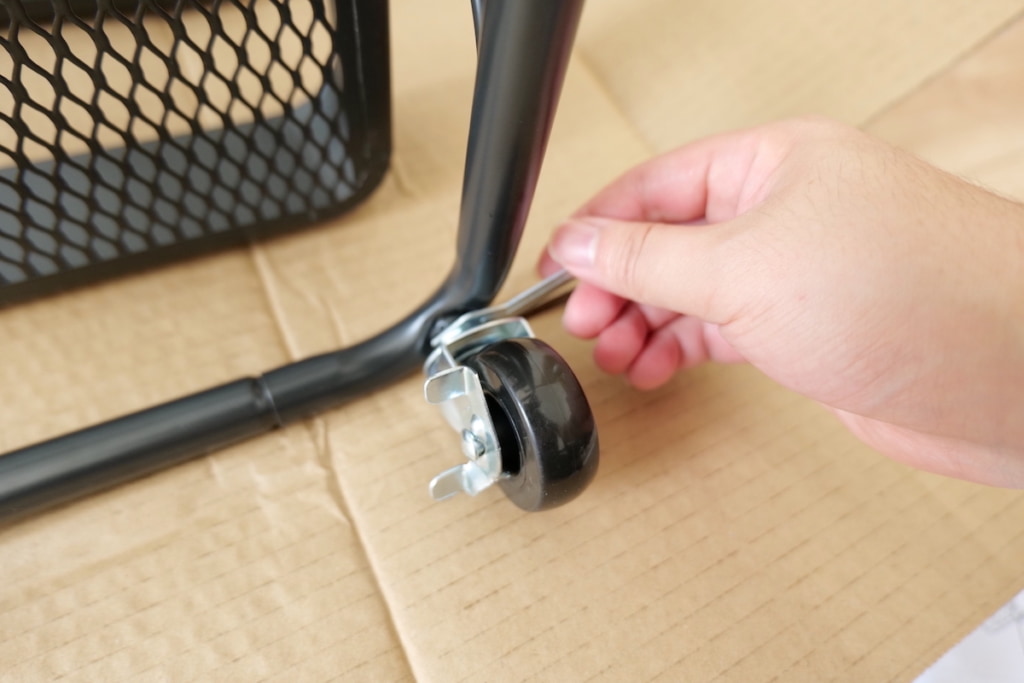
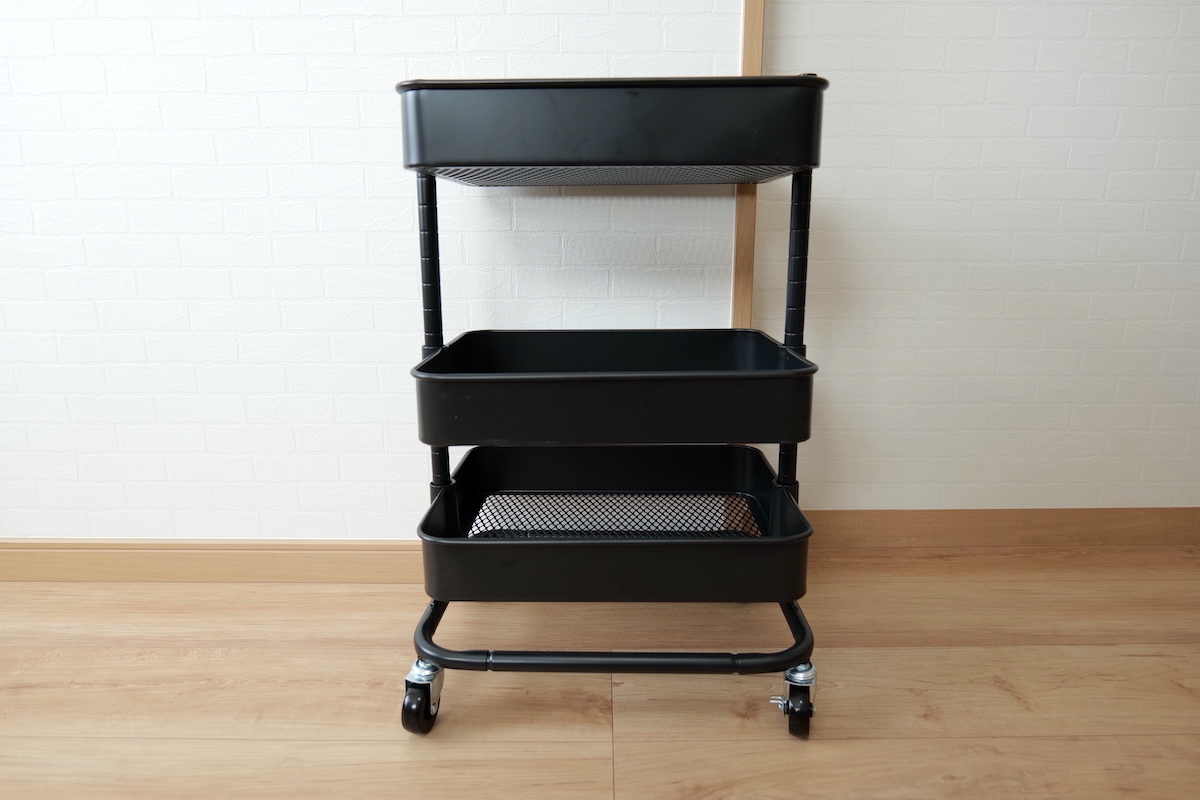
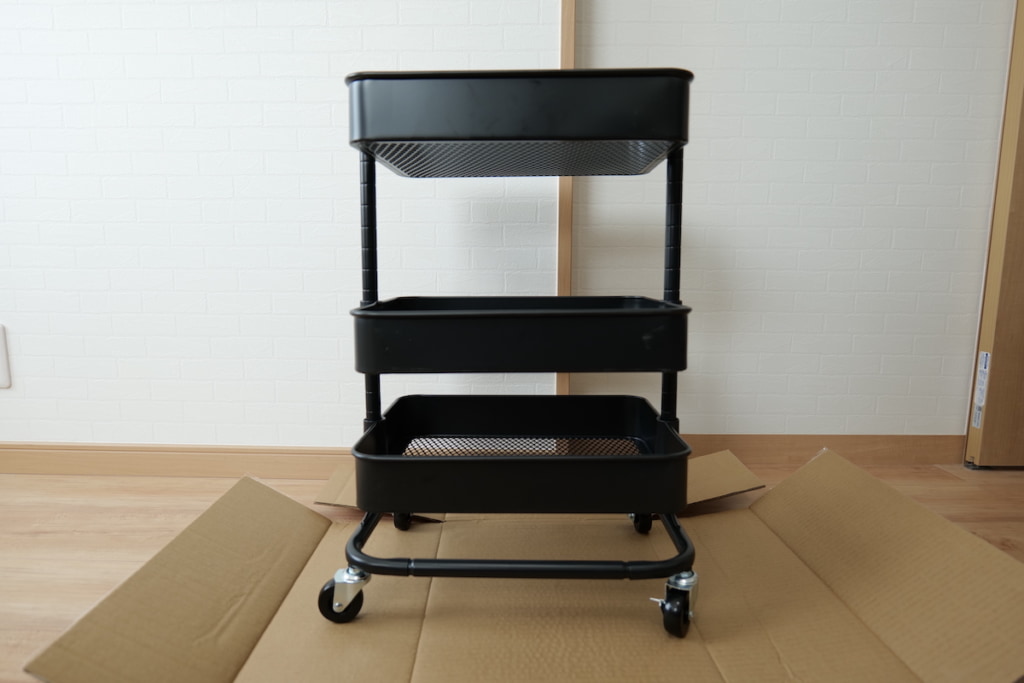
キャスターを取り付けて完成です!
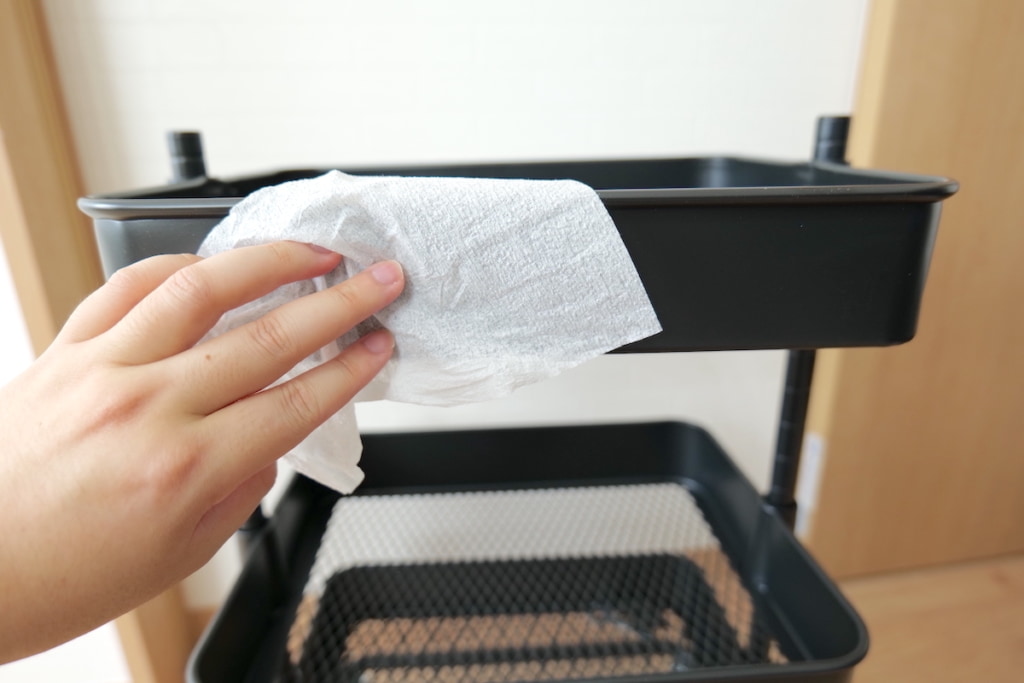
開封したままでは若干汚れているので、仕上げにティッシュやタオルで拭くことをおすすめします。僕はキムワイプを使っていますが、拭き取りしやすくパルプ粉もでないので気に入っています。
 たいしょん
たいしょんキムワイプはプロも使っているお掃除定番グッズです。

ニトリ スチールワゴン トロリ3を実際に使って感じた魅力・メリット
では、実際にトロリ3を使ってみて感じた魅力・メリットを解説していきます。
- 電動昇降デスクの下に入れるとぴったりな高さ
- かごはメッシュ構造でホコリが溜まりにくくメンテナンスしやすい
- コンパクトながら十分な収納力
- キャスターで移動しやすい
- 角が丸みをおびていてぶつかってもケガしにくい
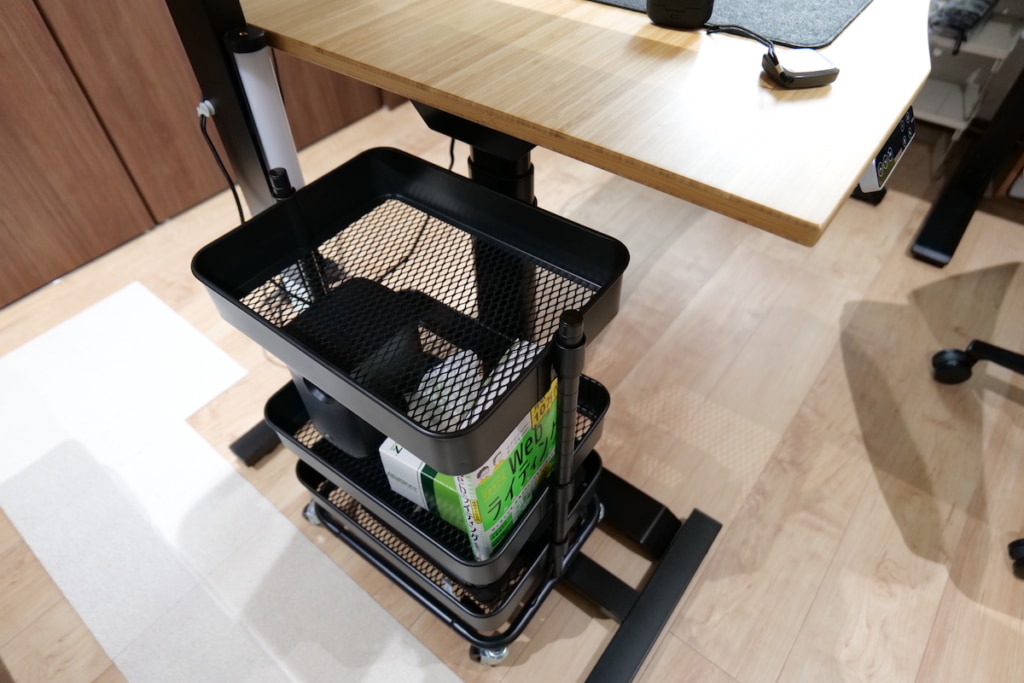
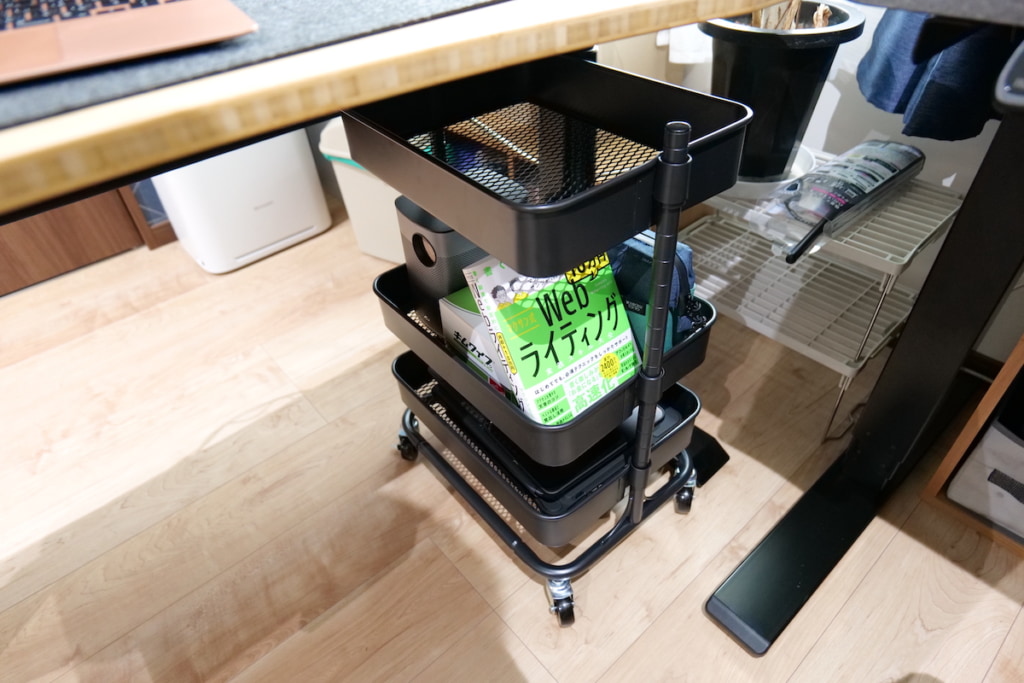
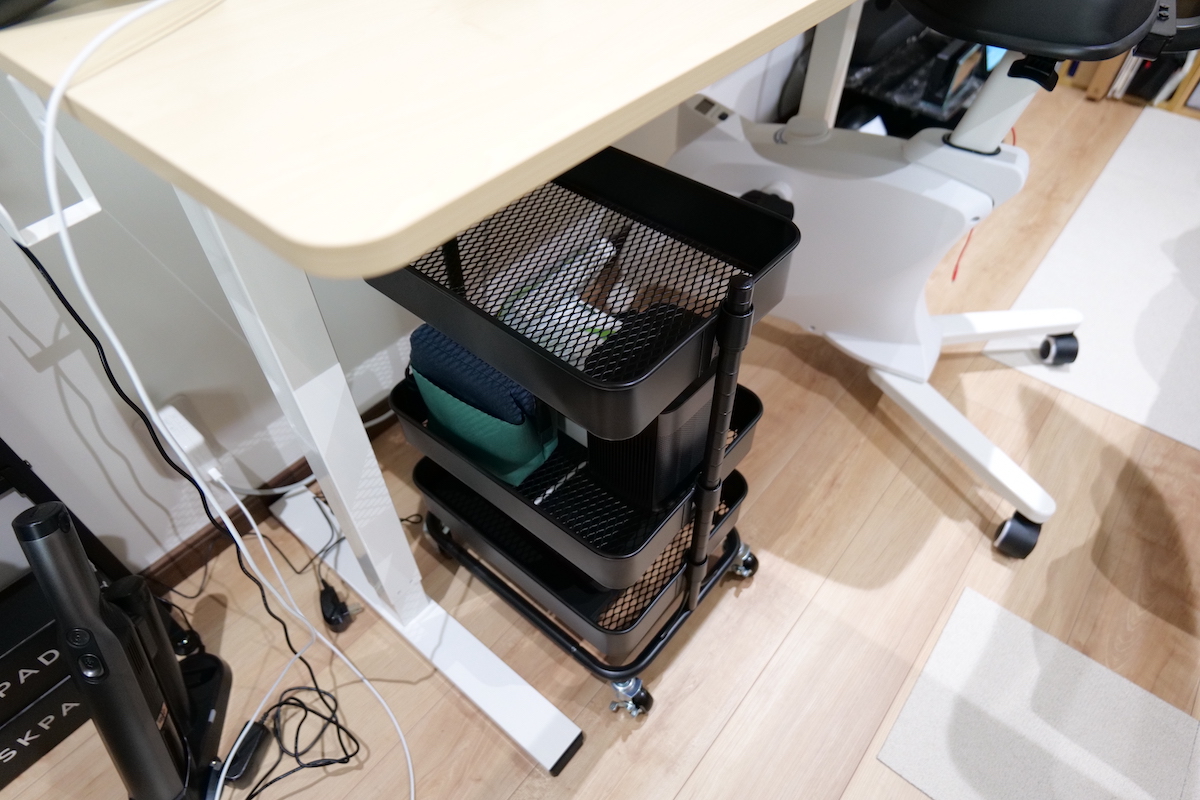
電動昇降デスクの下に入れるとぴったりな高さ
まず、トロリ3は電動昇降デスクの下に収納するのにぴったりな61cmの高さでデスク下の収納に便利です。僕はFlexiSpotのE8というデスクを使用していますが、62cmの高さまで下げても問題ありませんでした。
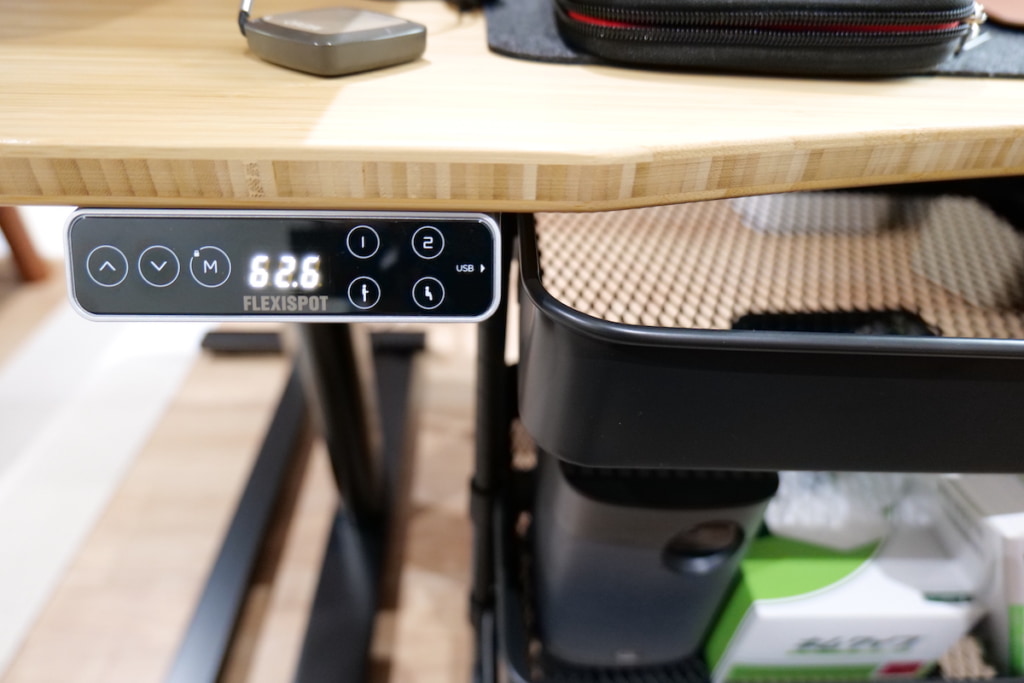 たいしょん
たいしょんここまで下げて使うことはほとんどないので、十分すぎです。
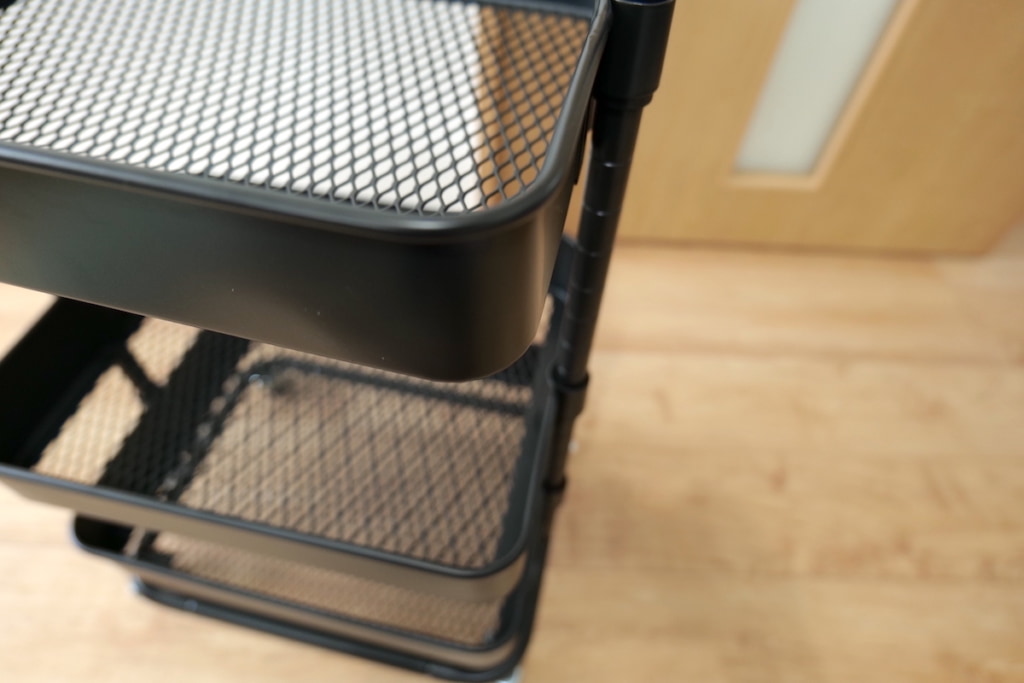
かごはメッシュ構造でホコリが溜まりにくくメンテナンスしやすい
かごはメッシュ構造になっており、ホコリが溜まりにくくなっているのでメンテナンスが楽です。かごの素材がスチール素材なので、メッシュ構造と合わせて放熱効果も期待できますね。
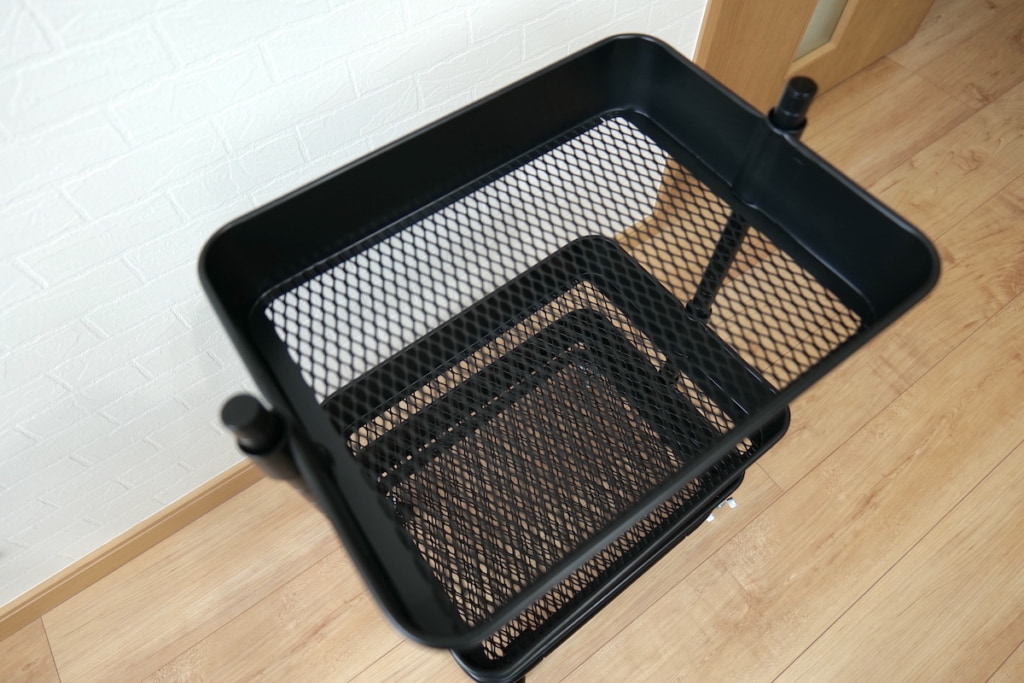 たいしょん
たいしょんミニPCとかを置くのもいいかもしれません。
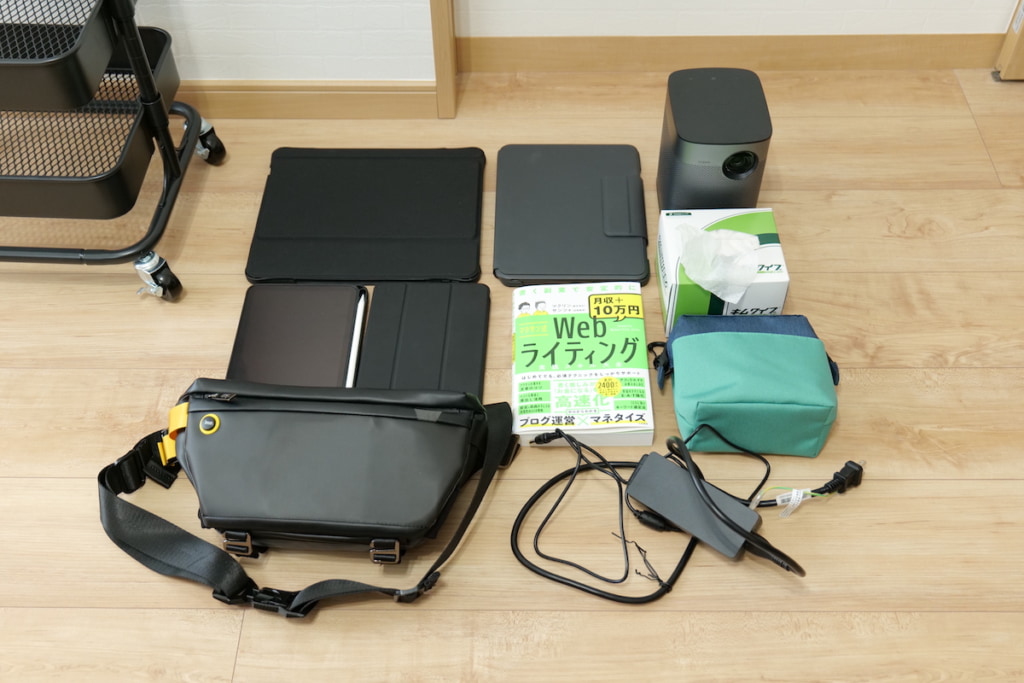
コンパクトながら十分な収納力
トロリ3はトロリ2よりもコンパクトですが、収納力も十分です。試しに下記のガジェット、バッグなどを入れてみました。
- タブレットPC x 4枚
- プロジェクター x 1台
- プロジェクター用ACアダプター x 1本
- キムワイプ x 1箱
- デイズポーチ x 1つ
- ボディバッグ x 1つ
- 本 x 1冊
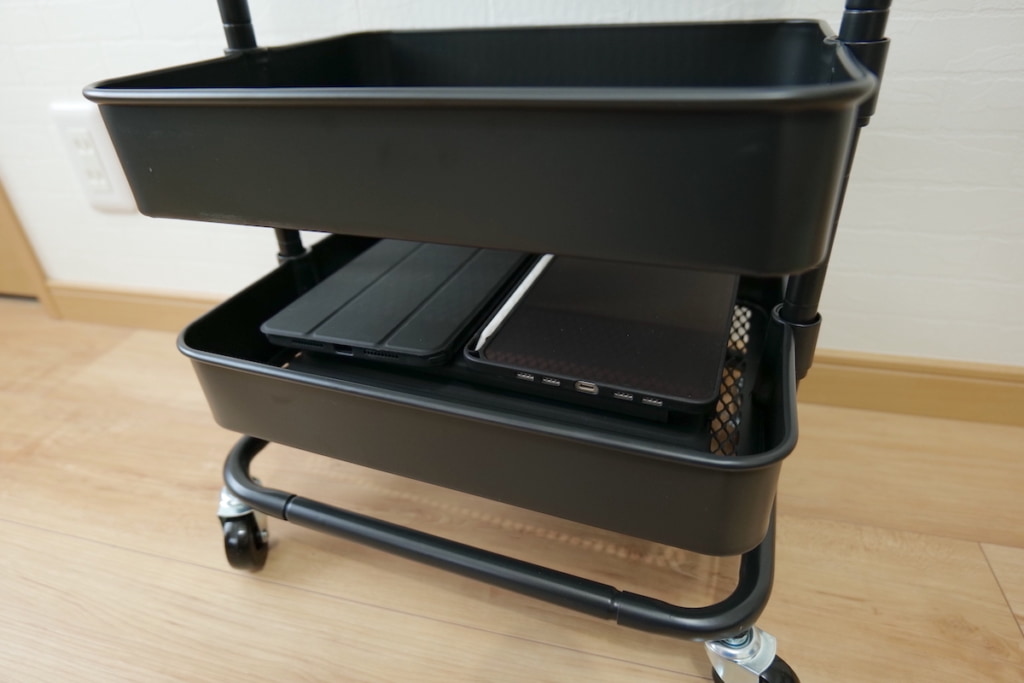
底の部分に、タブレットPCを重ねて入れました。ケースを付けた状態のiPad Pro 12.9インチモデルがすっぽり収まるサイズなので、大体のタブレットPCは入りますね。
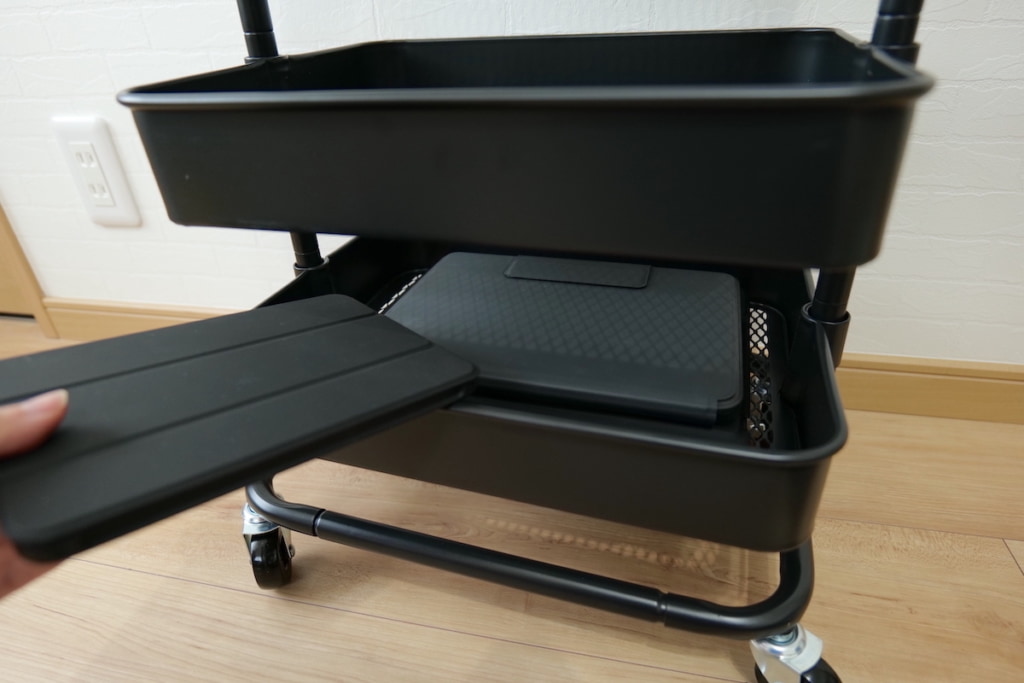
3段のタブレットPCを積み上げましたが、まだ乗りそうです。
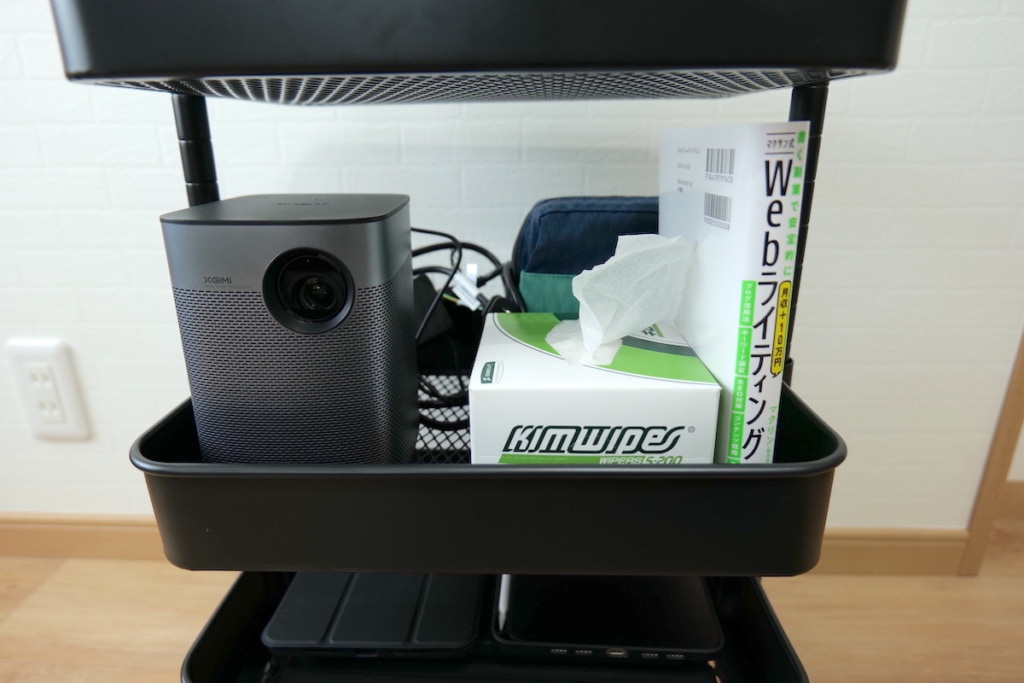
2段目は、普段良く使いそうなものを収納してみました。
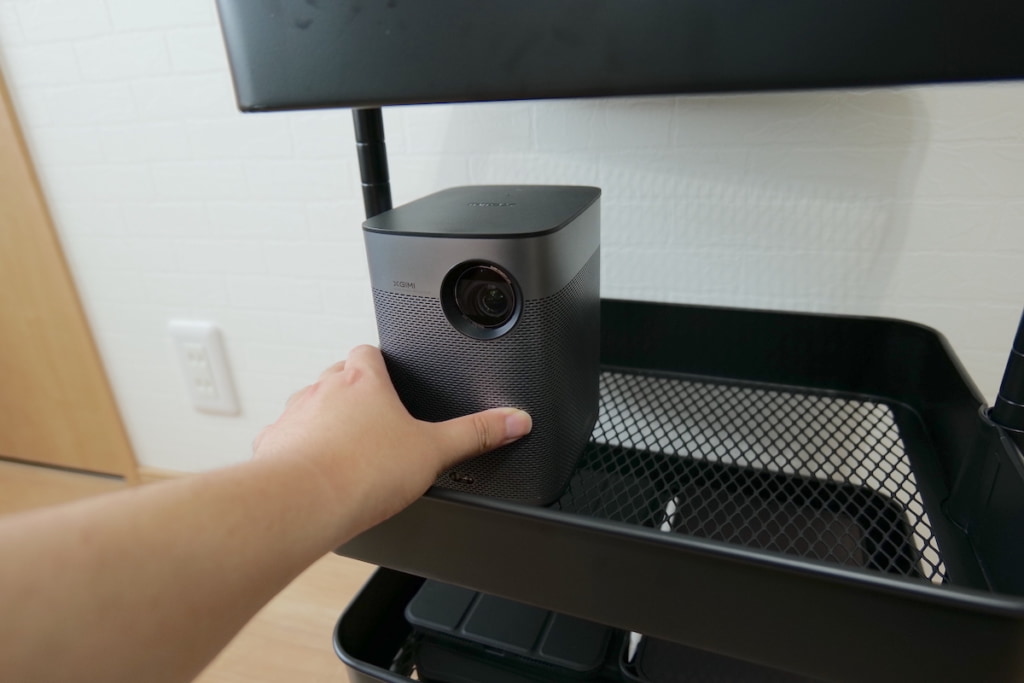
プロジェクターや本、デイズポーチやキムワイプを入れて、ちょうどいい感じに収まりました。
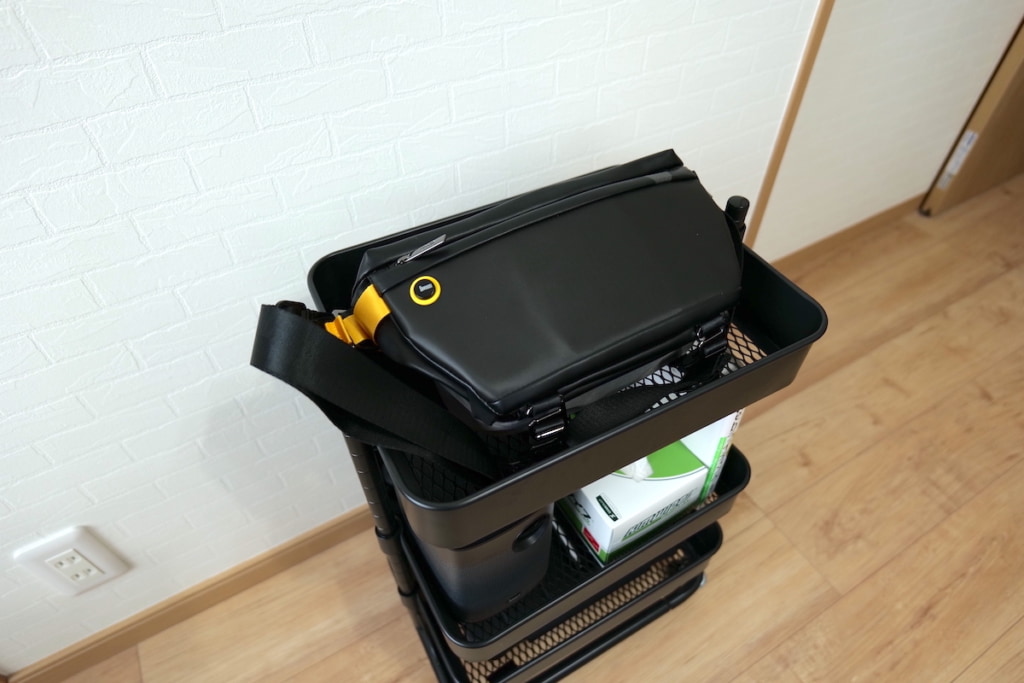
上段は、ほぼ毎日使っているボディバッグを乗せました。店頭で確認しましたが、サイズもピッタリ収まります。
なお、各かごは2.5cmピッチで高さを調整できますので、下段の高さを高めにしたり中段をもう少し高めにするなど微調整も可能です。僕は中段に本を置きたかったので、高めにしました。
たいしょんこれだけ入れば個人的に十分です!
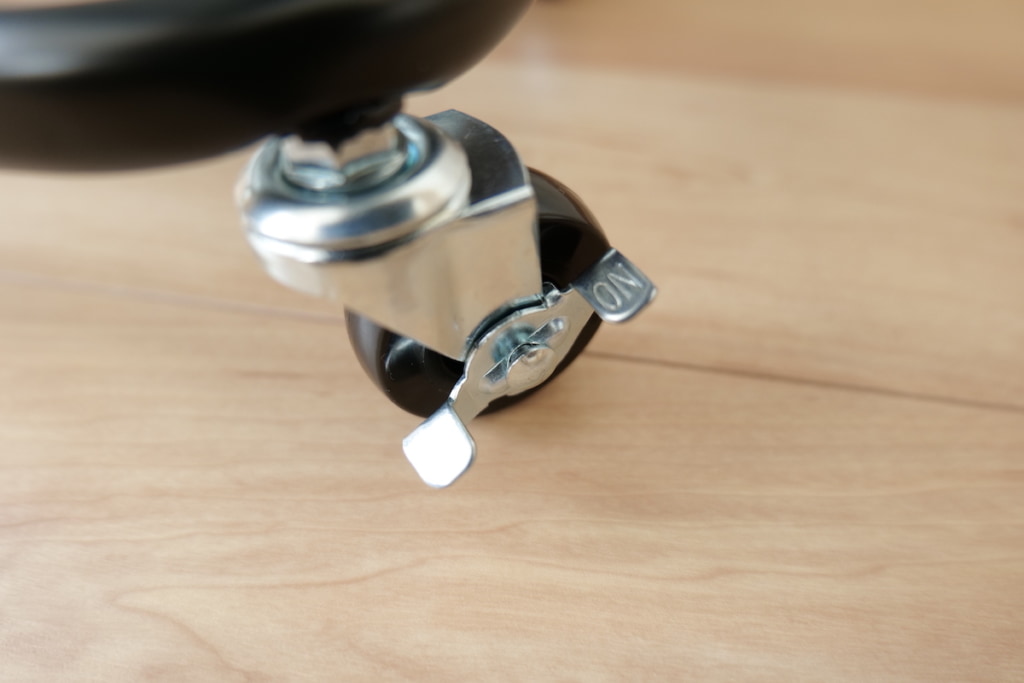
キャスターで移動しやすい
トロリ3は、キャスターが付いており移動もしやすいです。ストッパーがついており、固定させることもできます。
仕事用と撮影用、ゲーム用で3つのデスクがあるのですが、キャスターがあるおかげで別のデスクに移動させるのも快適でした。
それ以外でもキャスターがあると引き出しやすくなるので、デスク下の収納グッズとして最適です。
たいしょん持ち上げなくてもいいので便利ですよ!
角が丸みをおびていてぶつかってもケガしにくい
トロリ3の角は丸みをおびていますので、もしぶつかってもケガをしにくいです。僕は昔カドの角張ったラックを使用していましたが、ラックの存在に気づかず足を擦ってケガをしたことがあります。
たいしょん擦り傷って地味に治りにくくて跡がつきやすいですよね(泣)
トロリ3を見た時、角が丸みを帯びていて「これだっ!!」って思いました。
例えば遊び盛りなお子さんが走ってぶつかったとしても、角が丸い、そしてキャスターつきなのでケガしにくいですし、ニトリさんも家族での使用を考えてこの仕様にしていることでしょう。スペックや製品紹介ページに現れないところにも、こだわりが見えました。
たいしょん目の付け所がシャープですね!
ニトリ スチールワゴン トロリ3を実際に使って感じたデメリット・残念だった点
トロリ3を使ってかなり満足していますが、デメリット・残念に感じた部分もありましたので紹介します。
- 黒いので皮脂汚れが目立つ
- かごにへこみがあった
- 仕切りがないのでケーブルなどが収納しづらい
黒いので皮脂汚れが目立つ
トロリ3のブラックを購入しましたが、黒なので皮脂汚れが目立ちやすいです。こればかりは黒いガジェットの宿命ですね。
トロリ3はブラック以外にもホワイトやグレー、ベージュもありますので、もしブラックにこだわりがなくて皮脂汚れが目立ちにくい色がいいのであればそちらを選んだほうが良いでしょう。
たいしょんデスク下にいれるならそんなに見ないので気にならないですけどね。
かごにへこみがあった
僕の個体に限ったことかもしれませんが、かごにへこみが見られました。かごは傷がつかないよう緩衝材で守られていたのでどの工程でついたのかわかりませんが、できればきれいな状態のまま使いたかったので少し残念でした。
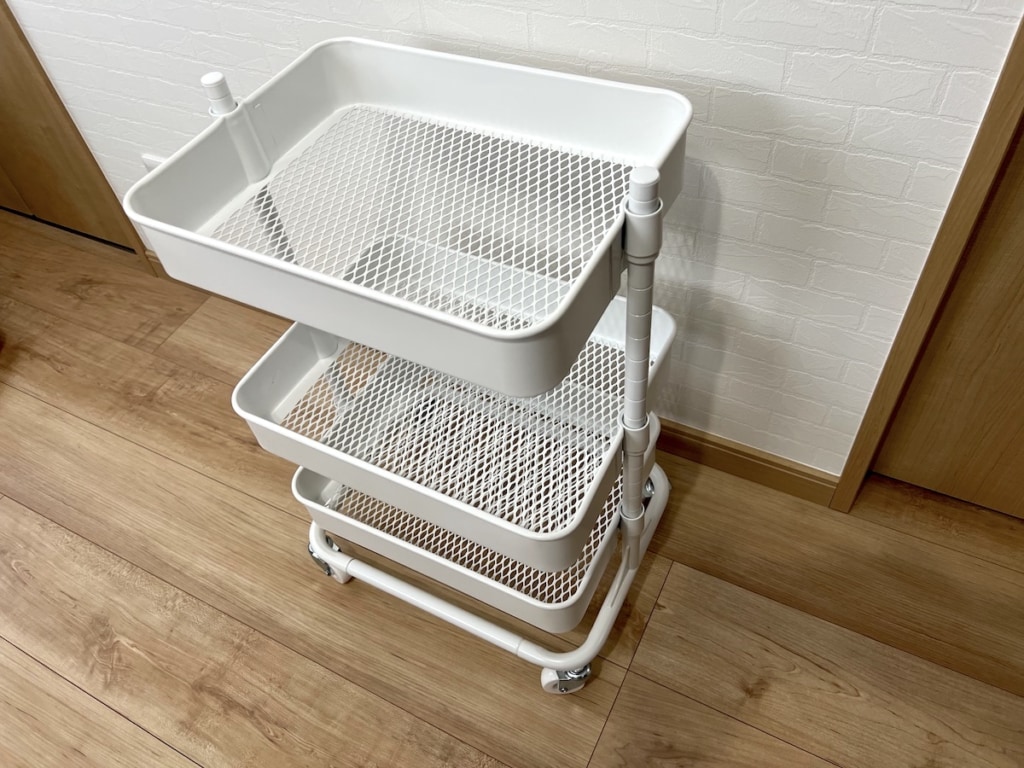
ただし、その後トロリ3のホワイトを購入したところ、傷一つありませんでした。やはり個体差ですね。
 たいしょん
たいしょんデスク下に入れますし、そんなにまじまじ見ないのでよし!
仕切りがないのでケーブルなどが収納しづらい
トロリ3はかごのみのため仕切りがなく、そのままではケーブルや充電器など小さなものが収納しづらいです。
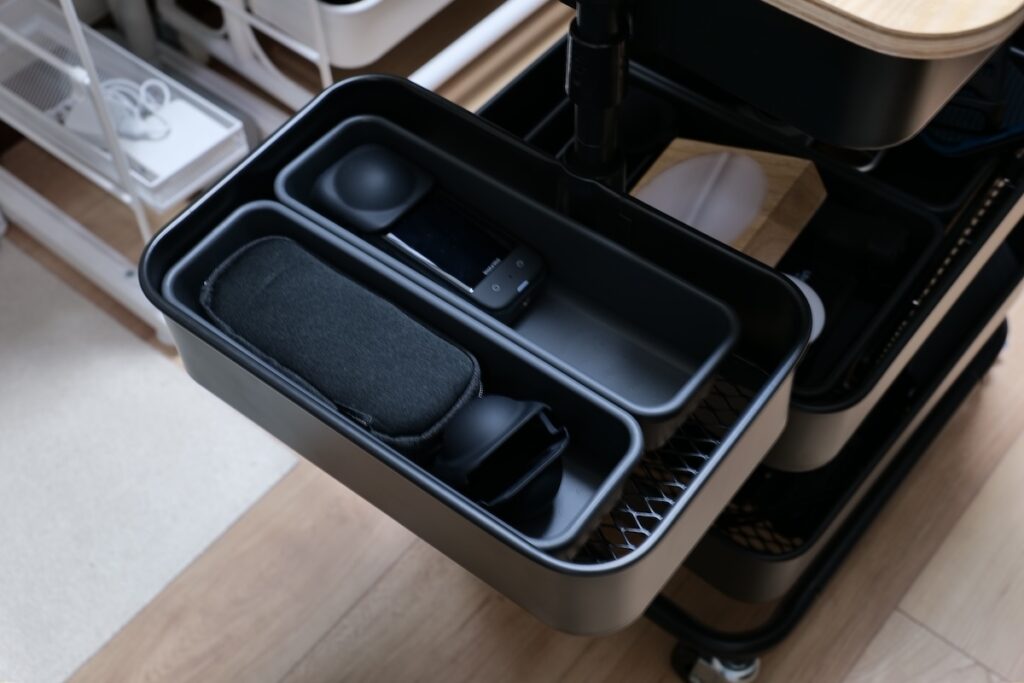
そのため、ニトリで購入できる「伸縮整理トレー WH Nブラン」を追加購入しました。
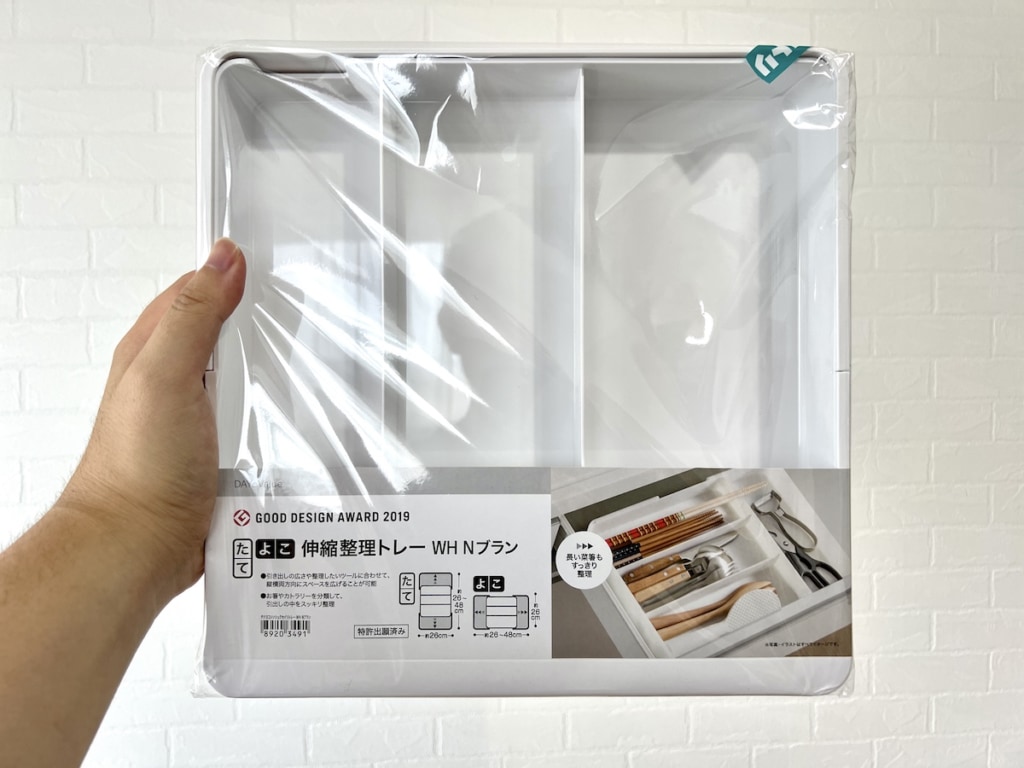
「伸縮整理トレー WH Nブラン」をトロリ3と組み合わせるとシンデレラフィットで、ケーブルやリモコンなども仕切りで整理しやすいのでおすすめです。
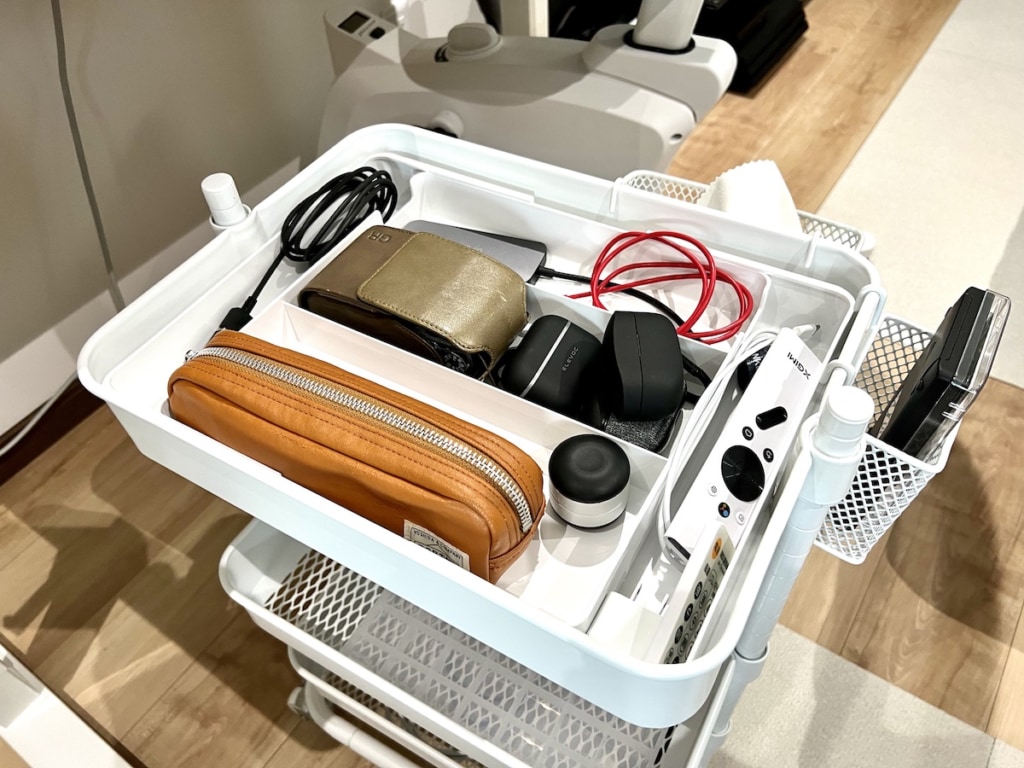 たいしょん
たいしょんぜひ伸縮整理トレー WH Nブランもセットで使ってみてくださいね!

また、トロリ3用の回転バスケットを使うことで使うときだけものを取り出しやすくできますよ。

ニトリ スチールワゴン トロリ3のよくある質問
- なぜ3つのかごはサイズが違うんですか?
-
梱包時にコンパクトに収めるため、重ねやすくする意図があると考えています。下記のように3つともかごのサイズが違いますが、数mm単位で違うだけなので役割を分ける意図でサイズを変えているわけではなさそうです。
上段・・・幅342mm×奥行263mm×高さ64mm
中段・・・幅347mm×奥行271mm×高さ64mm
下段・・・幅355mm×奥行275mm×高さ64mm
- 購入できるのはニトリの店頭とオンラインショップだけですか?
-
Yahoo!ショッピングでも購入可能です。ポイントがあるのであれば、ニトリの店頭やオンラインショップよりもおすすめです。
- トロリ3はランドセルも乗せられますか?
-
上段のかごが小さめなので、難しいかもしれません。トロリ3より一回り大きなサイズのトロリ2ならランドセルも乗せられます。
ポチップ
- キャスターは取り外せますか?
-
キャスターは取り外せますが、取り外した状態での使用は想定されていないのでおすすめできません。
- 高さ調節のやり方を教えて下さい。
-
組立時のスリーブの位置を変更することで、スチールワゴンの高さ調節が可能です。
ニトリ スチールワゴン トロリ3のレビューまとめ
ニトリのスチールワゴン、トロリ3はデスク下の収納にぴったりな製品でした。高さ61cmで、電動昇降デスクの下に入れても使いやすいです。かごはメッシュ構造でホコリが溜まりにくく、メンテナンス性も抜群。キャスター付きで移動もしやすく、複数台のデスクを使っている方にもおすすめできます。
たいしょんメリットやデメリットは下記のようにまとめました。
2,990円でこの性能、クオリティなら間違いなくおすすめできる製品ですので、ぜひお試しください!
