 たいしょん
たいしょんこんにちは!ガジェット大好きなたいしょん(@taishonpresso)です!
毎日の生活で、机は必需品です。毎日使うものだから、できればデザイン性や機能にこだわりたいですよね。
大人っぽくてカッコいいデスクが欲しい、かつ後から色々買い足さなくてもいい全部入りオールインワンなデスクがあったら嬉しい。
今回ご紹介するFlexiSpot EQ5は、
- 電源タップを収納できるトレー付き
- 最大4.5kgの耐荷重をもつホックが2つついている
- USB充電可能
- アラート機能付き
- 障害物検知機能付き
のまさに全部入りなデスクです。
たいしょんこの記事では使用感レビューはもちろんのこと、組立方法も紹介しますので購入後も活用できる内容になっていますよ。
では行ってみよー!
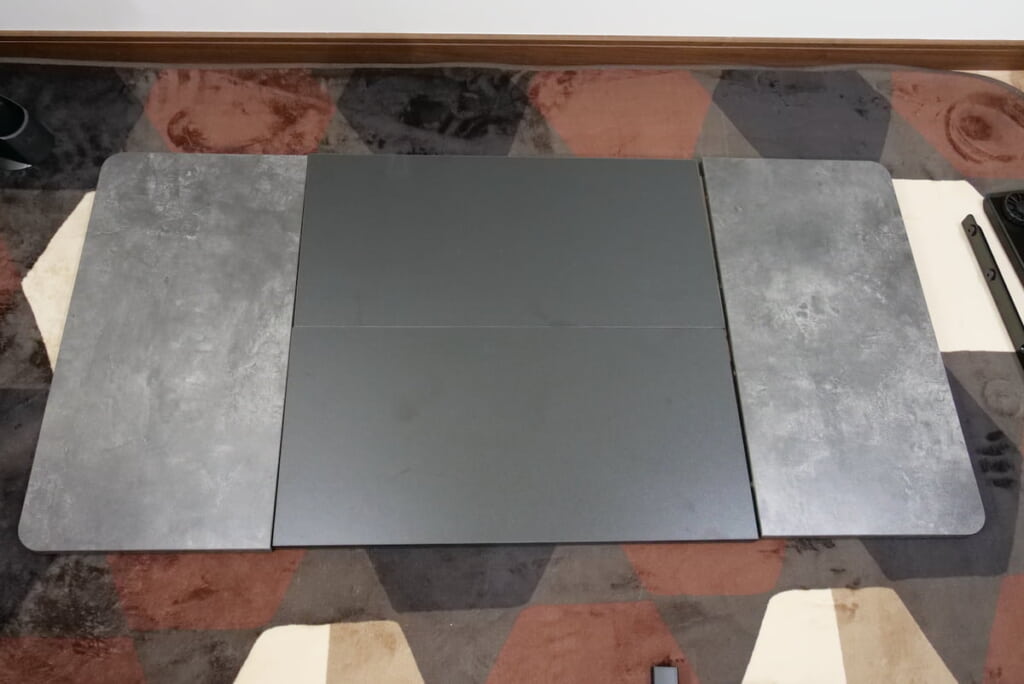
- 4枚に別れた天板は物の配置を決めやすい
- 天板の滑りが良いのでマウスもそのまま操作しやすい
- 昇降範囲が広く様々なスタイルで作業できる
- グラつきの少ない丈夫なフレーム
- メモリー機能で3つまで好きな高さを登録できる
- 腰に触れただけででタッチパネルが誤動作しない
- USB給電が可能
- 大理石調天板は大人な風合いでブツ撮りにも最適
- 電源タップを収納できるトレーが便利
- ヘッドホンやカバンをかけられるホックが便利
- 黒天板部分は皮脂汚れが目立ちやすい
- ロック機能はついていない
- 天板の組み立てが大変

30秒で分かるFlexiSpot EQ5の特徴
まずは、FlexiSpot EQ5がどんなスタンディングデスクなのかをご紹介します。
FlexiSpot EQ5は、主に下記のような特徴を持ったスタンディングデスクです。
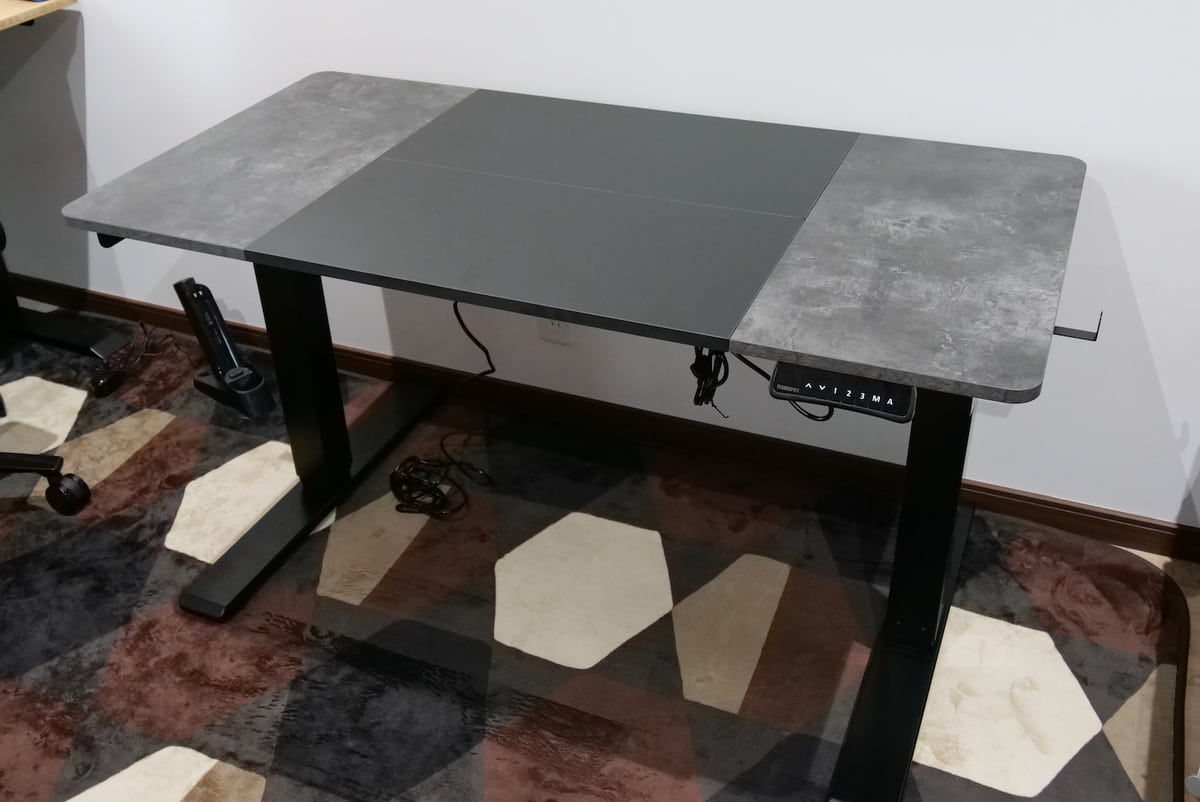
- 120cm x 60cmの大理石調天板
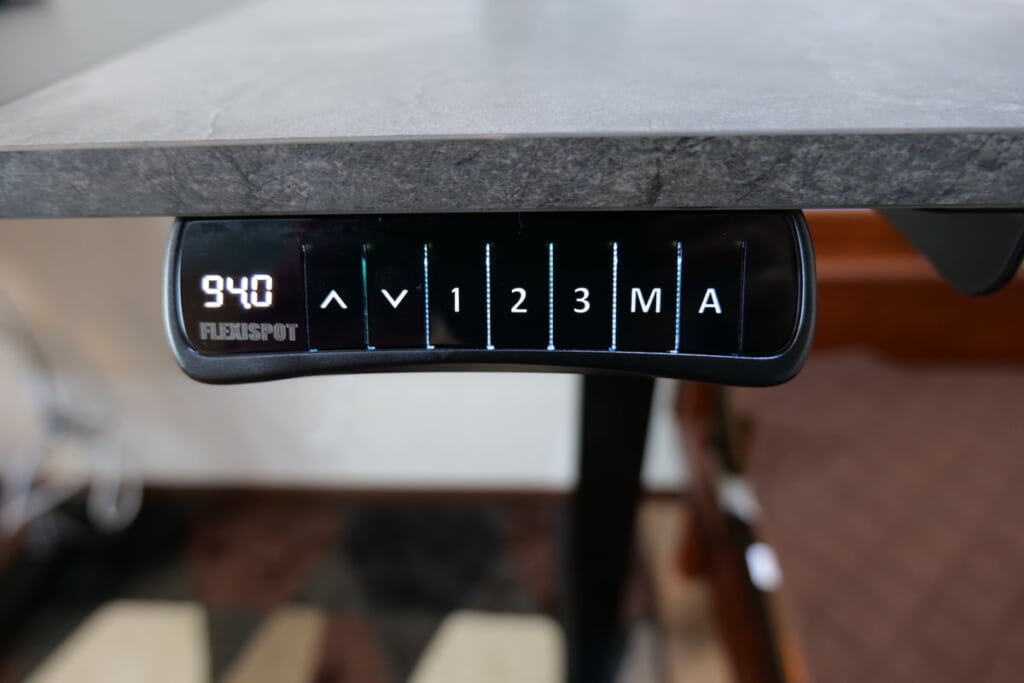
- タッチパネルで昇降可能(昇降範囲は身長が低い学生の「座位」を想定した636mmから、背が高い男性が「立位」作業できる1,286mmまでミリ単位で調整可能)
- 電源タップを収納できるトレー付き
- 最大4.5kgの耐荷重をもつホックが2つついている
- USB充電可能
- アラート機能付き
- 障害物検知機能付き
| シリーズ | EQ5B-48 |
| 重量 | 38kg |
| 昇降範囲 | 63.6~128.6cm |
| 天板サイズ | 幅120cm 奥行60cm 厚み1.6cm |
| 耐荷重 | 100kg |
| 昇降速度 | 38mm/s |
| カラー | ブラック天板+ブラック脚部 |
| 機能 | メモリー・セフティー・アラーム・USB機能 |
| 脚段階 | 三段階(逆ピラミッド) |
| 発送重量 | 43kg |
| 梱包 | 1個 |
| 梱包サイズ | 82.5×40.5×27cm |
| Amazon参考価格 | 42,800円 |
EQ5の使用感レビュー
ここからは実際に使用してみて感じたことをレビューしていきたいと思います。
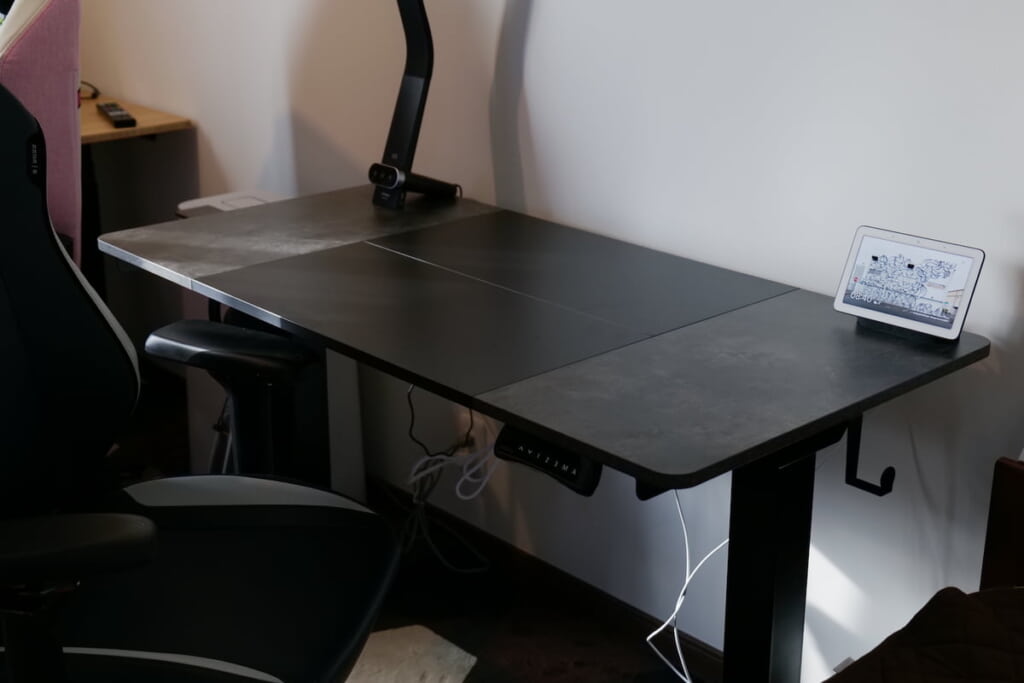
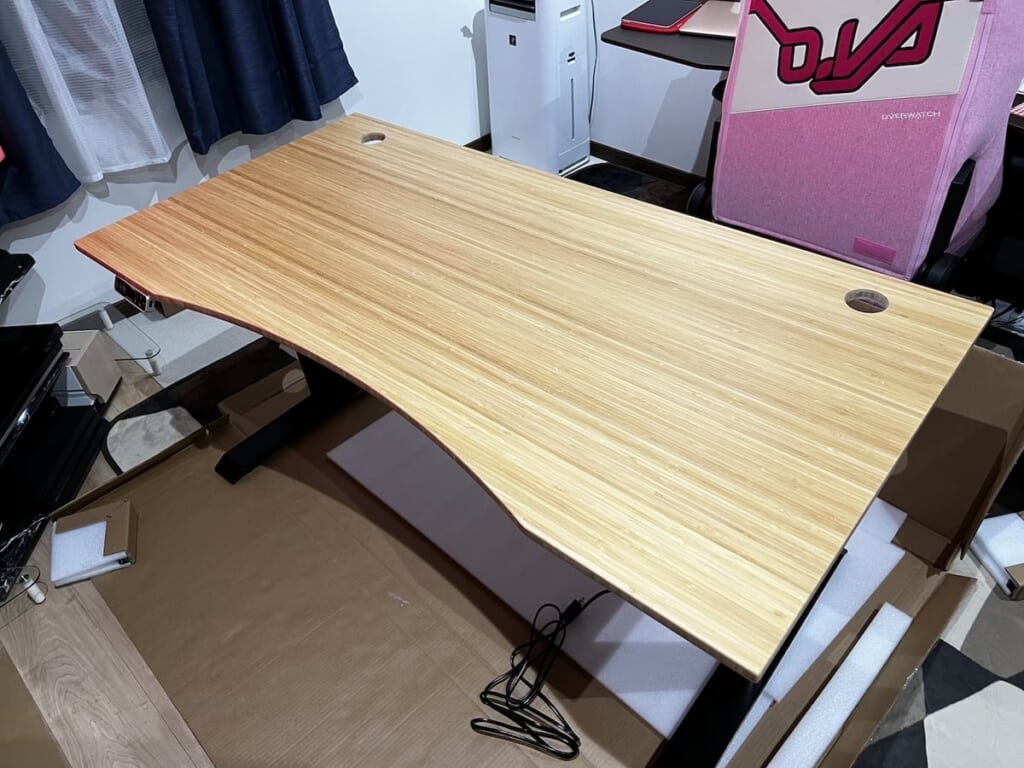
4枚に別れた天板は物の配置を決めやすい
EQ5の天板は、大理石調天板2枚と黒天板2枚で構成されています。素材はメラミン樹脂化粧板です。
| メラミン樹脂化粧板 | 中密度繊維板(MDF) | 天然の竹製天板 | |
| メリット | とても硬く、変色しにくく、 熱や水、汚れに強い。 丈夫で長持ちしやすい。 | 加工性に優れ、 無垢材より大きいサイズの ものを作れる。 | 天然素材で環境に優しい。 集成材強度、耐久性、耐水性、 耐摩耗性及びカビ抵抗性に優れ、 DIYしやすい。 |
| デメリット | 硬いため加工形状に制限あり、 天然素材にこだわる方には不向き。 | 湿気や水分に弱く、 重い。 | 値段が高め。 |
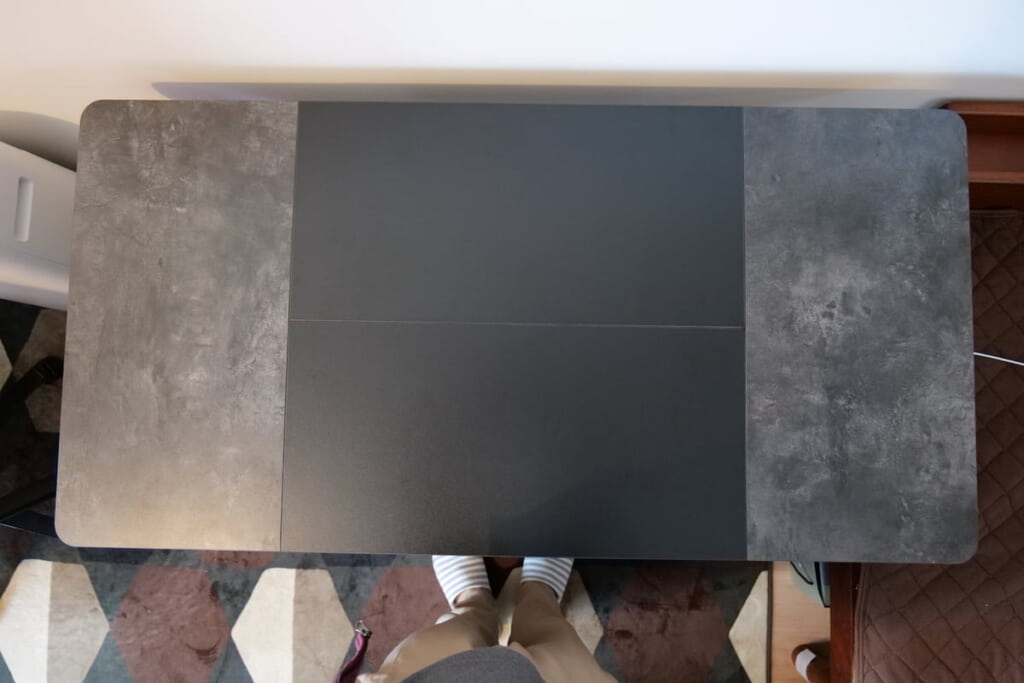
上から見るとこのように仕切りが見えるのですが、この仕切りのおかげで物を設置する際に左右の間隔がつかみやすく、設置する際にきれいに並べることができました。
 たいしょん
たいしょん一枚板の天板もいいですが、各素材同士の切れ間のおかげで物を設置する際の目安として機能してくれるのは嬉しい誤算でした。
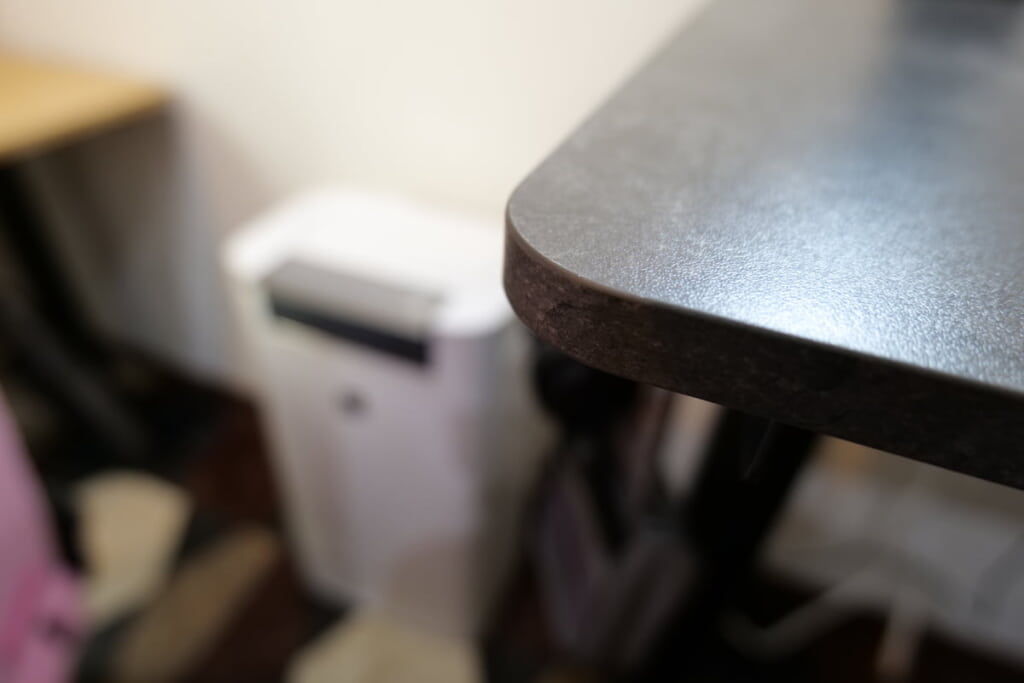
天板の滑りが良いのでマウスもそのまま操作しやすい
天板の表面は若干凸凹感があり、木の天板と比べて抵抗が少ないです。そのためマウス操作もしやすいと感じました。
天板の角の処理も丁寧で、マウス操作でデスクの角に腕がついていても痛くなりづらいです。
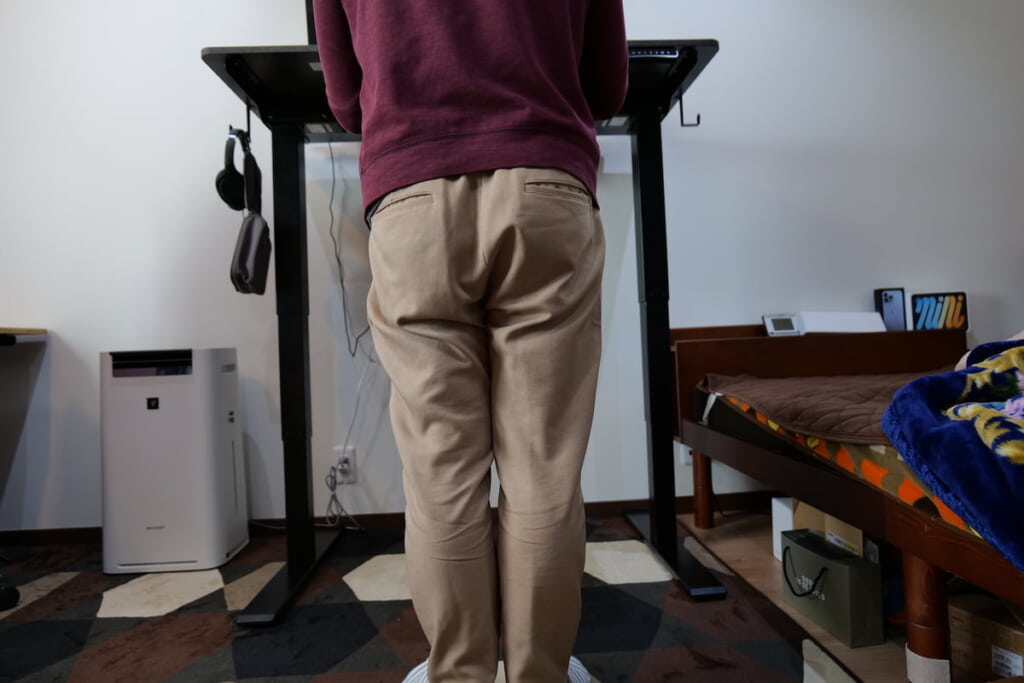
昇降範囲が広く様々なスタイルで作業できる
EQ5の昇降範囲は、身長が低い学生の「座位」を想定した636mmから、背が高い男性が「立位」作業できる1,286mmまでミリ単位で調整可能です。
普通に椅子に座って作業することはもちろんのこと、立って作業をしたり座って作業をしたり様々な体勢で作業可能です。
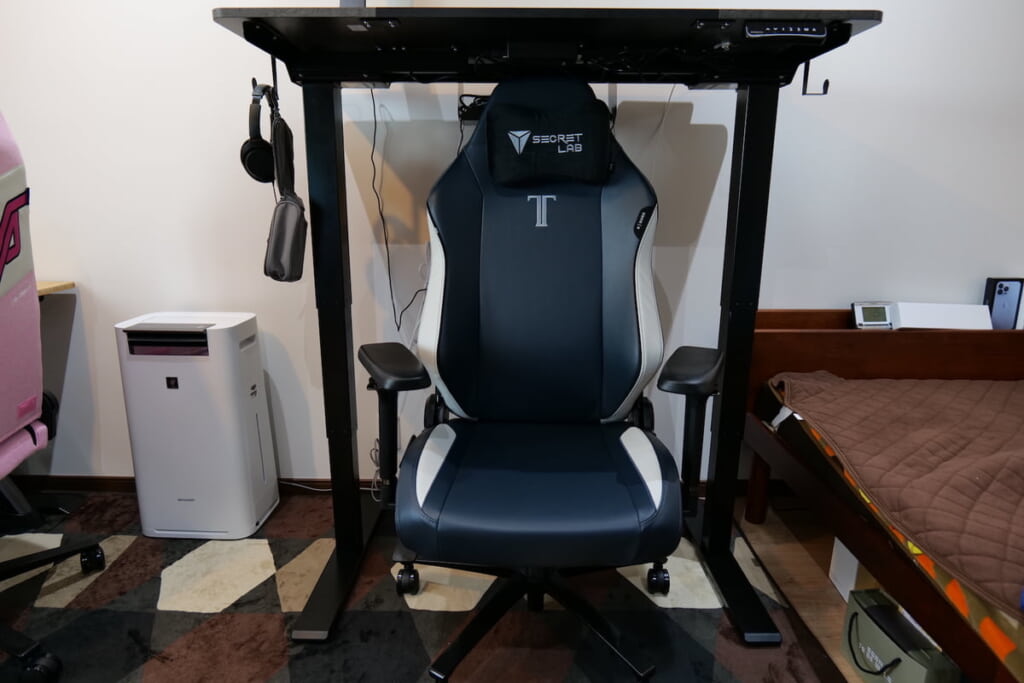
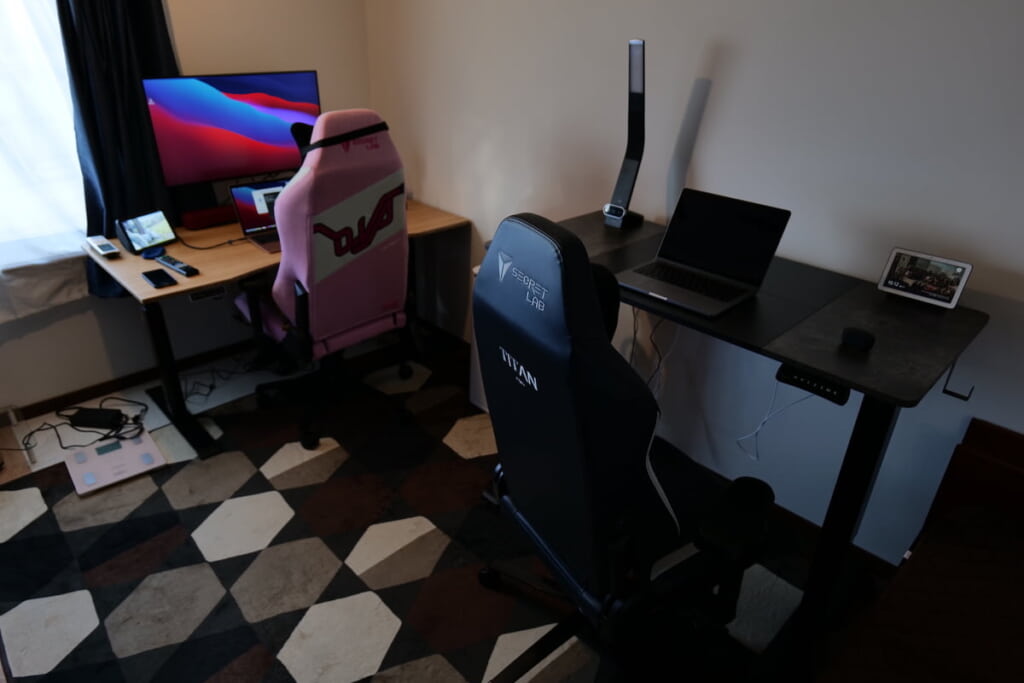
1,286mmとなると、ゲーミングチェアが格納できるぐらいまでの高さです。EQ5はサブのデスクとして使用していますので、使わない時はこのようにゲーミングチェアを中に入れています。
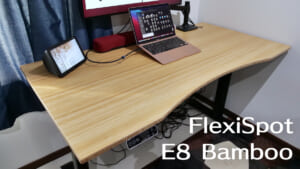
昇降時の音も上位機種のE8 Bambooと同程度ぐらいの静音性です。実際に昇降している際の音は、下記の動画でご確認ください。
グラつきの少ない頑丈なフレーム
座ったり立ったりして作業をしていましたが、グラつきがなくガッチリ安定しているので作業に集中できました。

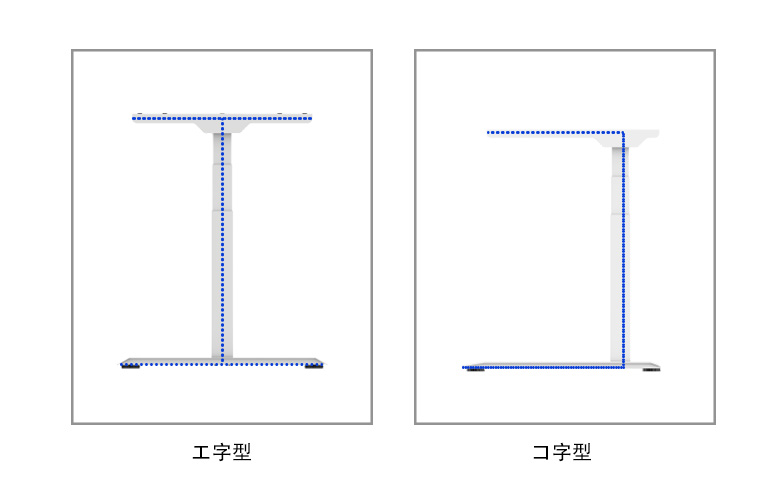
SPCC鋼材という丈夫な素材を使用しており、かつ工字型のため重心が安定する構造になっています。
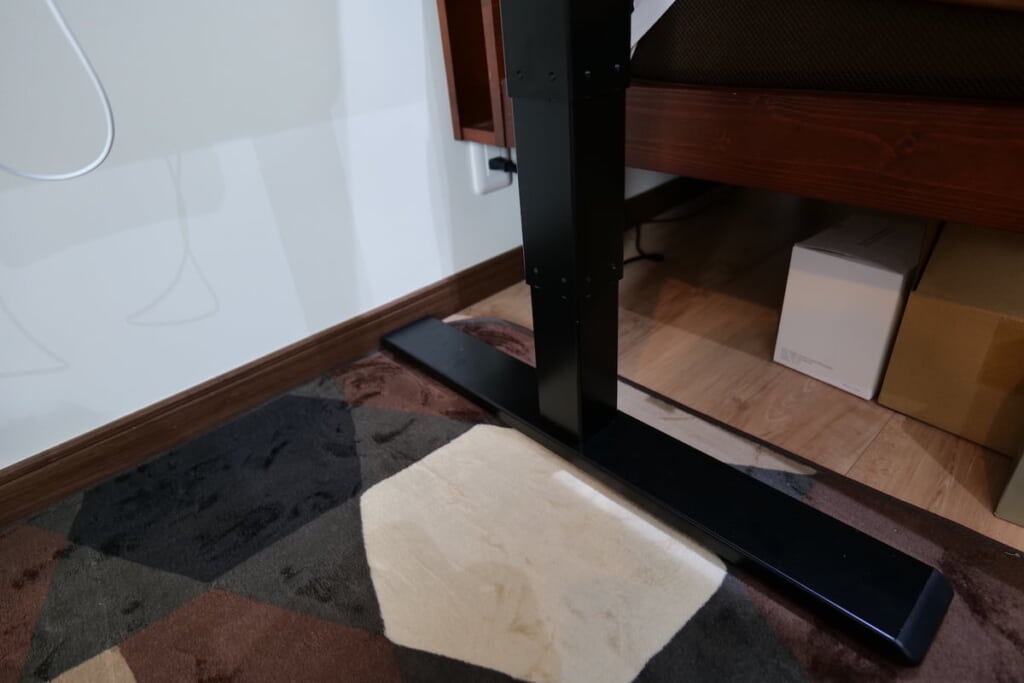
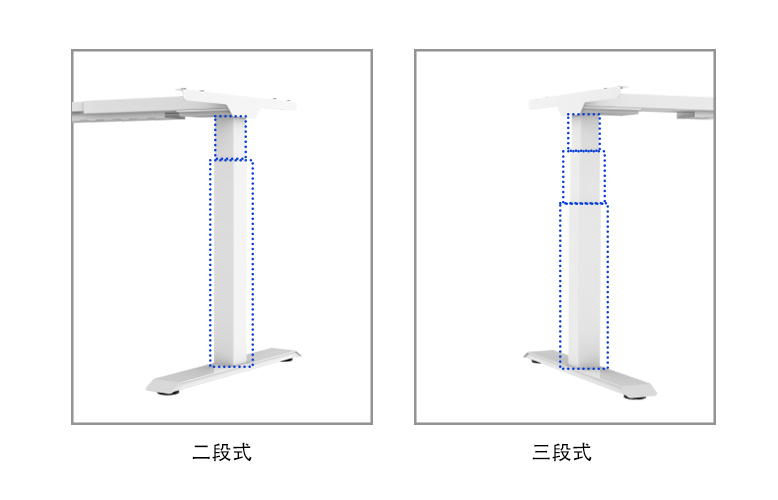
また、EQ5は三段式で昇降天板を支える力が増すため、二段階調節式に比べ耐荷重・安定性がともに向上しています。
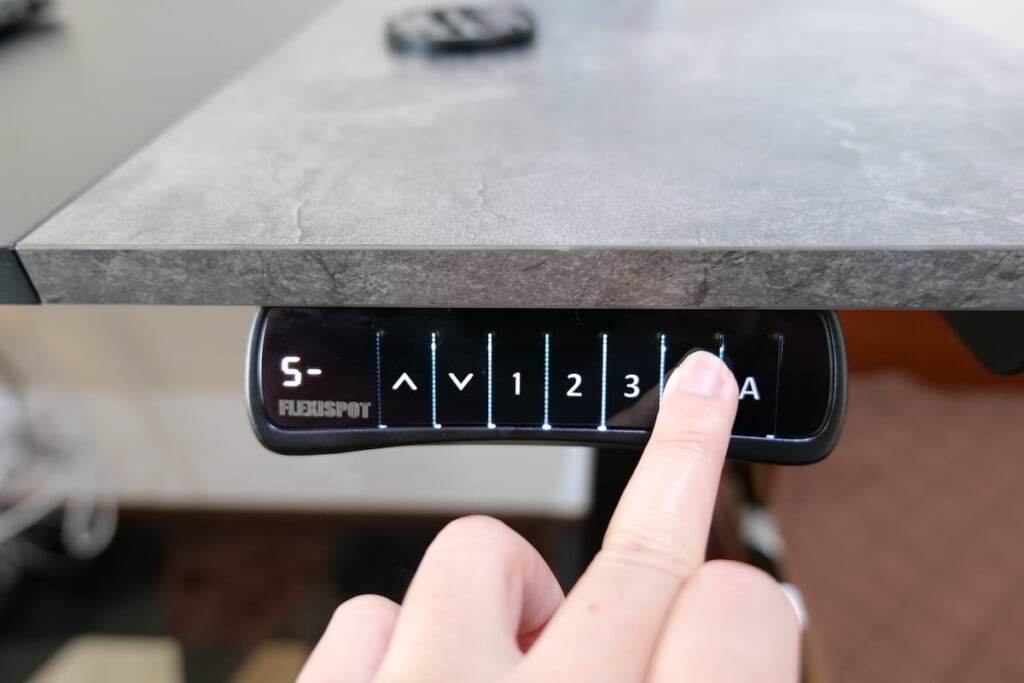
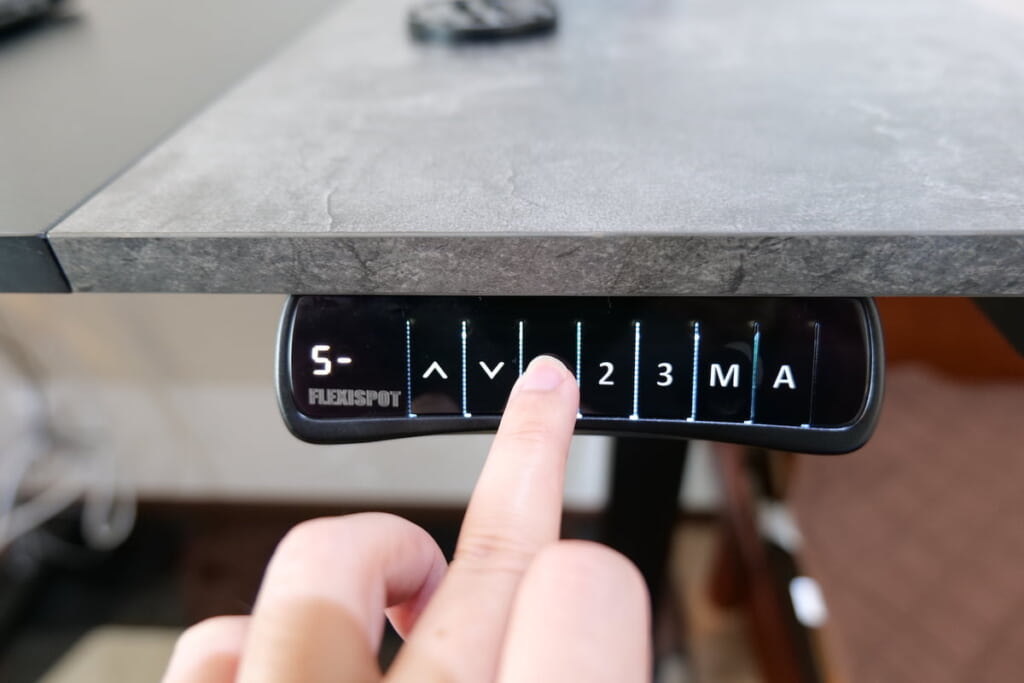
メモリー機能で3つまで好きな高さを登録できる
電動昇降デスクを使っているといつも使用しているデスクの高さが決まってくると思います。
そんな時にEQ5のメモリー機能を使えば、自分が好きな高さを3つまで登録しておくことができます。
 たいしょん
たいしょん僕の場合は
1,立って作業するときの高さ
2,椅子に座って作業するときの高さ
3,あぐらをかいて作業するときの高さ
の3つを登録しています。
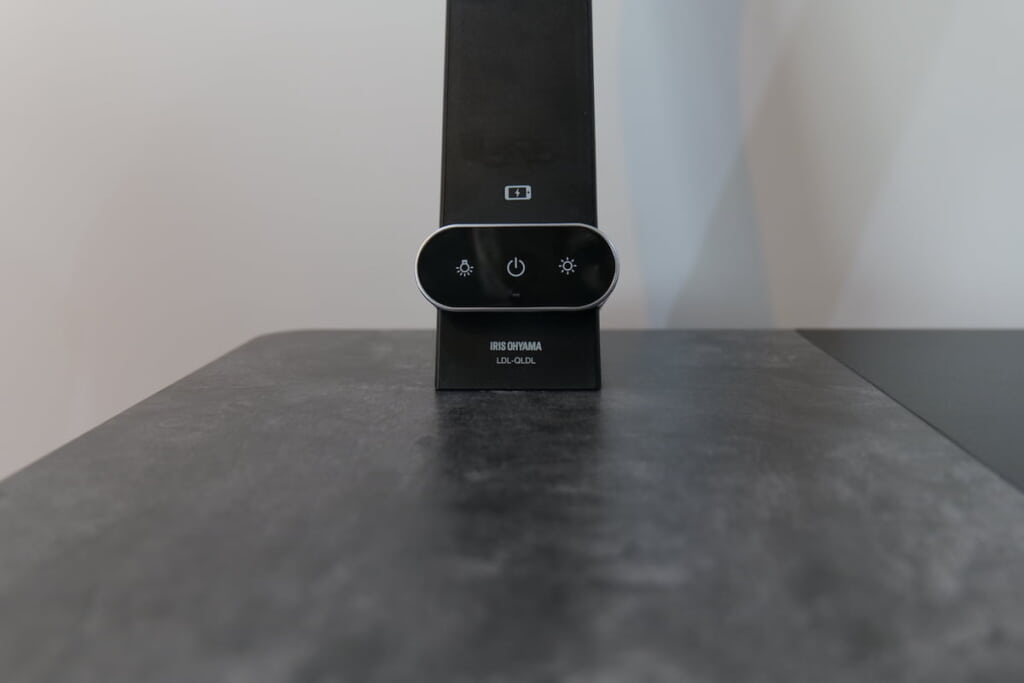
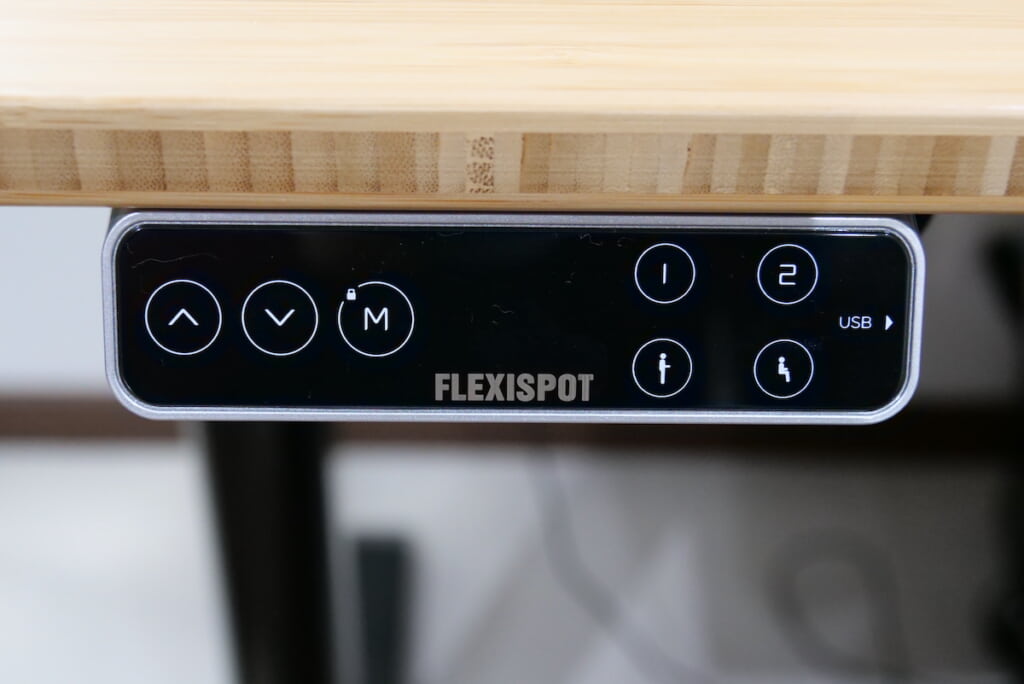
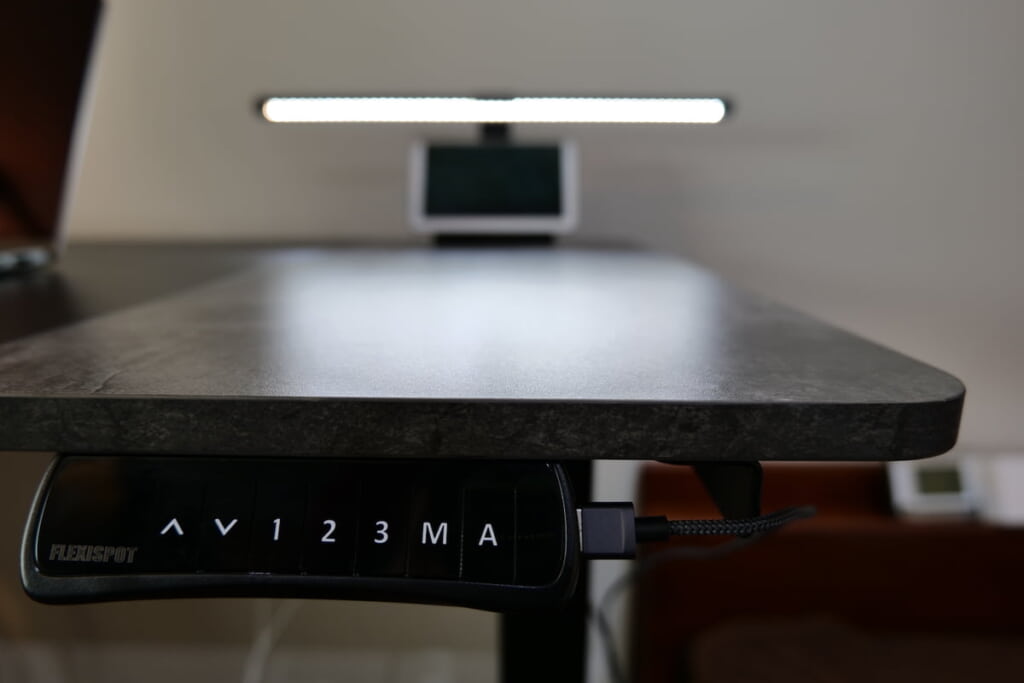
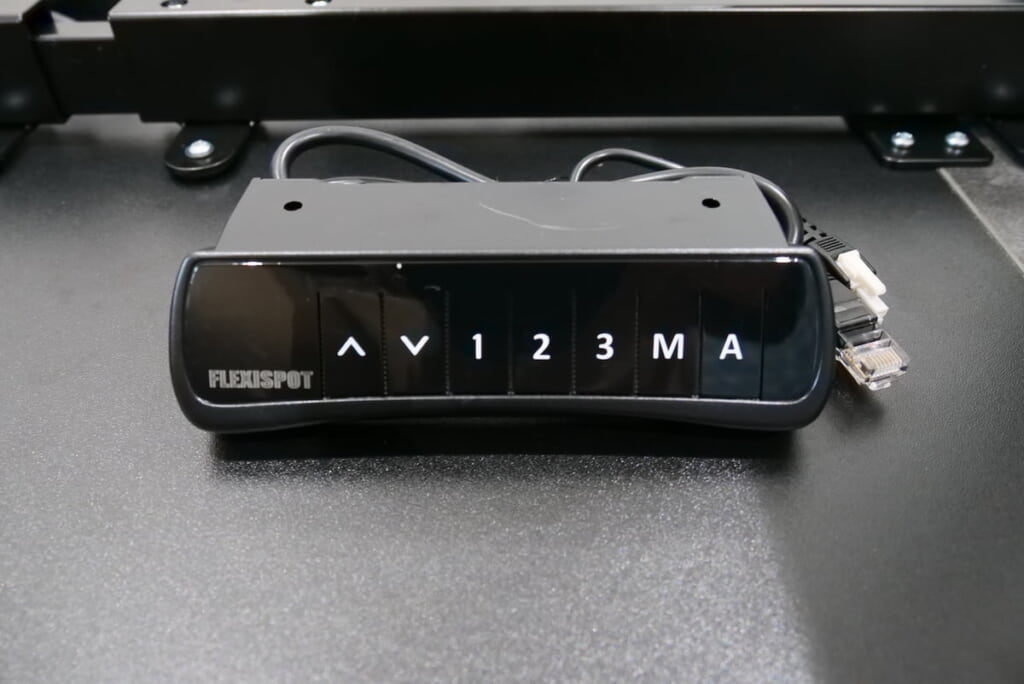
腰に触れただけででタッチパネルが誤動作しない
これはE8 Bambooのような静電式タッチパネルを使っているデスクによくあることなのですが、腰にタッチパネルが触れただけで動作してしまいます。
電動式昇降デスクのパネルには
— たいしょん (@taishonpresso) November 22, 2021
1.静電式タッチパネル方式
2.物理ボタン方式
があります。
一見静電式タッチパネル方式の方がスタイリッシュで良さそうに見えますが、腰に当たっただけでも反応する敏感さなので物理ボタン式の方が個人的に好きです😌#デスク周り pic.twitter.com/xM8s6JNjx3
しかしEQ5は物理ボタンなので、腰に触れただけでは誤動作しにくい構成になっています。
 たいしょん
たいしょん割とストレスだったので、EQ5のような物理ボタン式のほうが嬉しいですね。
USB給電が可能
E8 Bambooを使用していて便利に感じていたのが、USB充電ができる点でした。下位機種のEQ5も、しっかりUSBポートがあります。
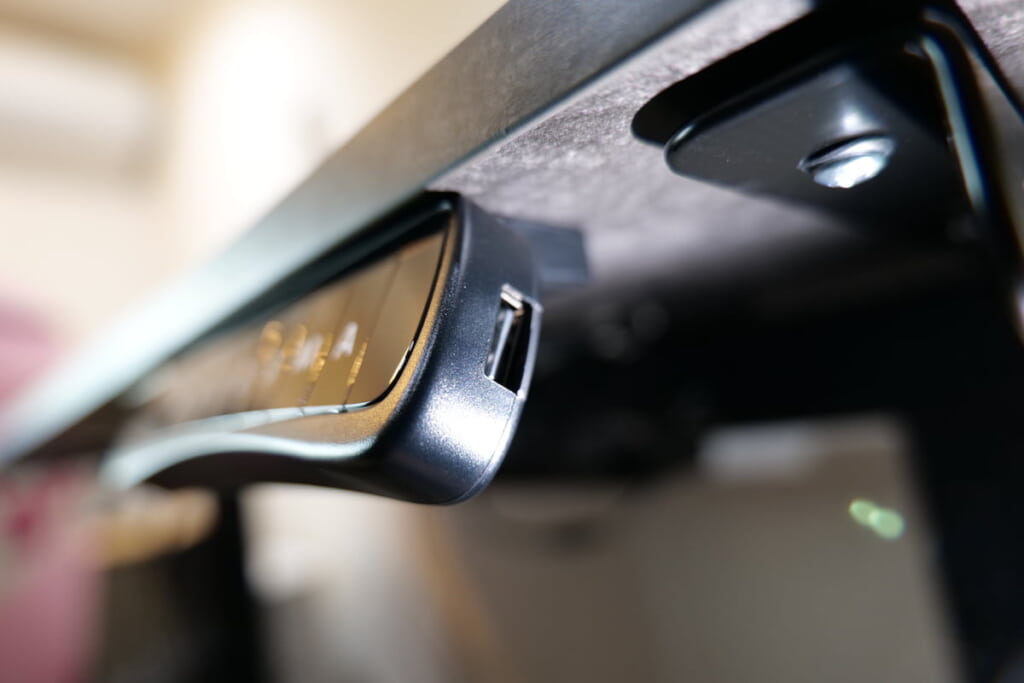
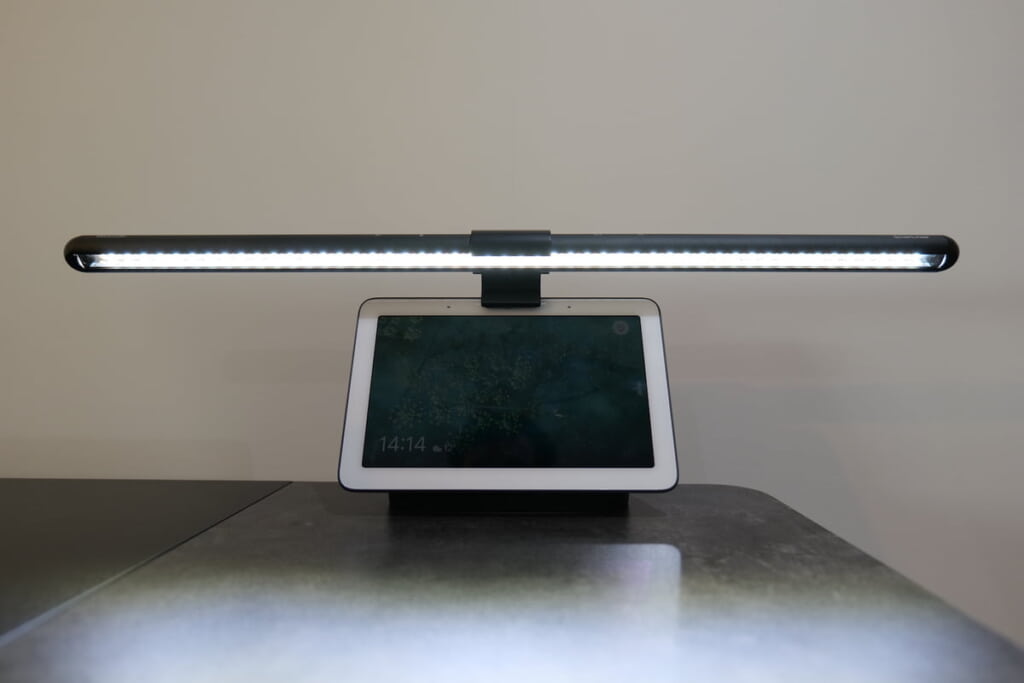
スマートフォンにつなげて充電する用途での活用はもちろんのこと、例えばモニターにかけるタイプのモニターライトを使用している場合、実はデスクのUSBポートに挿し込めば普通に使用することができます。
モニターにUSBポートがついていなかったり、配線をよりスッキリさせたい場合はデスク側のUSBポートに挿し込んで使用するのもありですね。
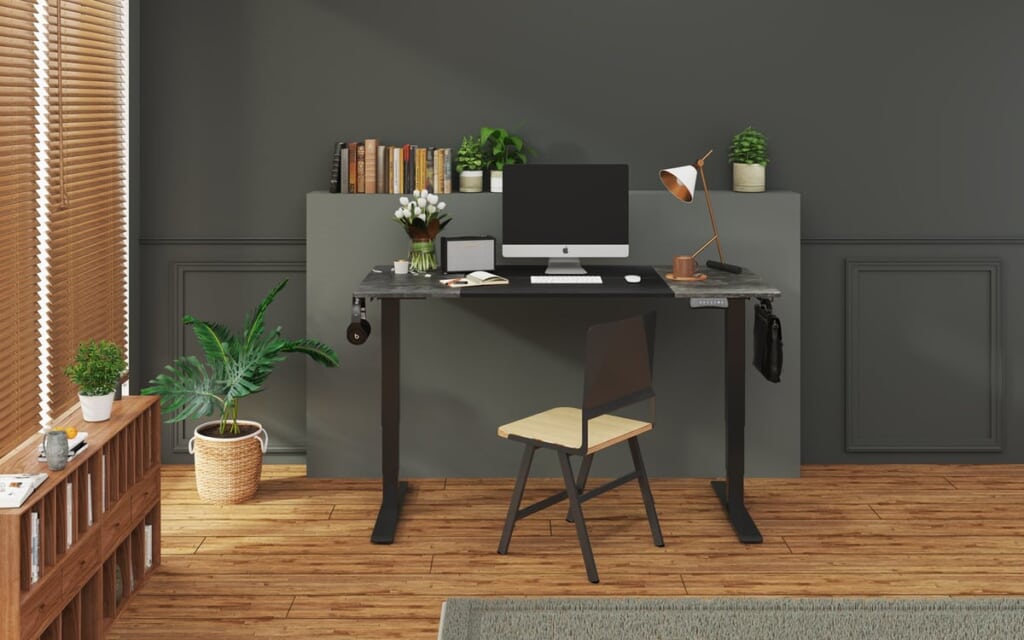
大理石調天板は大人な風合いで物撮りにも最適
大理石調天板は無彩色で、大人な印象の天板です。
EQ5を組み立て終わった時に、フォロワーさんにこのように教えてもらいました。
木天板ばかりのなか雰囲気が違って新鮮ですね!物撮り背景によさそう!
— 𝘽𝙊𝙒𝙎 𝙋𝙍𝙊 𝙈𝘼𝙓 (@guidbows) November 20, 2021
ということで拙い作例をご覧ください。
確かに通常の木の天板では出せない、硬質な感じがガジェット撮影と相性バツグンですね。
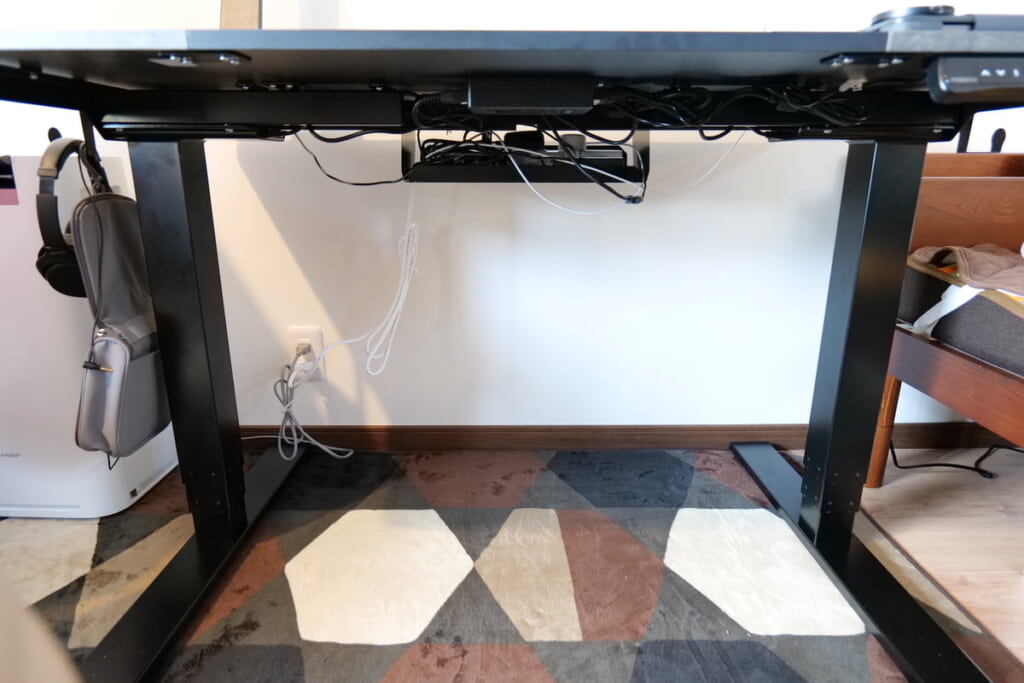
電源タップを収納できるトレーが便利
僕が電動昇降デスクを使っていて気になっていたのは、配線の管理です。同社のE8 Bambooを使っていますが、電動式かつモニターやPCをつなぐ電源タップもあるためごらんの通り足元がごちゃごちゃに。
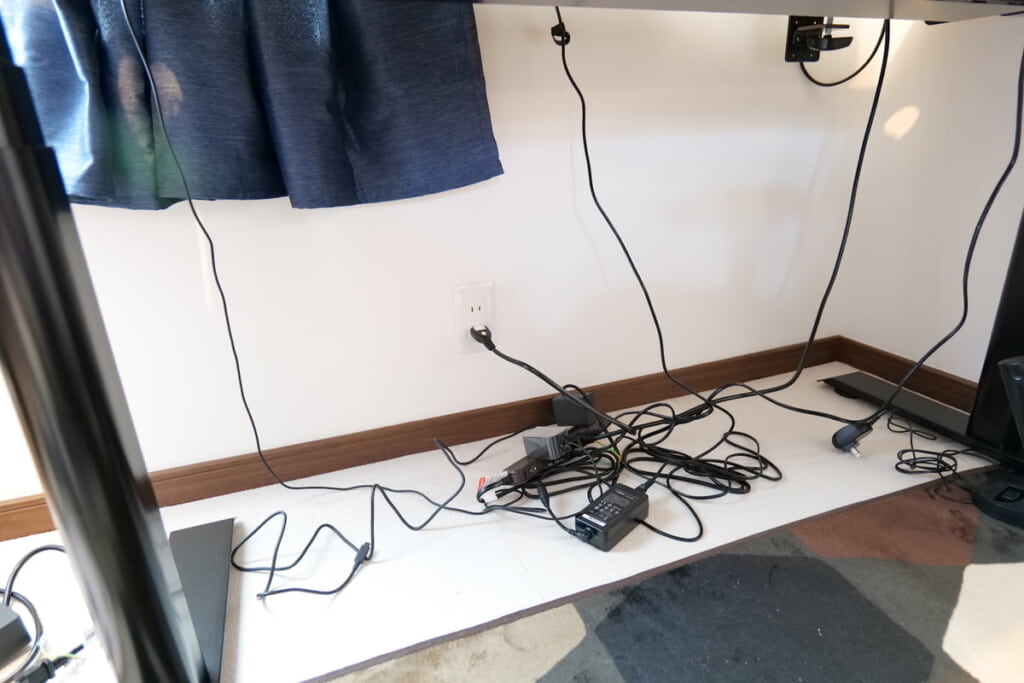 たいしょん
たいしょんデスクに固定するタイプのラックがあればなと思っていました。
しかしEQ5はE8 Bambooよりも安価ながら、なんとデスクに固定するトレーが最初からついてきます。
実際に電源タップを格納してみました。
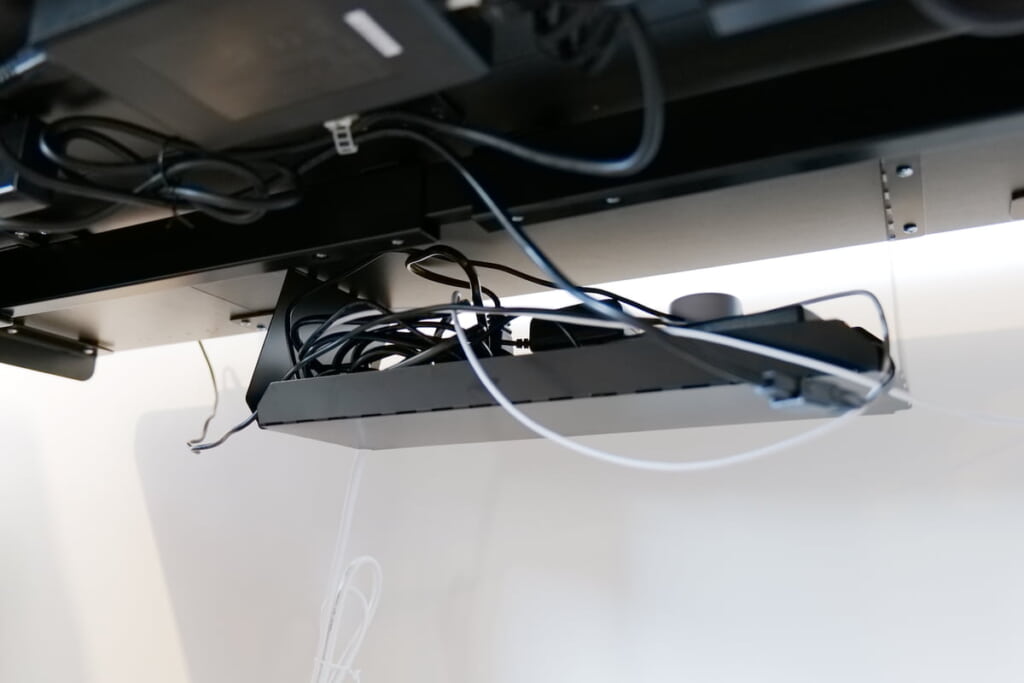
トレーのおかげで下に伸びているのは電源タップの線1本だけで、非常にスッキリしています。
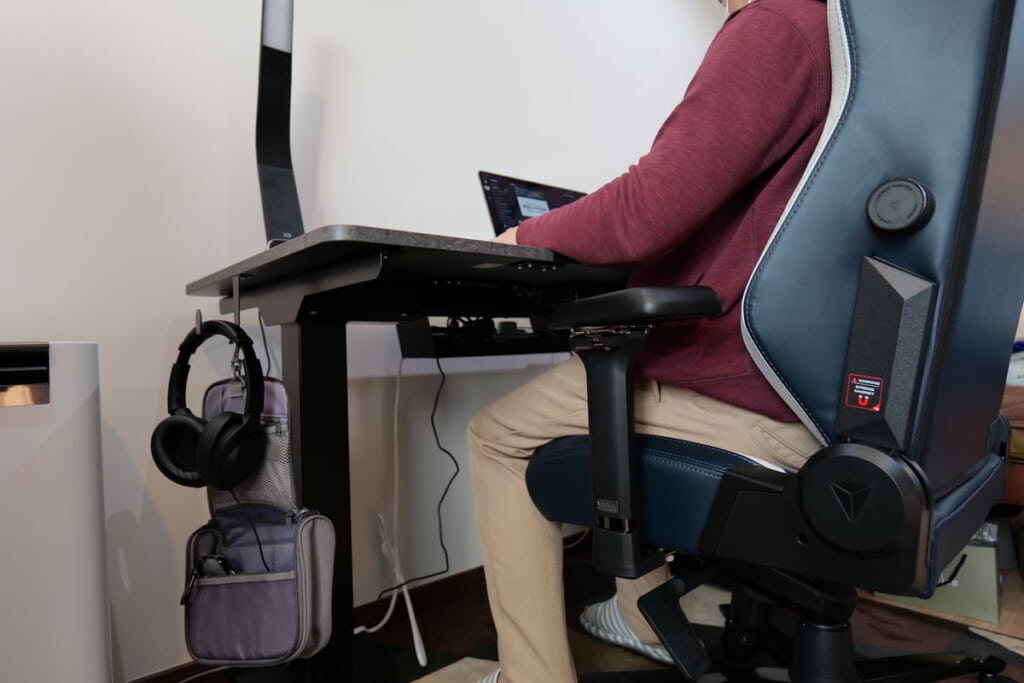
ヘッドホンやバッグをかけられるホックが便利
仕事でよくヘッドホンを使用するので、今まで下記のようなヘッドホンハンガーを使用していました。
これはこれで便利なのですが、プラスチック製で耐久性はいまいち。ましてやカバンなど重いものはかけられません。
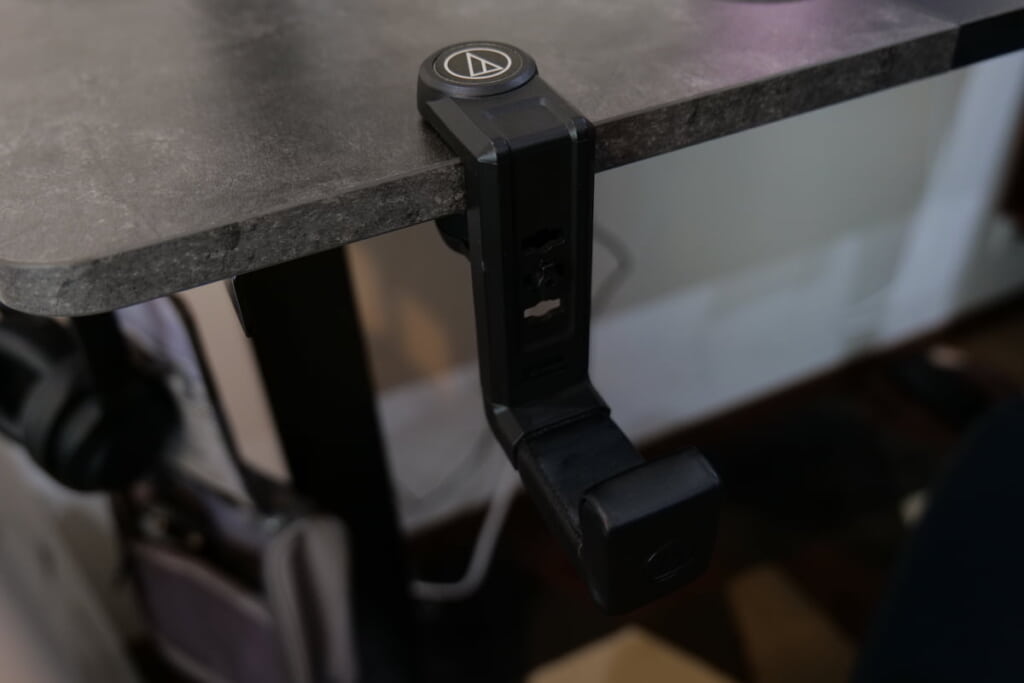
しかしEQ5は、45kgまで耐えられるホックが両側に取り付けられるようになっています。
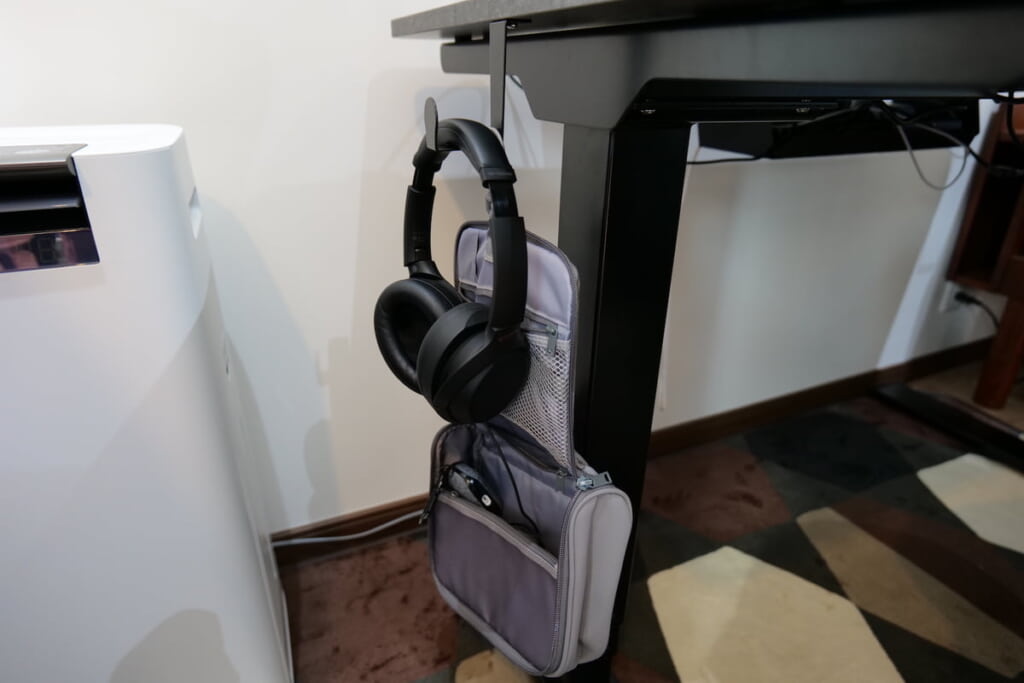
位置はデスクの真横なので、座ったままヘッドホンや荷物を取ることも可能です。
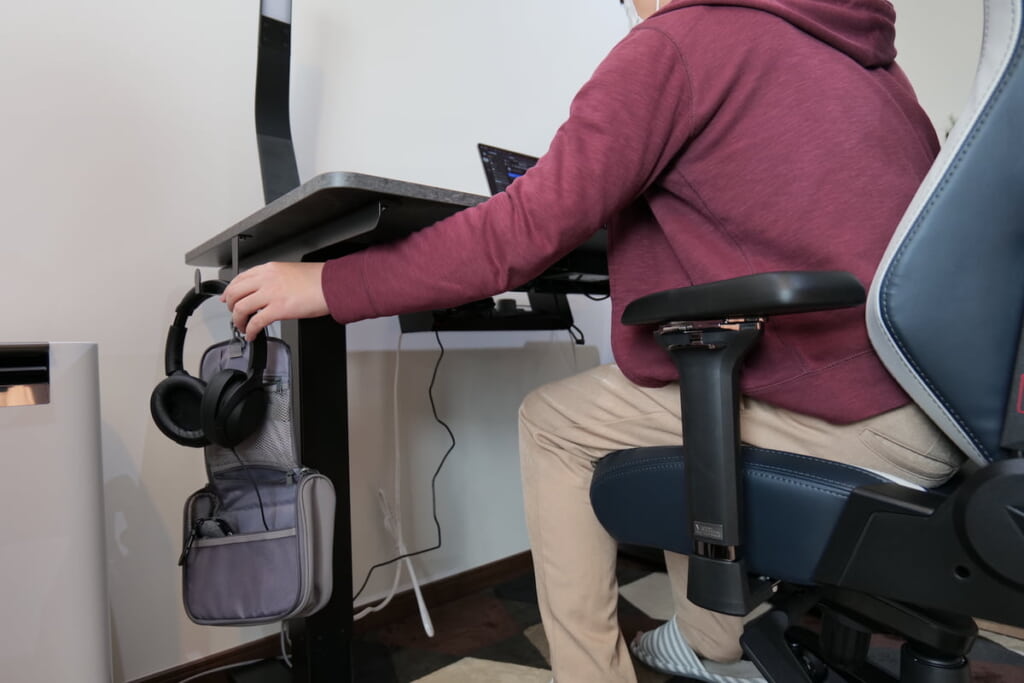
僕はこのような配置でデスクを使用しているのですが、ホックがあると隣のデスクからもアクセスできるので重宝しています。
 たいしょん
たいしょんトレーといいホックといい、EQ5はこれまでデスクを使っていて「これがあったらいいな」と感じていた要素をうまく取り入れてくれている印象を受けました。
黒天板部分は皮脂汚れが目立ちやすい
ここまでEQ5の良いところに目が行っていたので、欠点もご紹介していきたいと思います。
まず、黒い天板は皮脂汚れが目立ちやすいです。
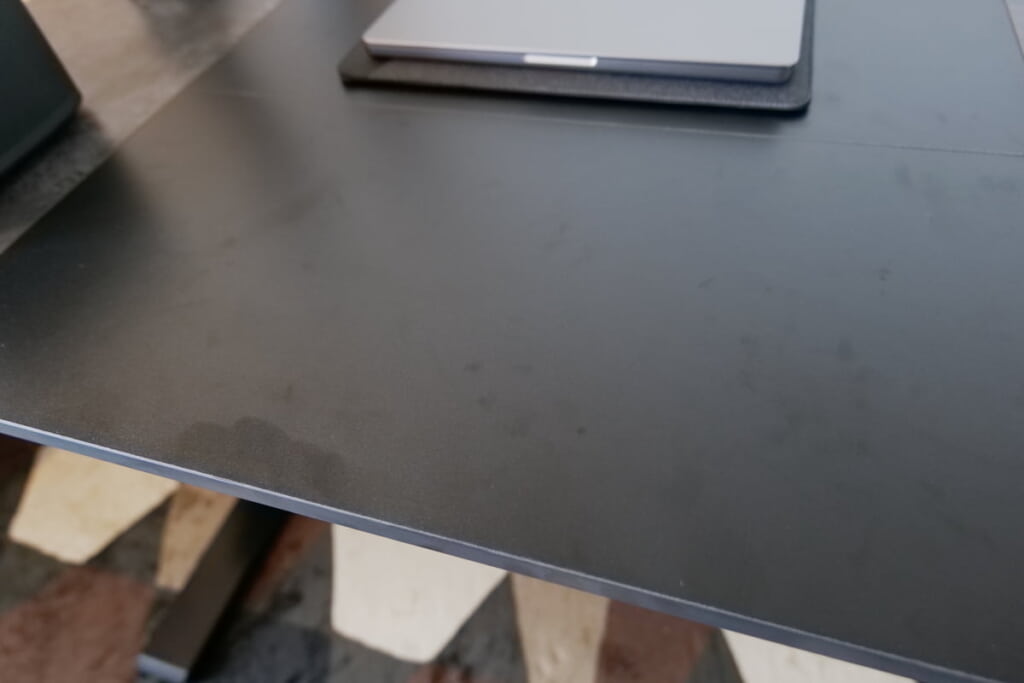
参考までに竹天板のデスクは、ほとんど皮脂汚れが目立ちません。
ここは木製天板の優位性だと感じました。
ロック機能はついていない
上位機種のE8 Bambooではついていたロック機能が、EQ5ではついていません。
ロック機能とは、誤ってボタンを押してしまったとしても昇降しないようにする機能です。
たいしょん僕は子供がいないのでいいのですが、もしお子さんがいらっしゃる場合不意にいたずらされてしまう可能性がありますので、気になる方はE8 BambooやE7など上位機種の購入を検討されたほうが良いかなと思います。
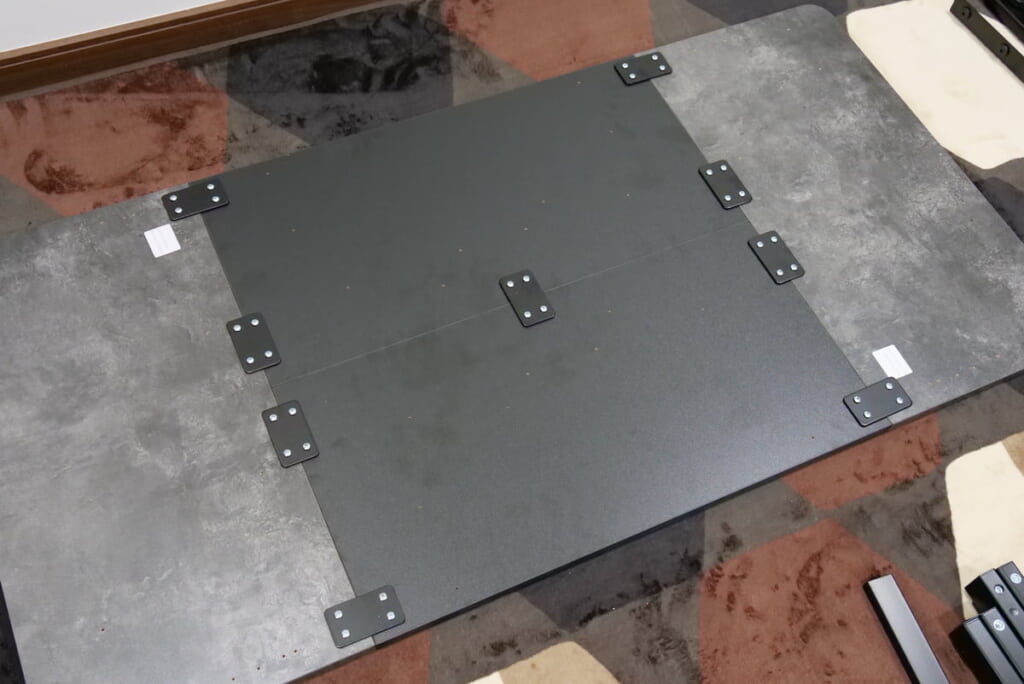
天板の組み立てが大変
天板のおしゃれさと引き換えになりますが、組み立ては1枚板のデスクに比べて倍近い時間かかりました。
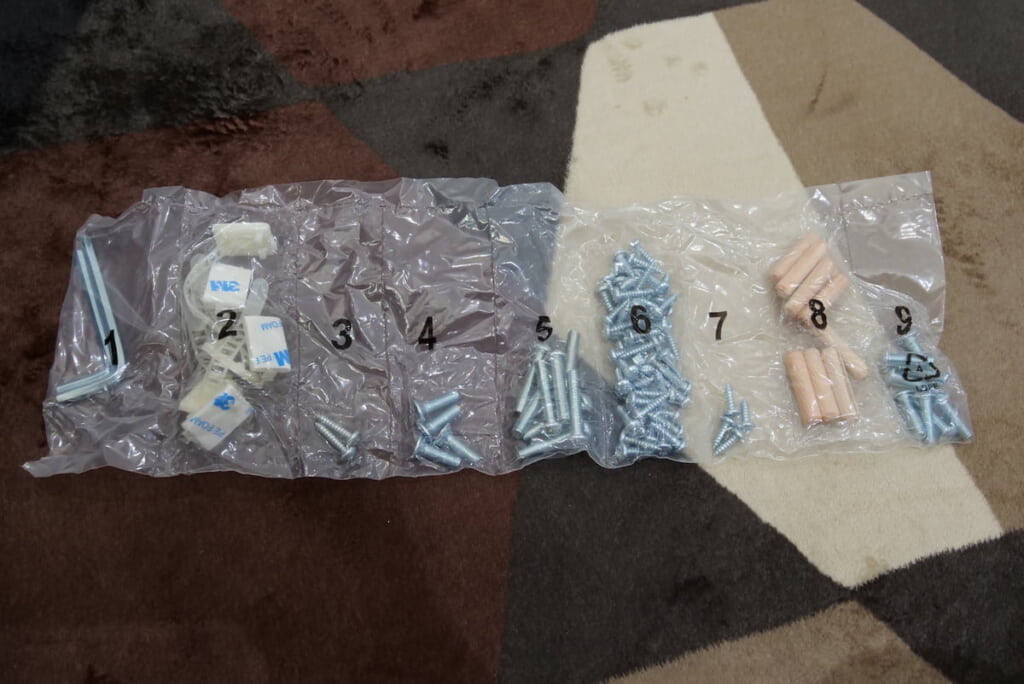
次の章で組み立て方法をご紹介していきますが、天板が4枚に分かれているため9箇所に金属プレートを固定する必要があります。36箇所ネジ止めするのですが、この工程が地味に大変でした。
 たいしょん
たいしょん電動ドライバーが無かったら心が折れていたかもしれません。
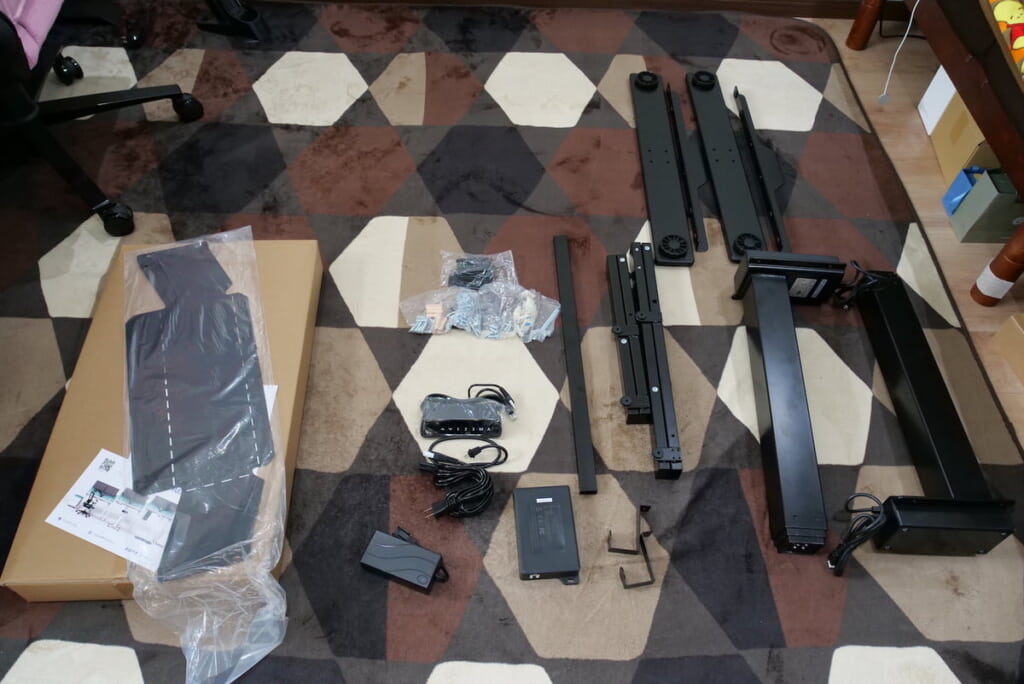
組み立て方法(組み立ての所要時間:約2時間)
ここからは、実際の組立方法を解説していきます。
工具は最低限揃っていますが、できれば下記のものを揃えていくと楽に組み立てできます。
- 電動ドライバー
- 柄の長いドライバー
- もう1人お手伝いしてもらえる方
たいしょん僕はボッシュの電動ドライバーを使っています。回転速度を無段階で変えられるので、おすすめです。

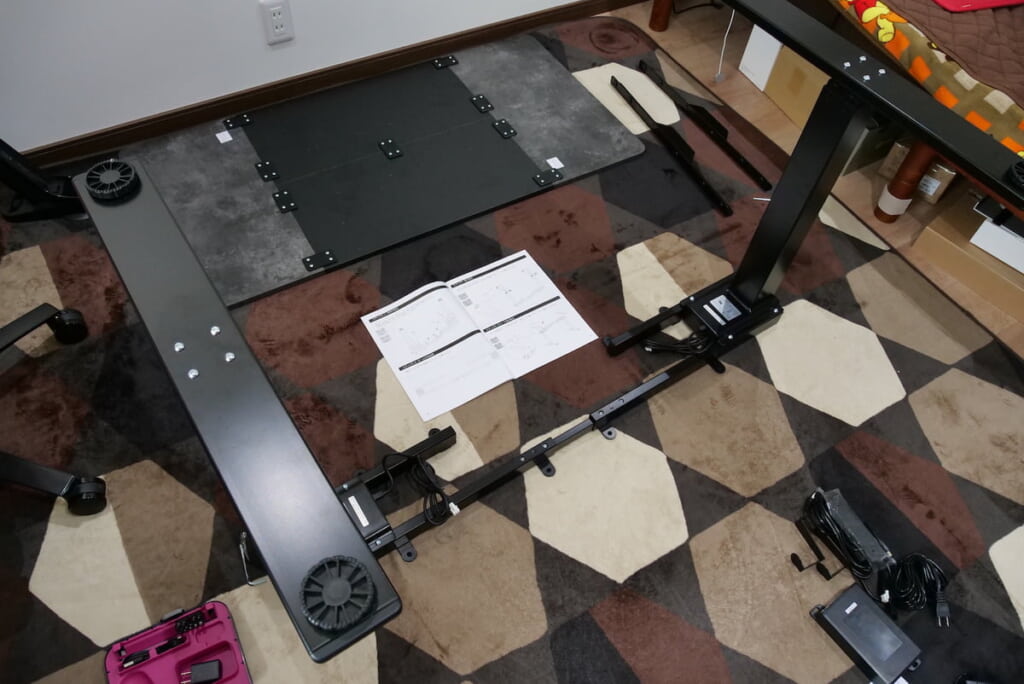
まずは、作業スペースを確保しましょう。天板だけでも120cmの幅があるので、160cm〜200cm四方のスペースがあれば十分です。
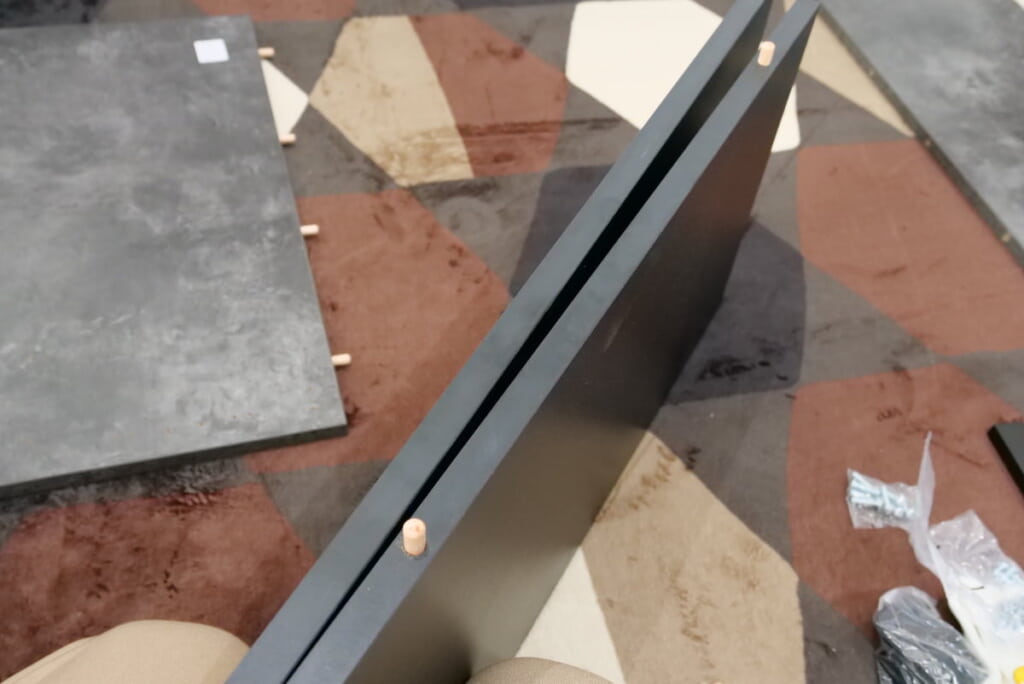
次に天板を組み立てて行きます。実は最難関はこの天板の組立です。
最初にこのように木ダボで組み上げていきます。
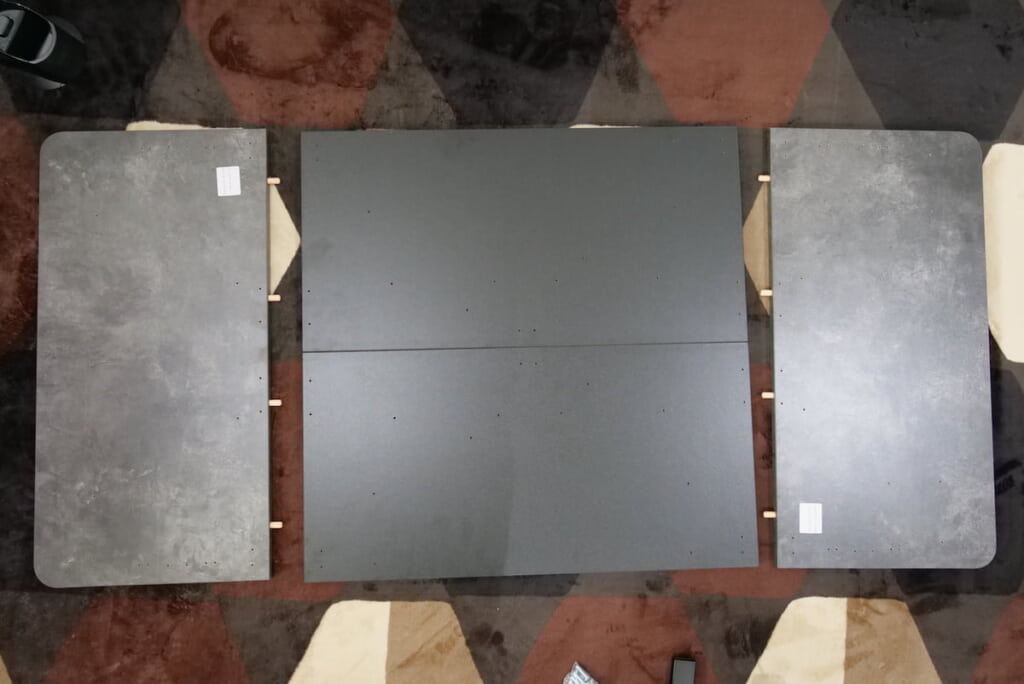
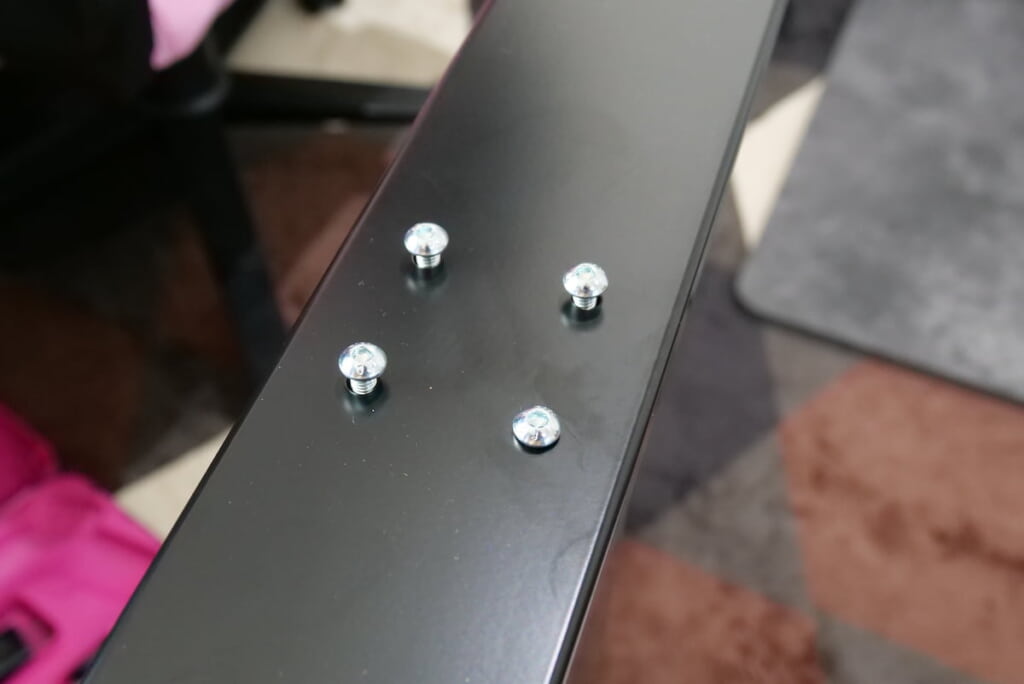
次に天板の裏面に金具を取り付けていくのですが、9箇所x4本のネジ止めが必要です。
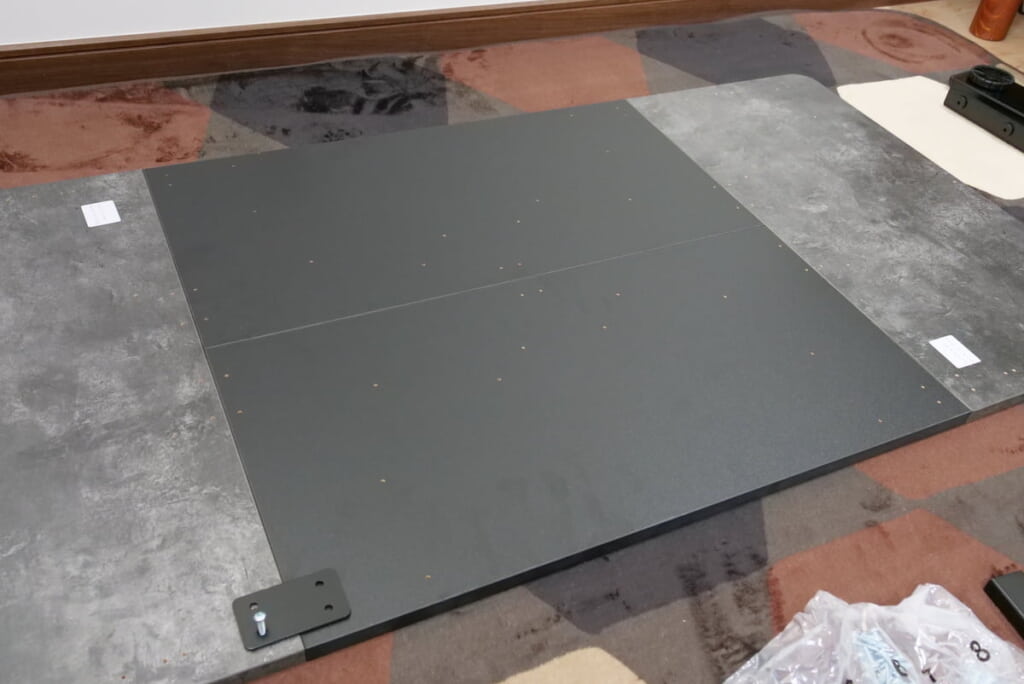
1本1本普通のドライバーで止めているとかなり時間がかかるので、ここで電動ドライバーを使用しました。
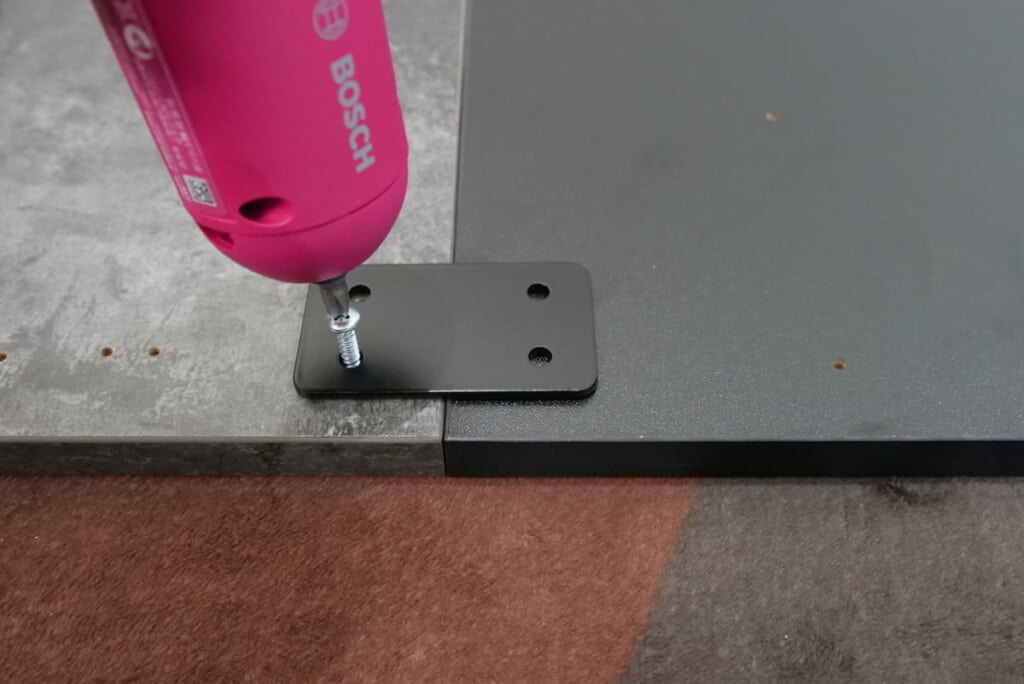
30分ぐらいかけてすべて止め終わりました。
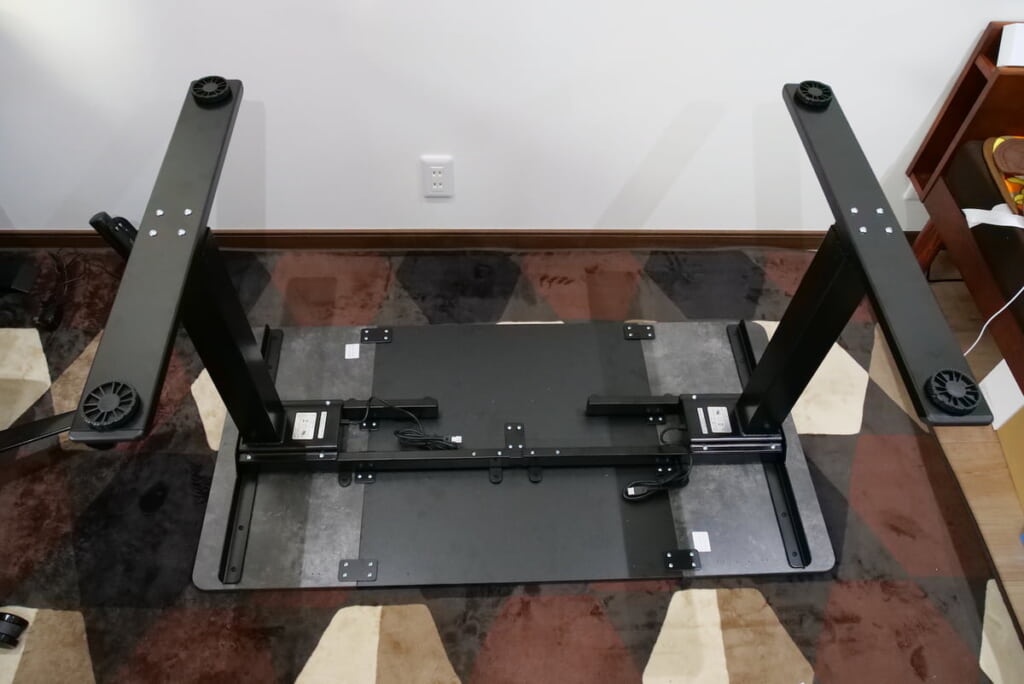
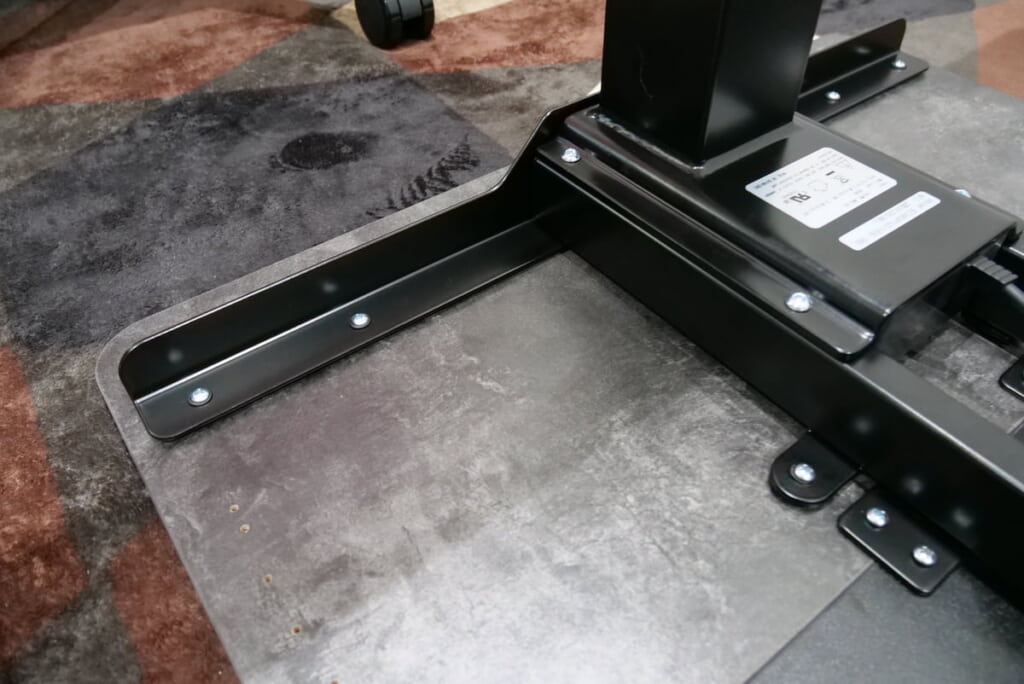
天板が組み立て終わったので、次にフレームを組み立てていきます。
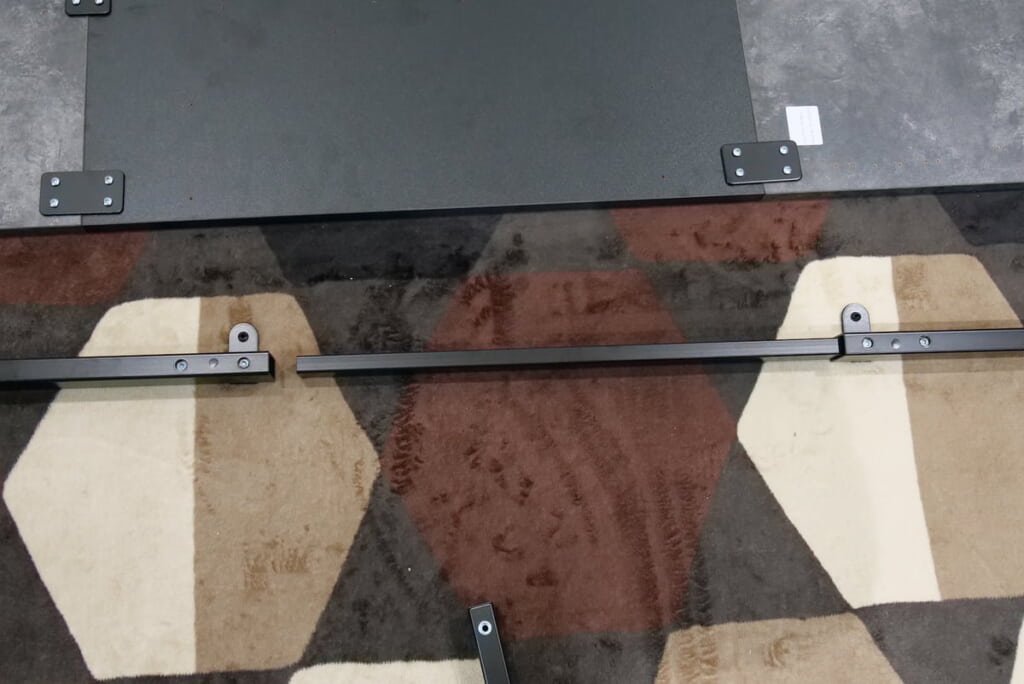
伸縮フレームをはめ込み、脚に取り付けていきます。
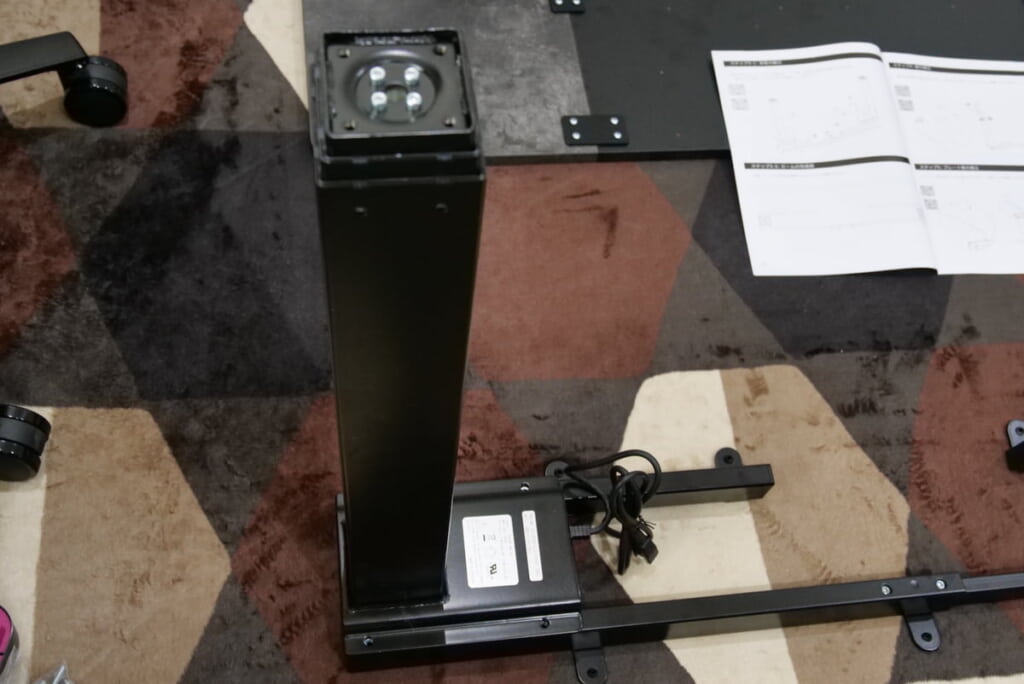
次に足場を取り付けます。
足場を取り付けたらひっくり返して、立てたら天板を支えるパーツを取り付けていきます。
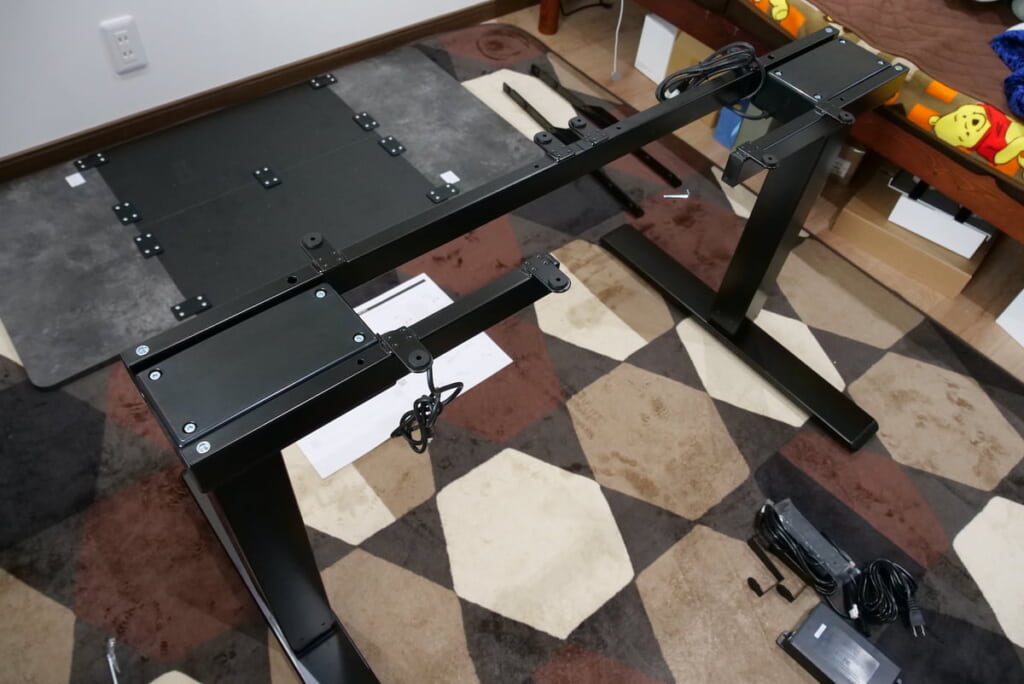
このように両側に取り付けたら完成です。
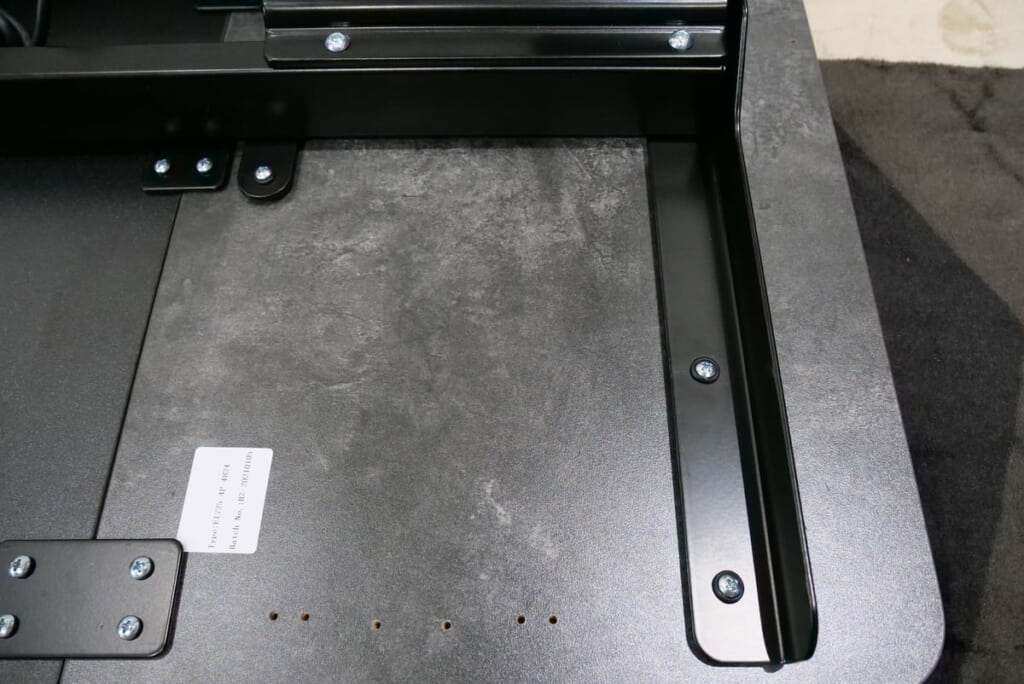
ここからは、天板とフレームを取り付けていきます。フレームは伸縮しますので、天板の穴を見ながら合わせていきます。
フレームと天板を取り付けるのに必要な穴はすべて空いているので、電動ドリルやキリで新たに穴をあける必要はありません。ここは以前組み立てたE8 Bambooよりも楽でした。
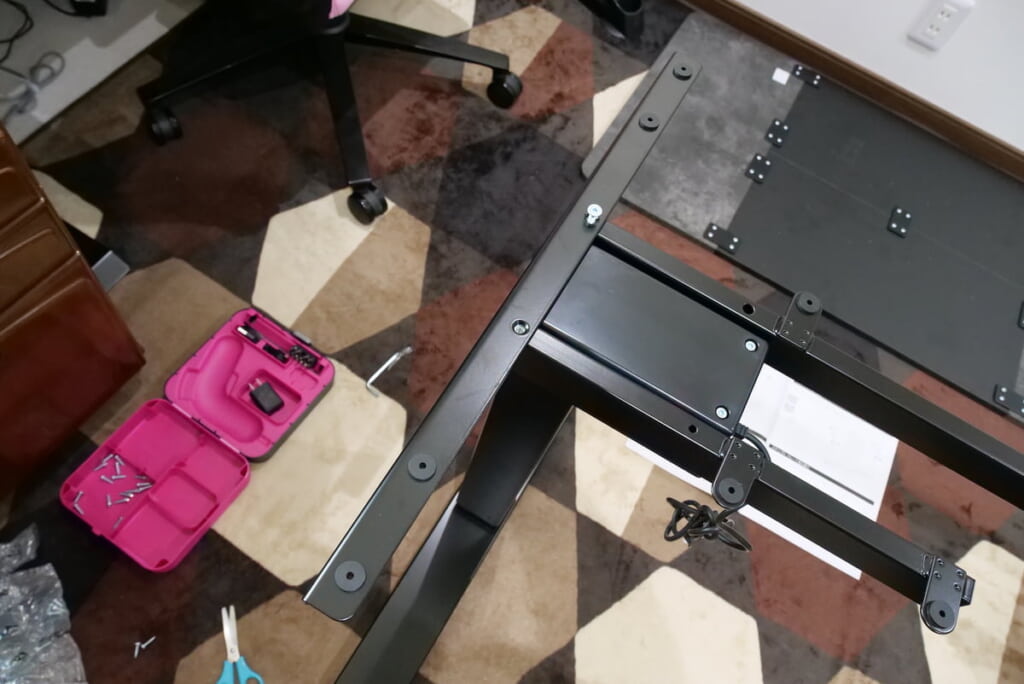
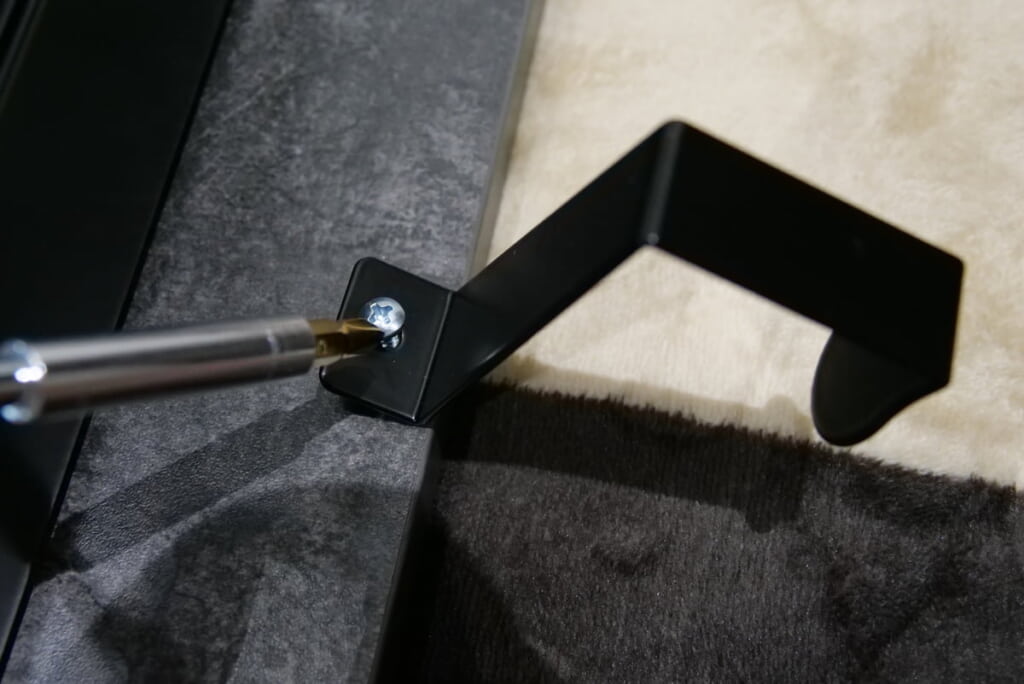
フレームを取り付けたら、ヘッドホンやカバンをかけるフックを天板に取り付けていきます。
フックは長さが7.8cmあるので、柄の長いドライバーの使用をおすすめします。
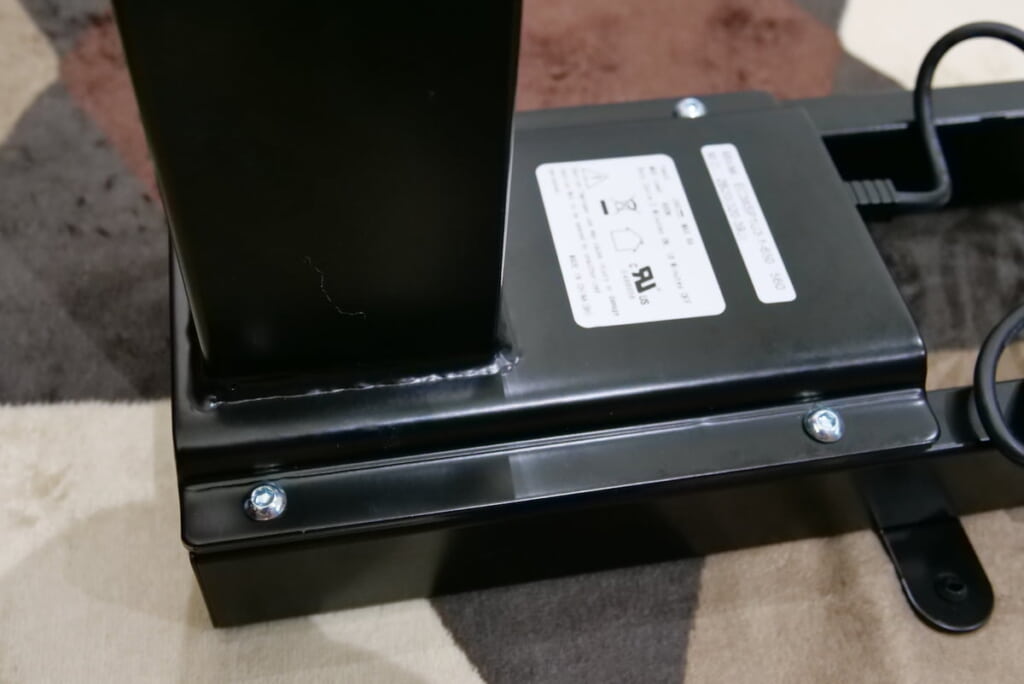
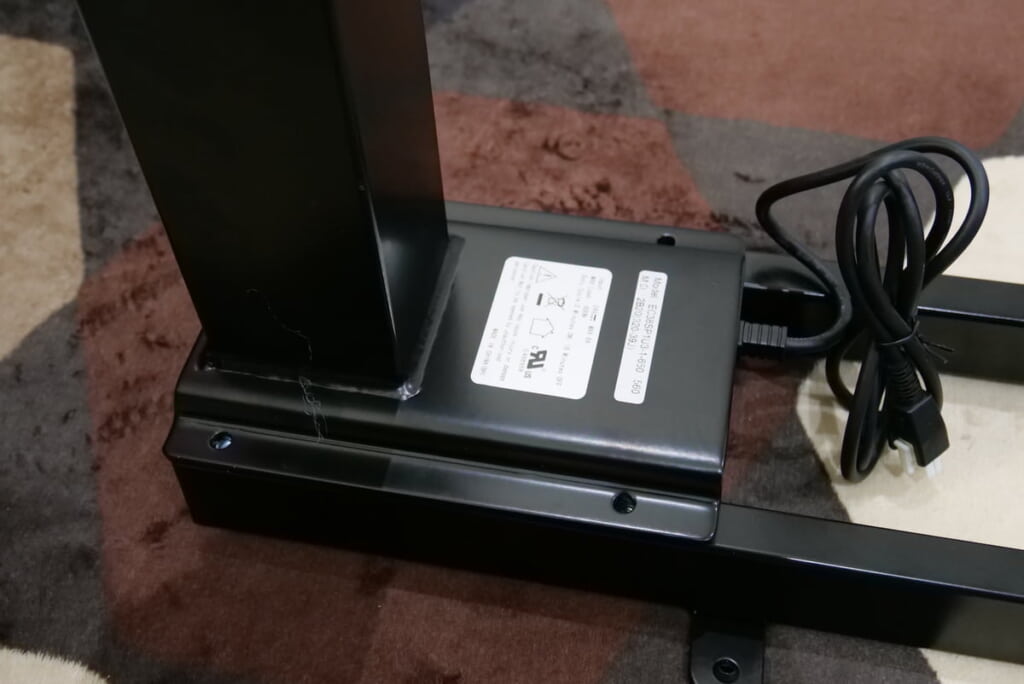
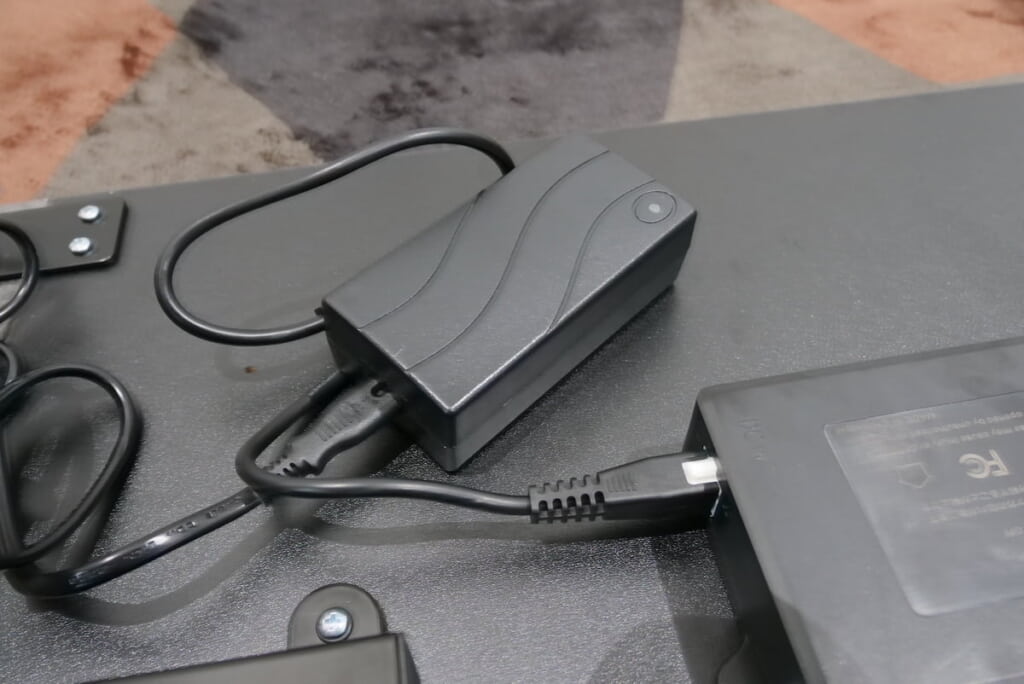
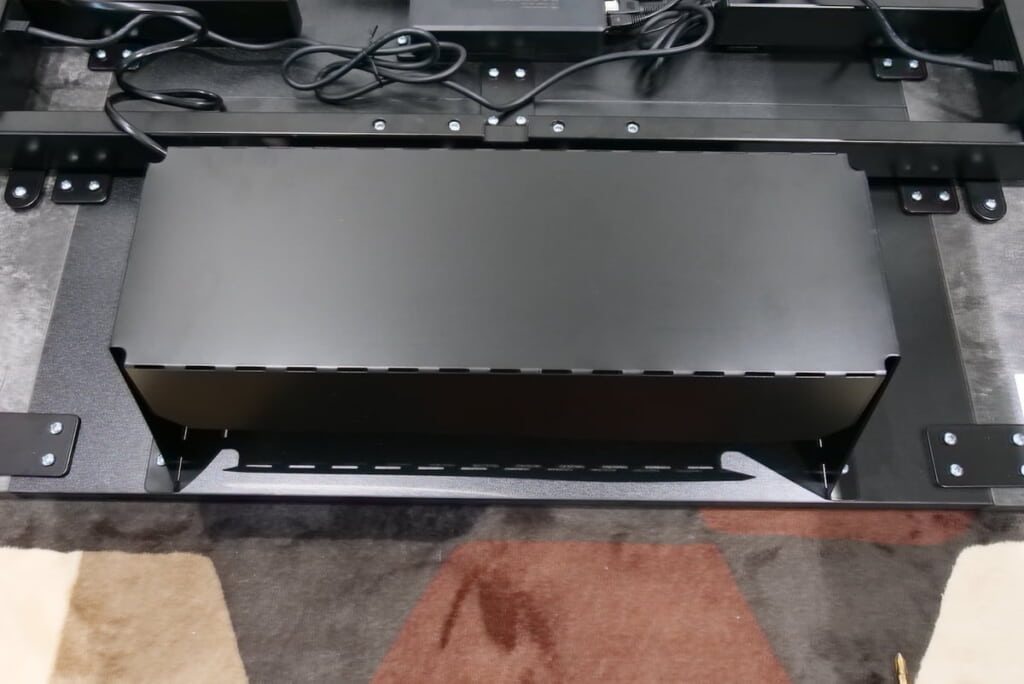
ここからは配線をしていきます。まず、配電ボックスを天板に取り付けます。
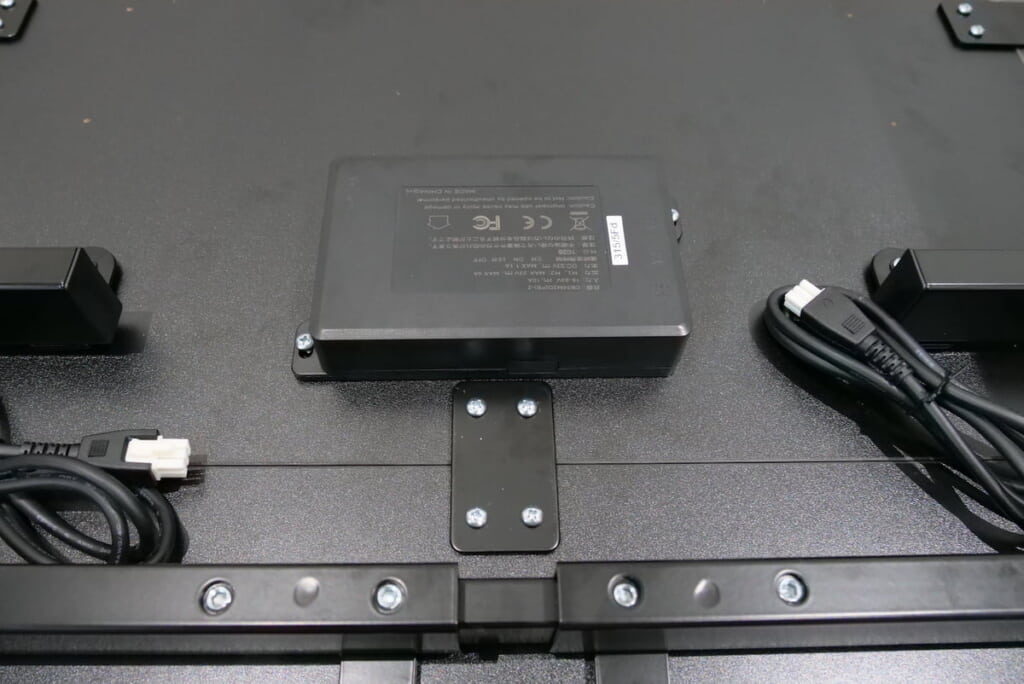
次に両脚から伸びている線を取り付けていきます。
コントロールパネルの線も、下記のように配電ボックスに取り付けていきます。
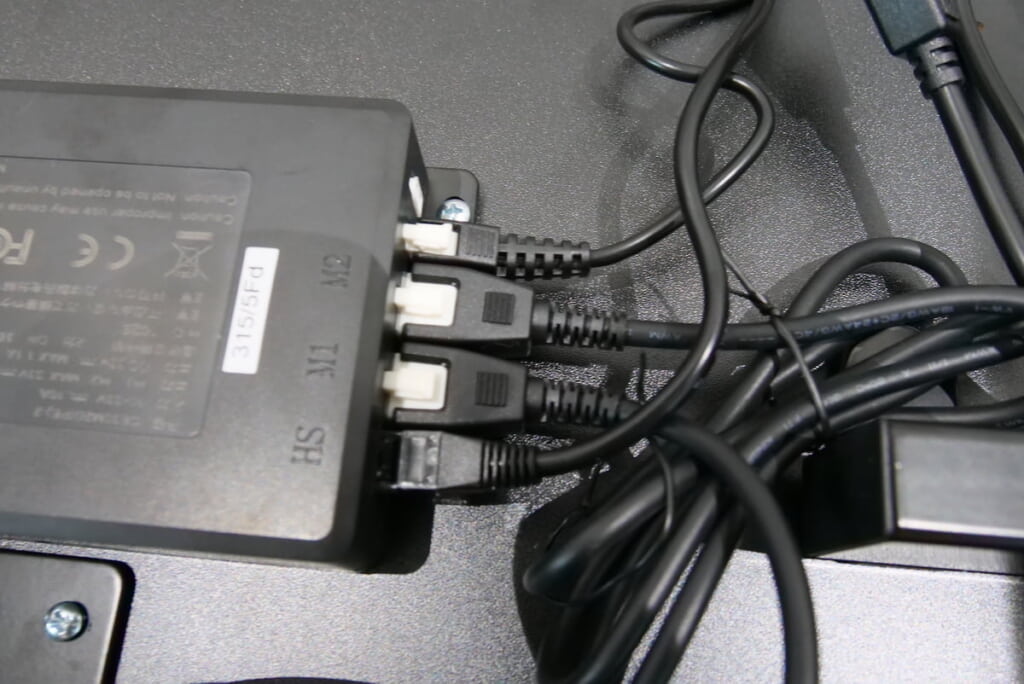
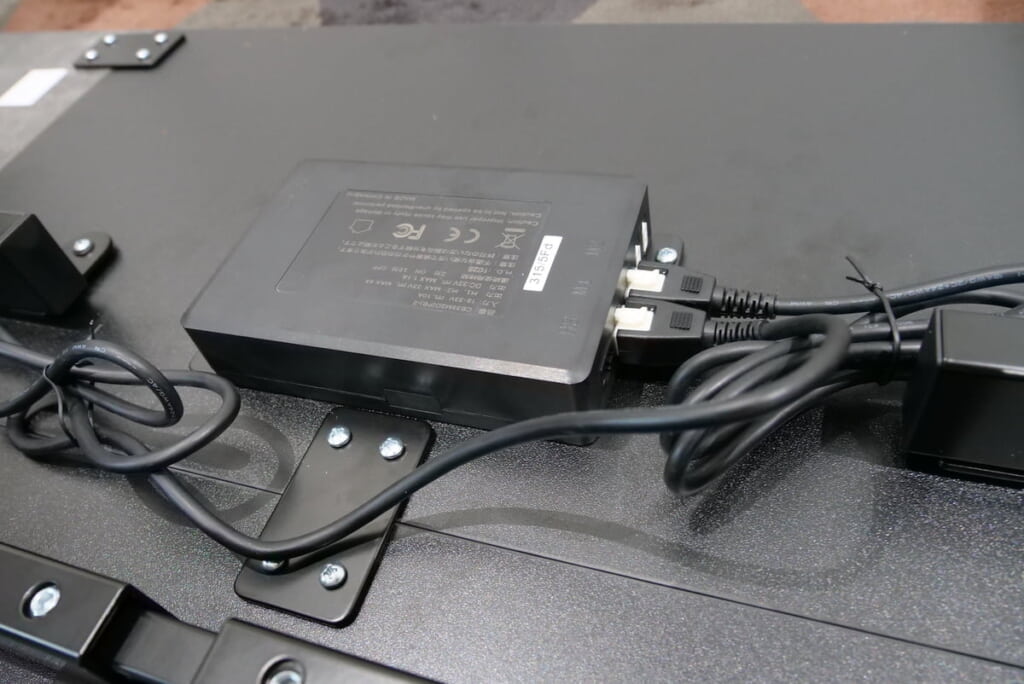
最後にACアダプタを取り付けていきます。先程とりつけた線とは反対側に取り付けます。
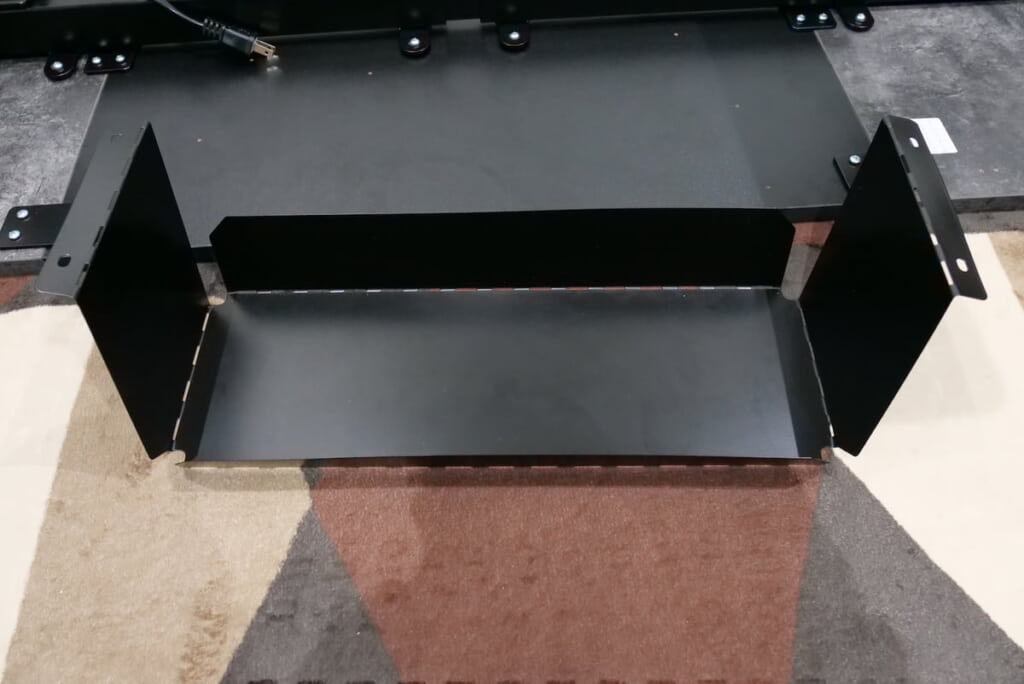
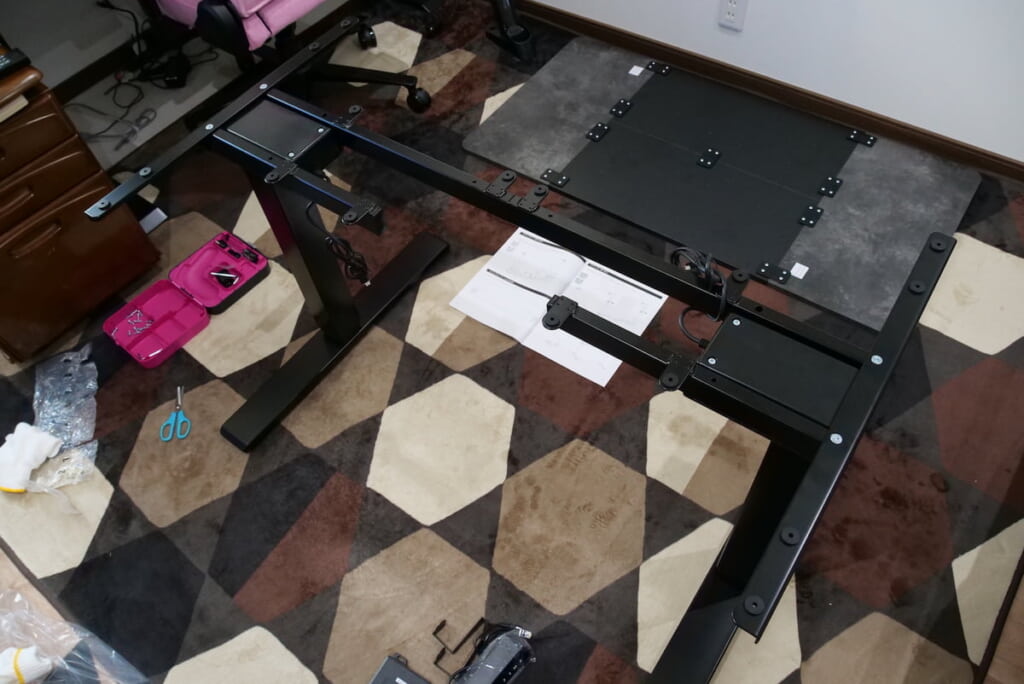
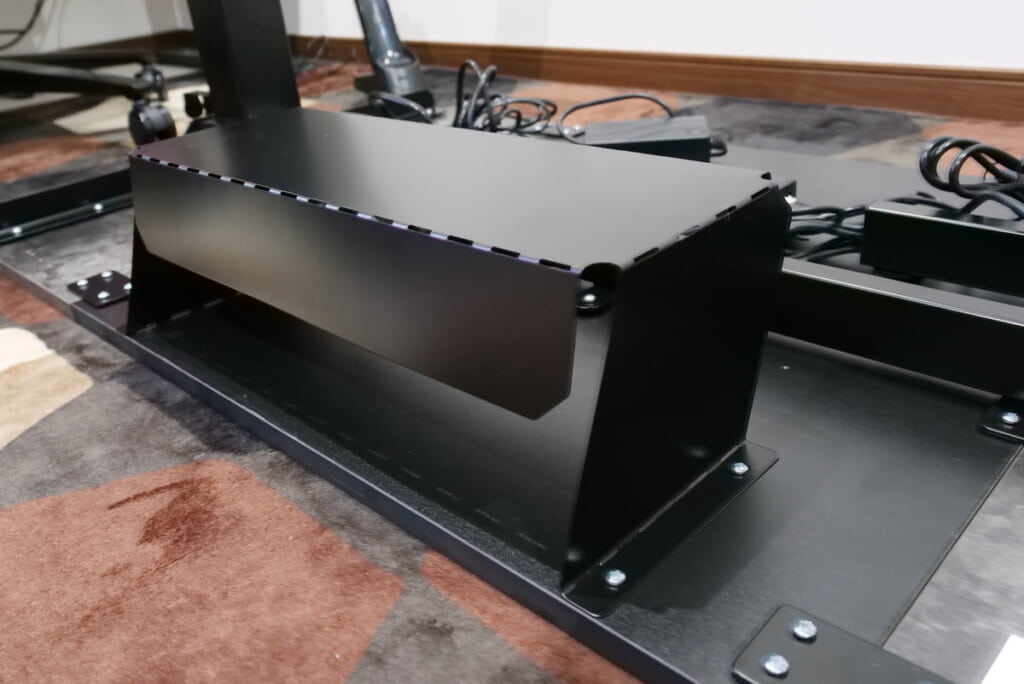
ここからは机下収納ボックスを天板に取り付けていきます。鉄製で頑丈なので、折り目がついているとはいえある程度力が必要です。
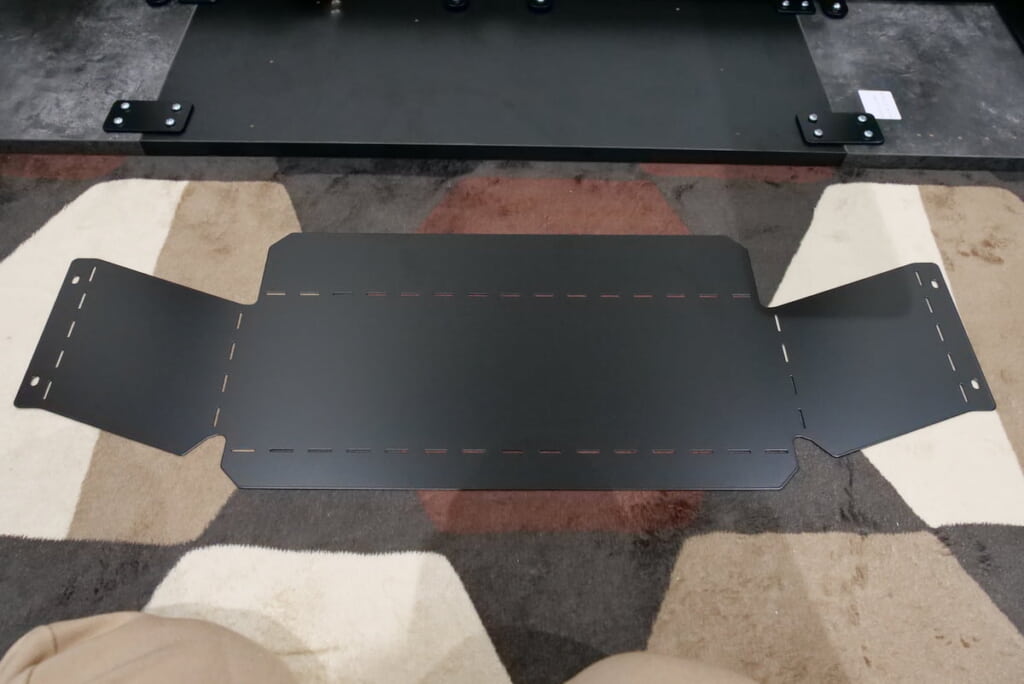
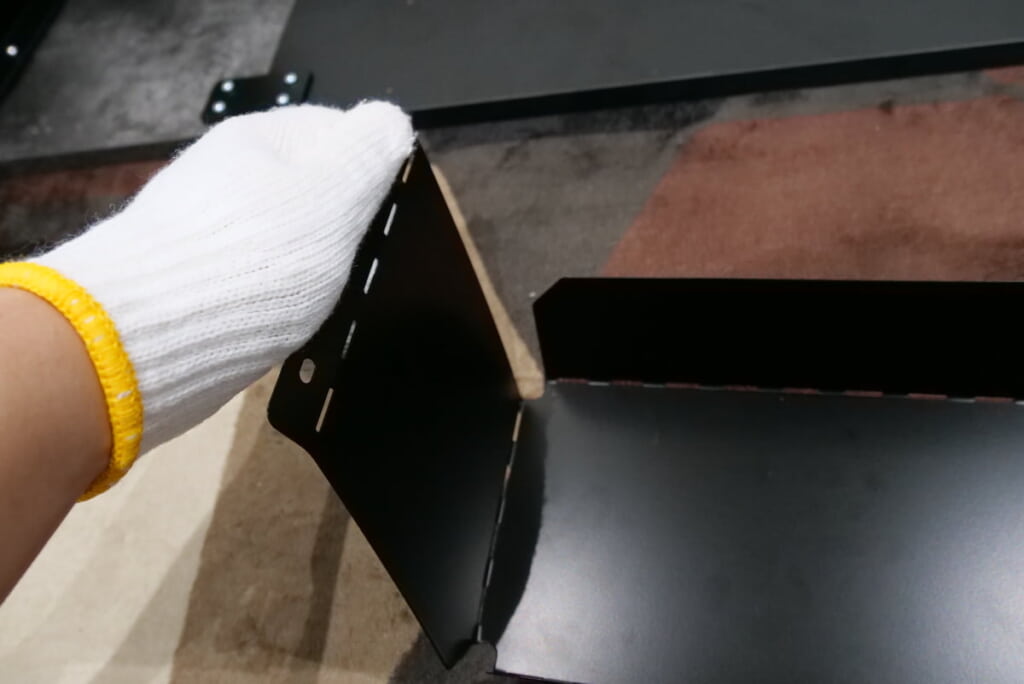
このようにすべて折り曲げることができたら、天板に取り付けていきます。
こちらもできれば柄の長いドライバーがあると便利です。
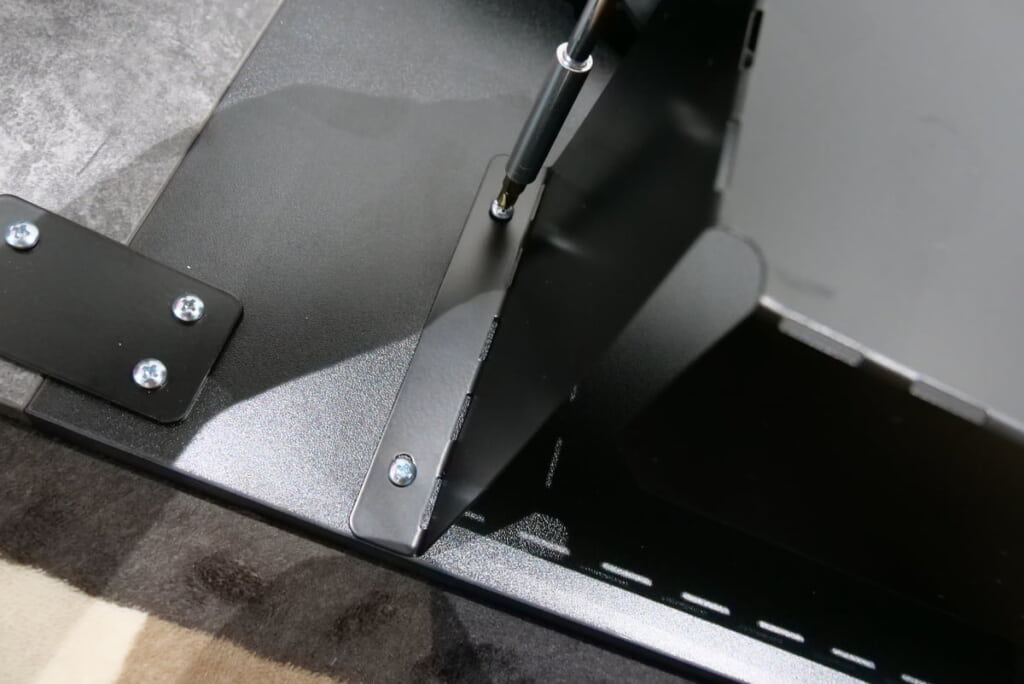
これで取り付けが完了しました。
これで完成なので、デスクを起こしていきます。重いので、できればもうひとりお手伝いしてくれる人がいたほうがいいです。

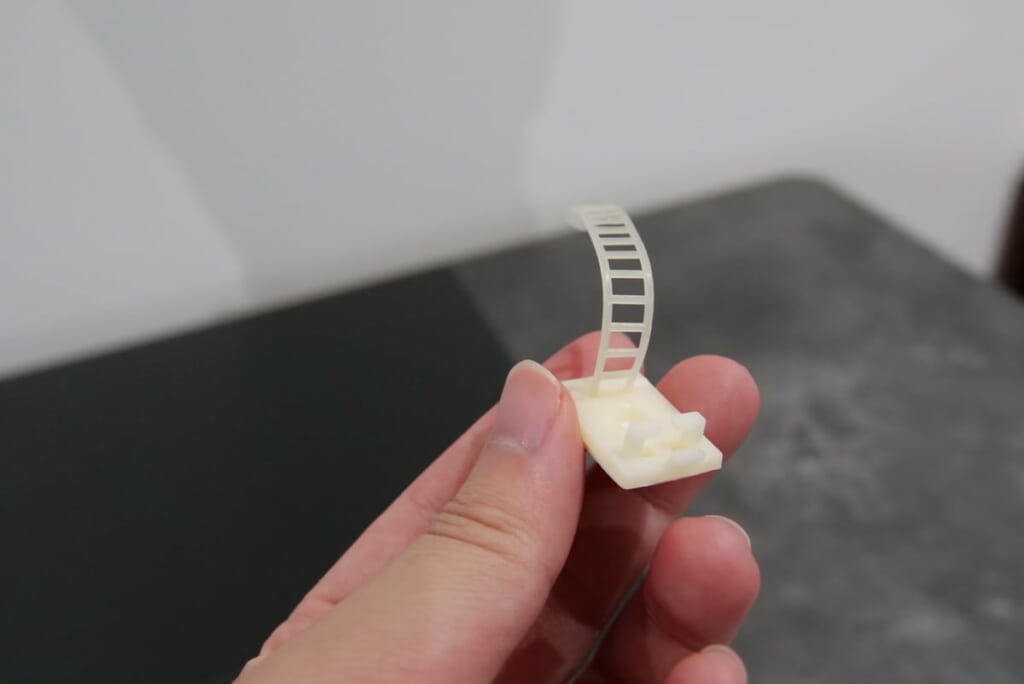
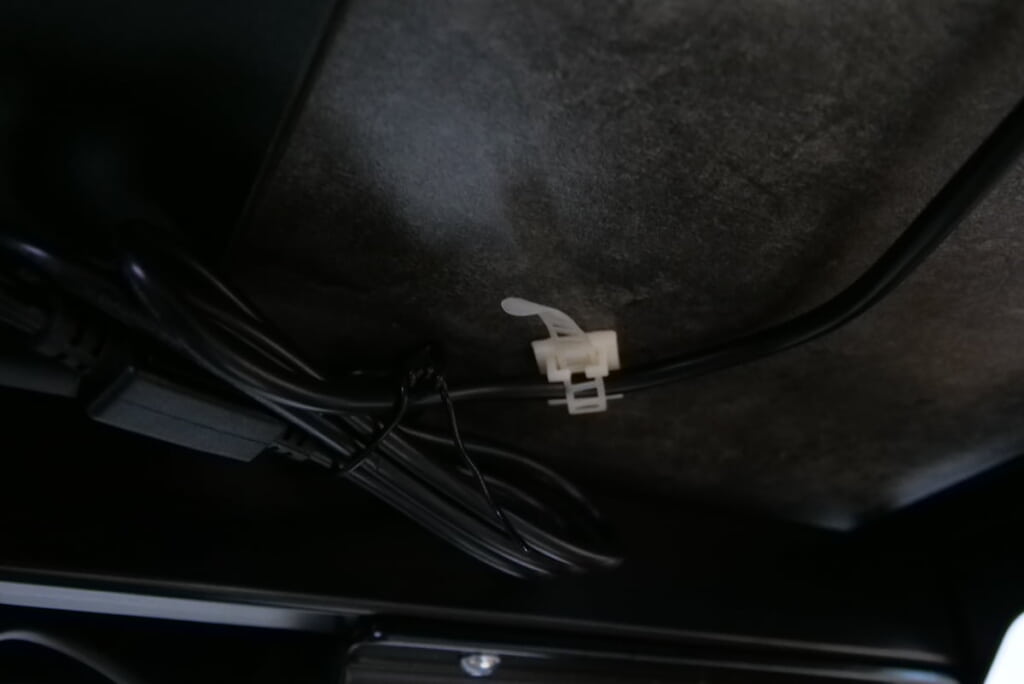
デスクを起こして完成しました。ただし線がブラブラしていますね。
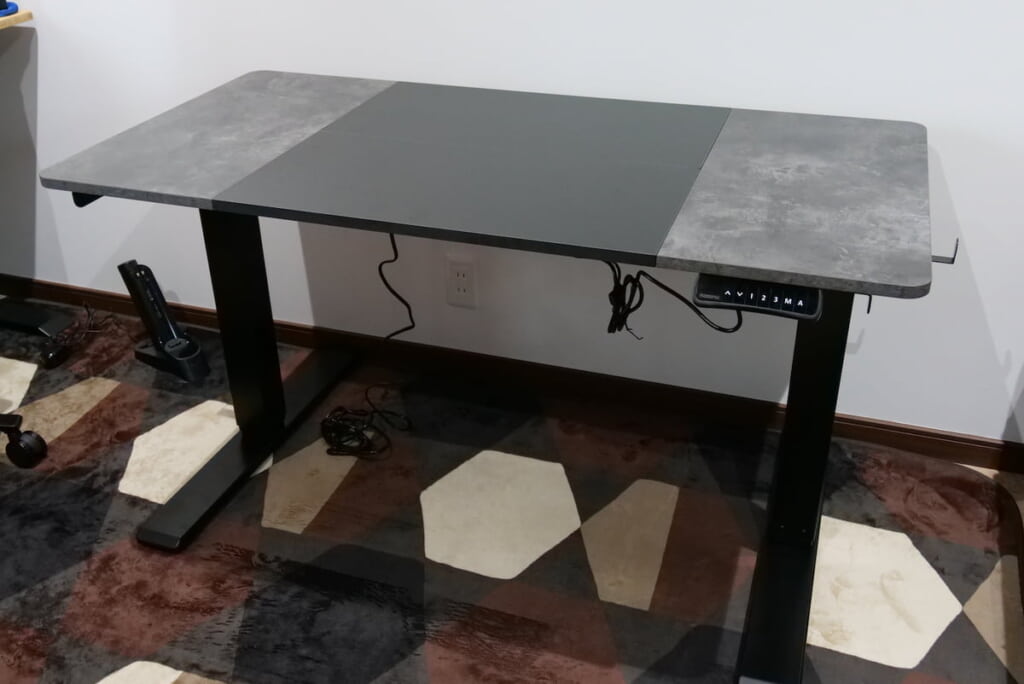
実はこの垂れた線をまとめてくれる結束バンドが付属しているので、こちらで線をまとめて天板に固定していきます。
これで完成です。
 たいしょん
たいしょん一人で写真を撮りながら組み立てたので2時間かかりましたが、二人以上で作業すれば1時間程度で組み立て可能だと考えています。
まとめ:EQ5はオールインワンで初めてのスタンディングデスクにおすすめ
EQ5は、42,800円という電動昇降スタンディングデスクでは中くらいの価格設定ながら、上位機種のE8 Bambooに優る機能も備えています。
| E8 Bamboo | EQ5 | |
| ラック(電源タップの収納に役立つ) | なし | あり |
| ホック(カバンやヘッドホンをかけられる) | なし | あり |
| USBポート | あり | あり |
| ロック機能 | あり | なし |
| メモリー機能 | あり | あり |
| 障害物検知 | あり | あり |
| アラーム機能 | なし | あり |
| Amazon参考価格 | 78,100円 | 42,800円 |
特にラックやホックは他のデスクでは見かけないEQ5独自の優位点で、昇降デスクを使っていると後から欲しくなる機能なので初めて電動昇降スタンディングデスクを購入される方には特におすすめです。
たいしょん最後まで見ていただきありがとうございました!EQ5はかなり満足度の高いデスクでしたので、迷っている方はぜひご検討ください。
竹天板の上位機種も気になる方は、下記のレビュー記事も参考にしてください。
その他 FlexiSpot のレビュー記事